Quilt as You Go – King-sized Carpenter Star Quilt
As a general rule, I prefer the traditional method of completing the piecing of the entire quilt top before assembling the quilt sandwich for quilting. It results in a more accurate quilt top and is easier overall. But as big as the throat is on my Bernina, it is just not possible to quilt an entire king-size quilt assembled the traditional way.
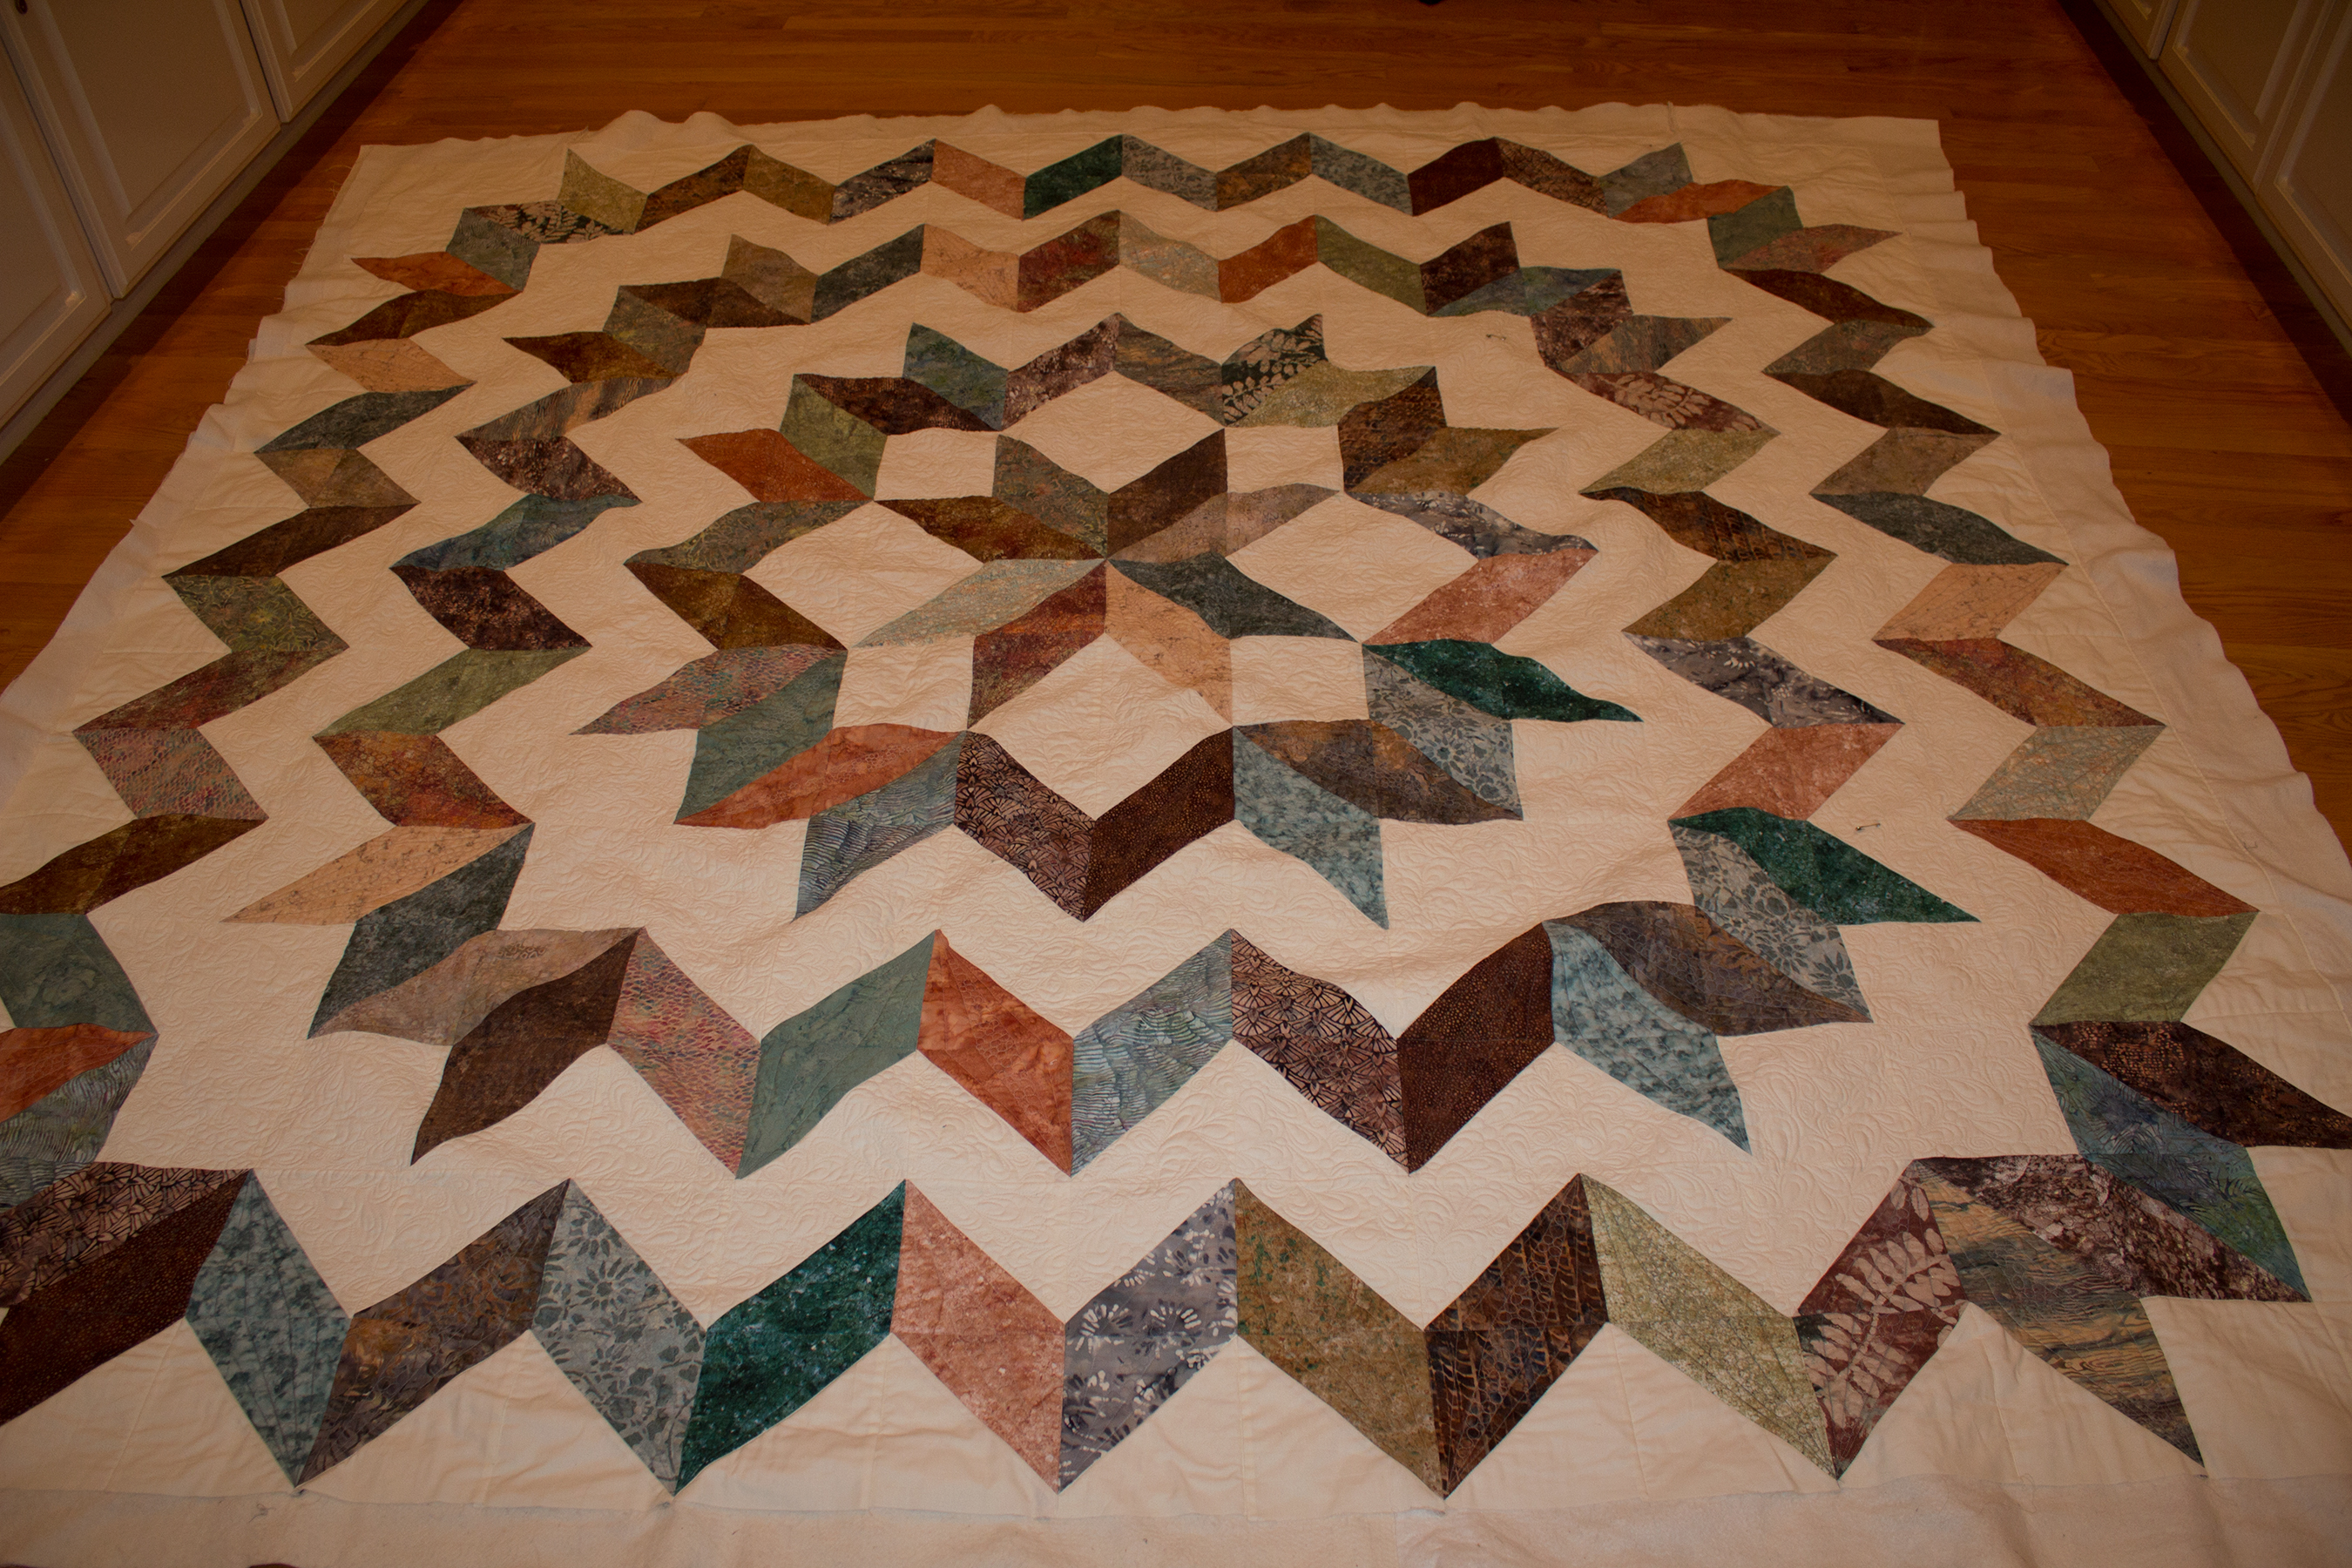
So when I made the king-sized version of Carpenter Star for my niece I chose to start in the center and work my way out adding the rings in border fashion quilting as I went. This is not the way I would recommend assembling this quilt. A quilt tends to shrink as it is quilted, and I did not take this into account as I was making this quilt. As a result, I had a terrible fight with matching seams….a very frustrating process. I lost quite a bit of the size because I had to do quite a bit of pleating to match seams.
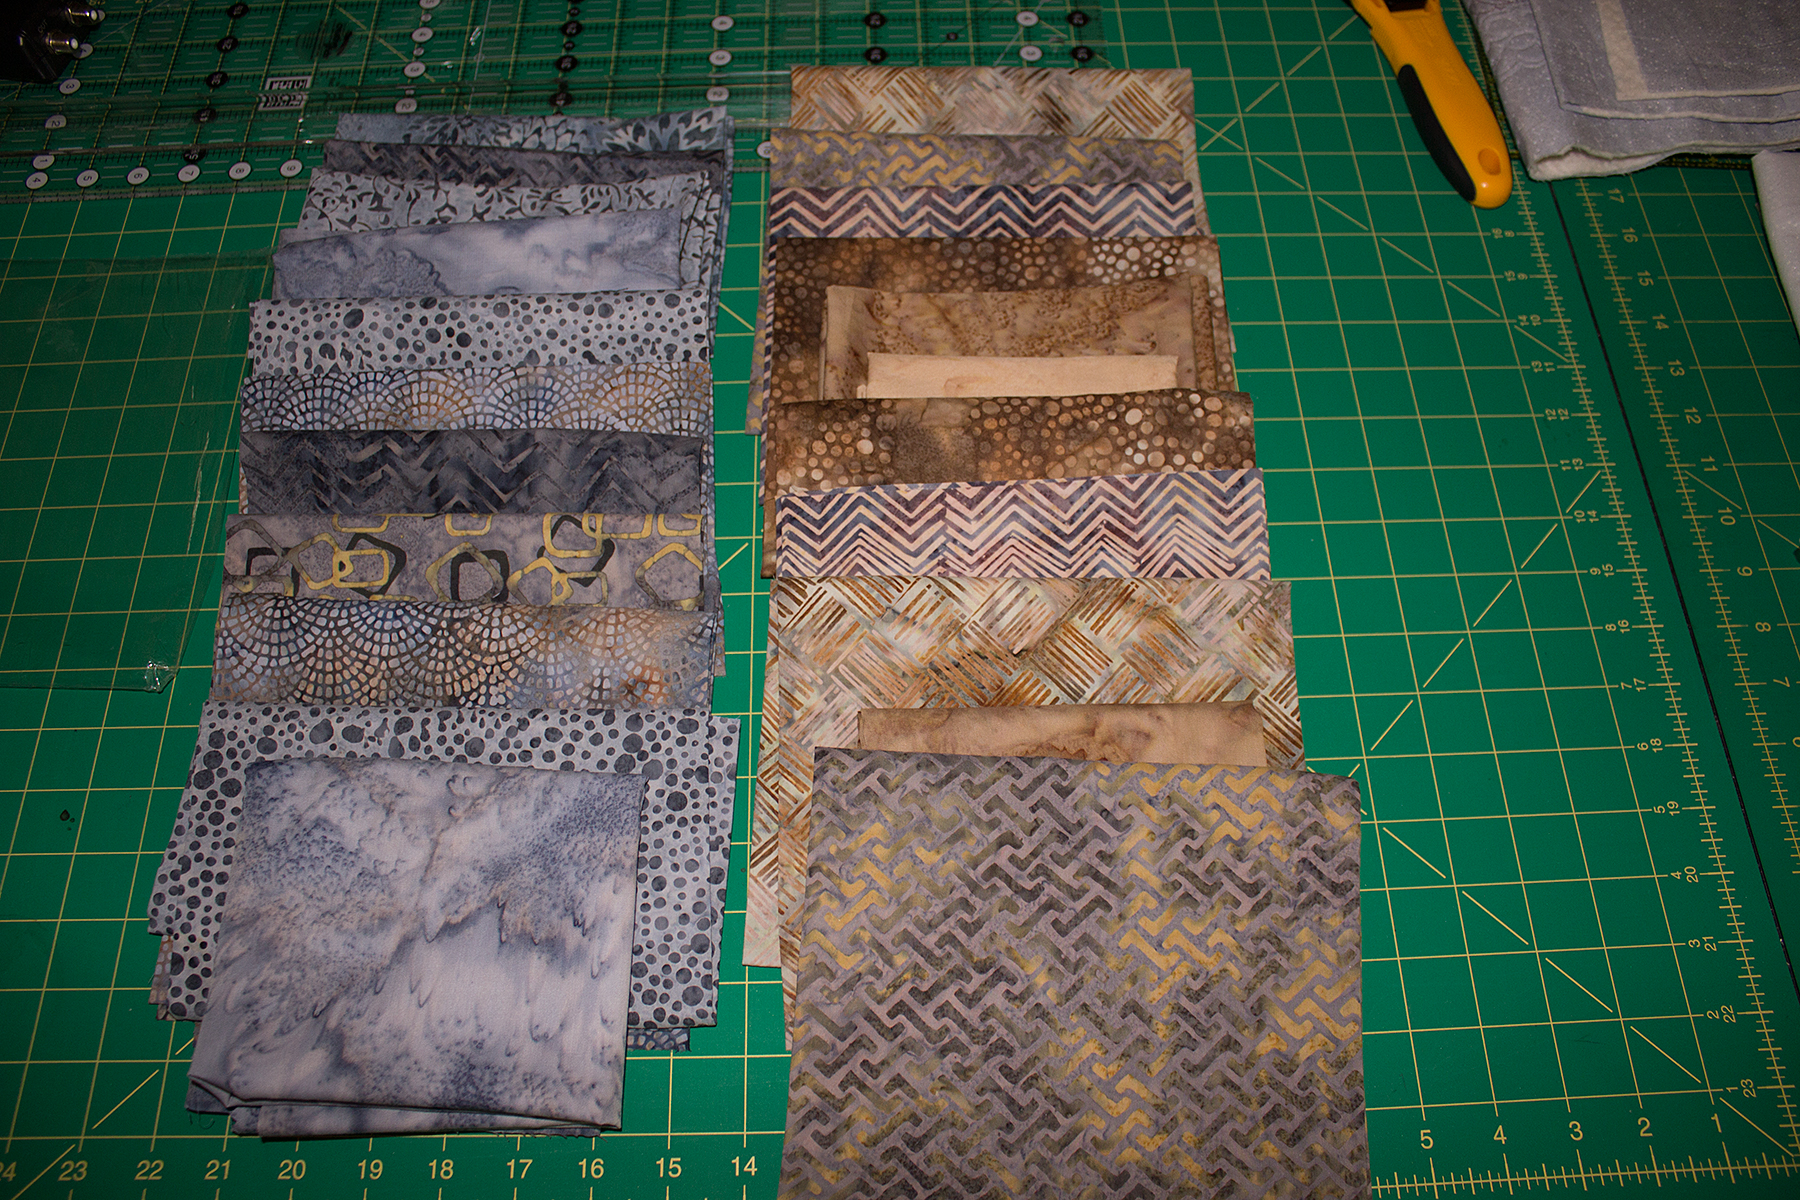
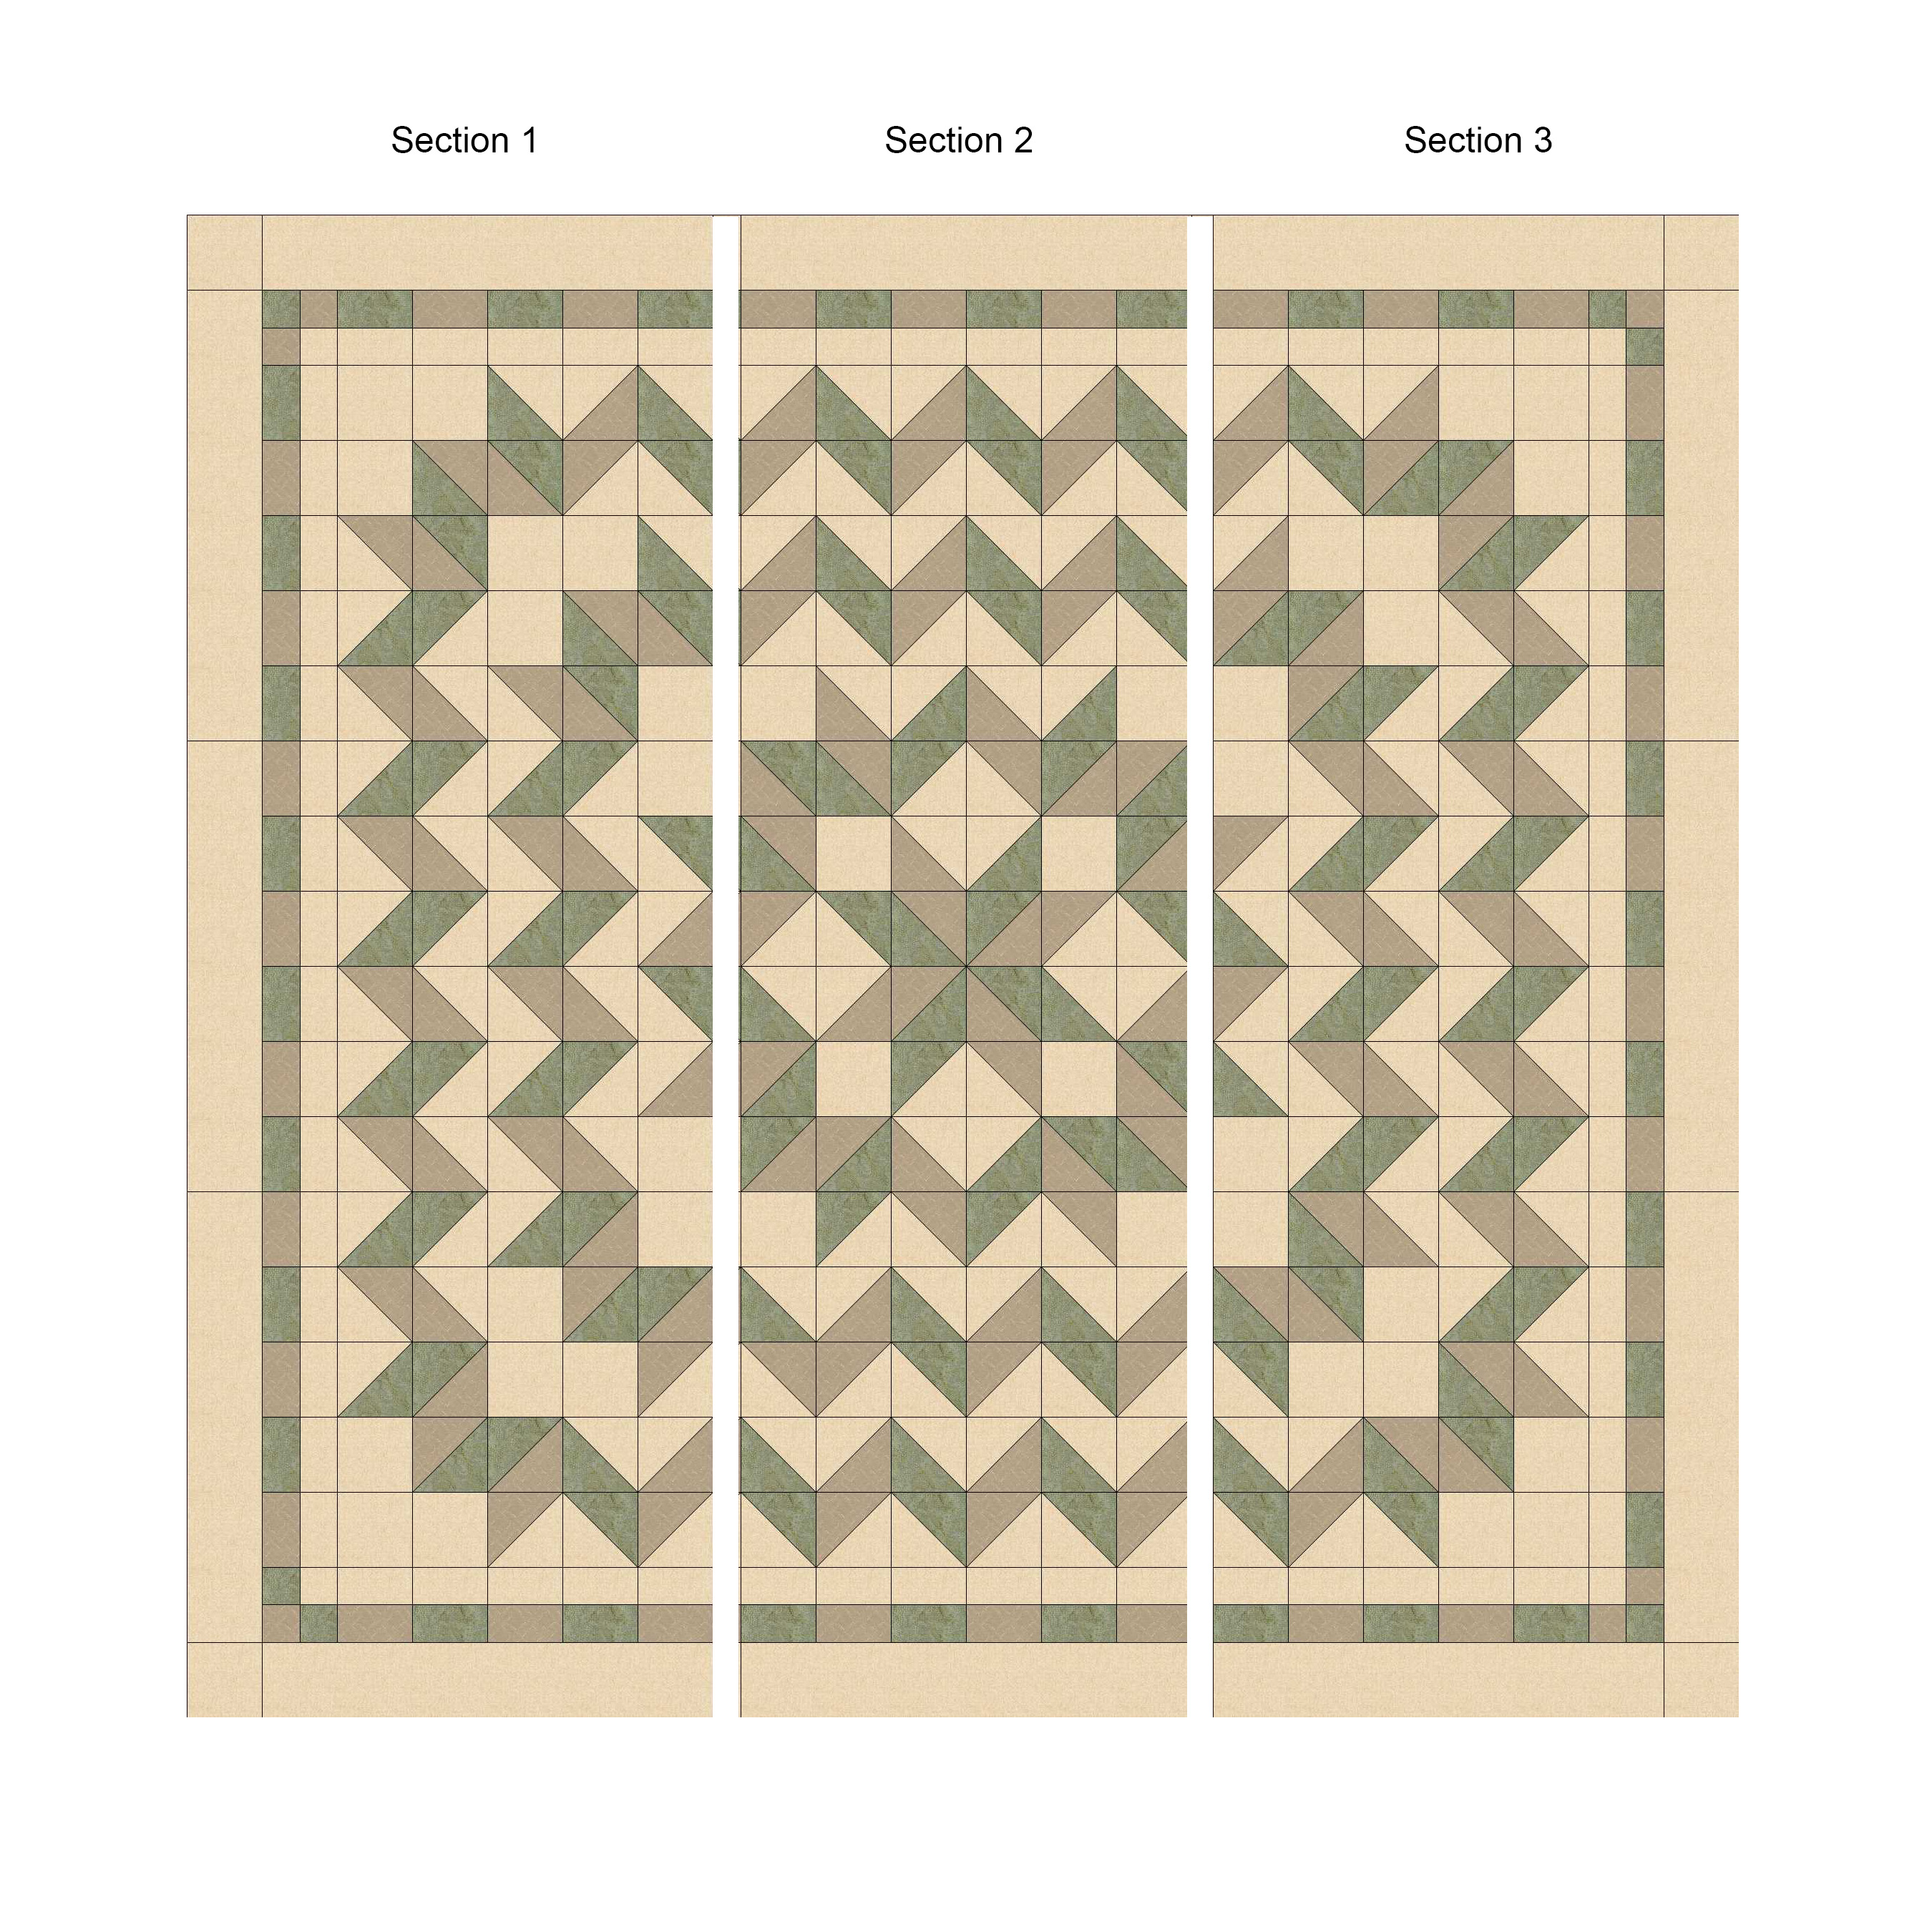
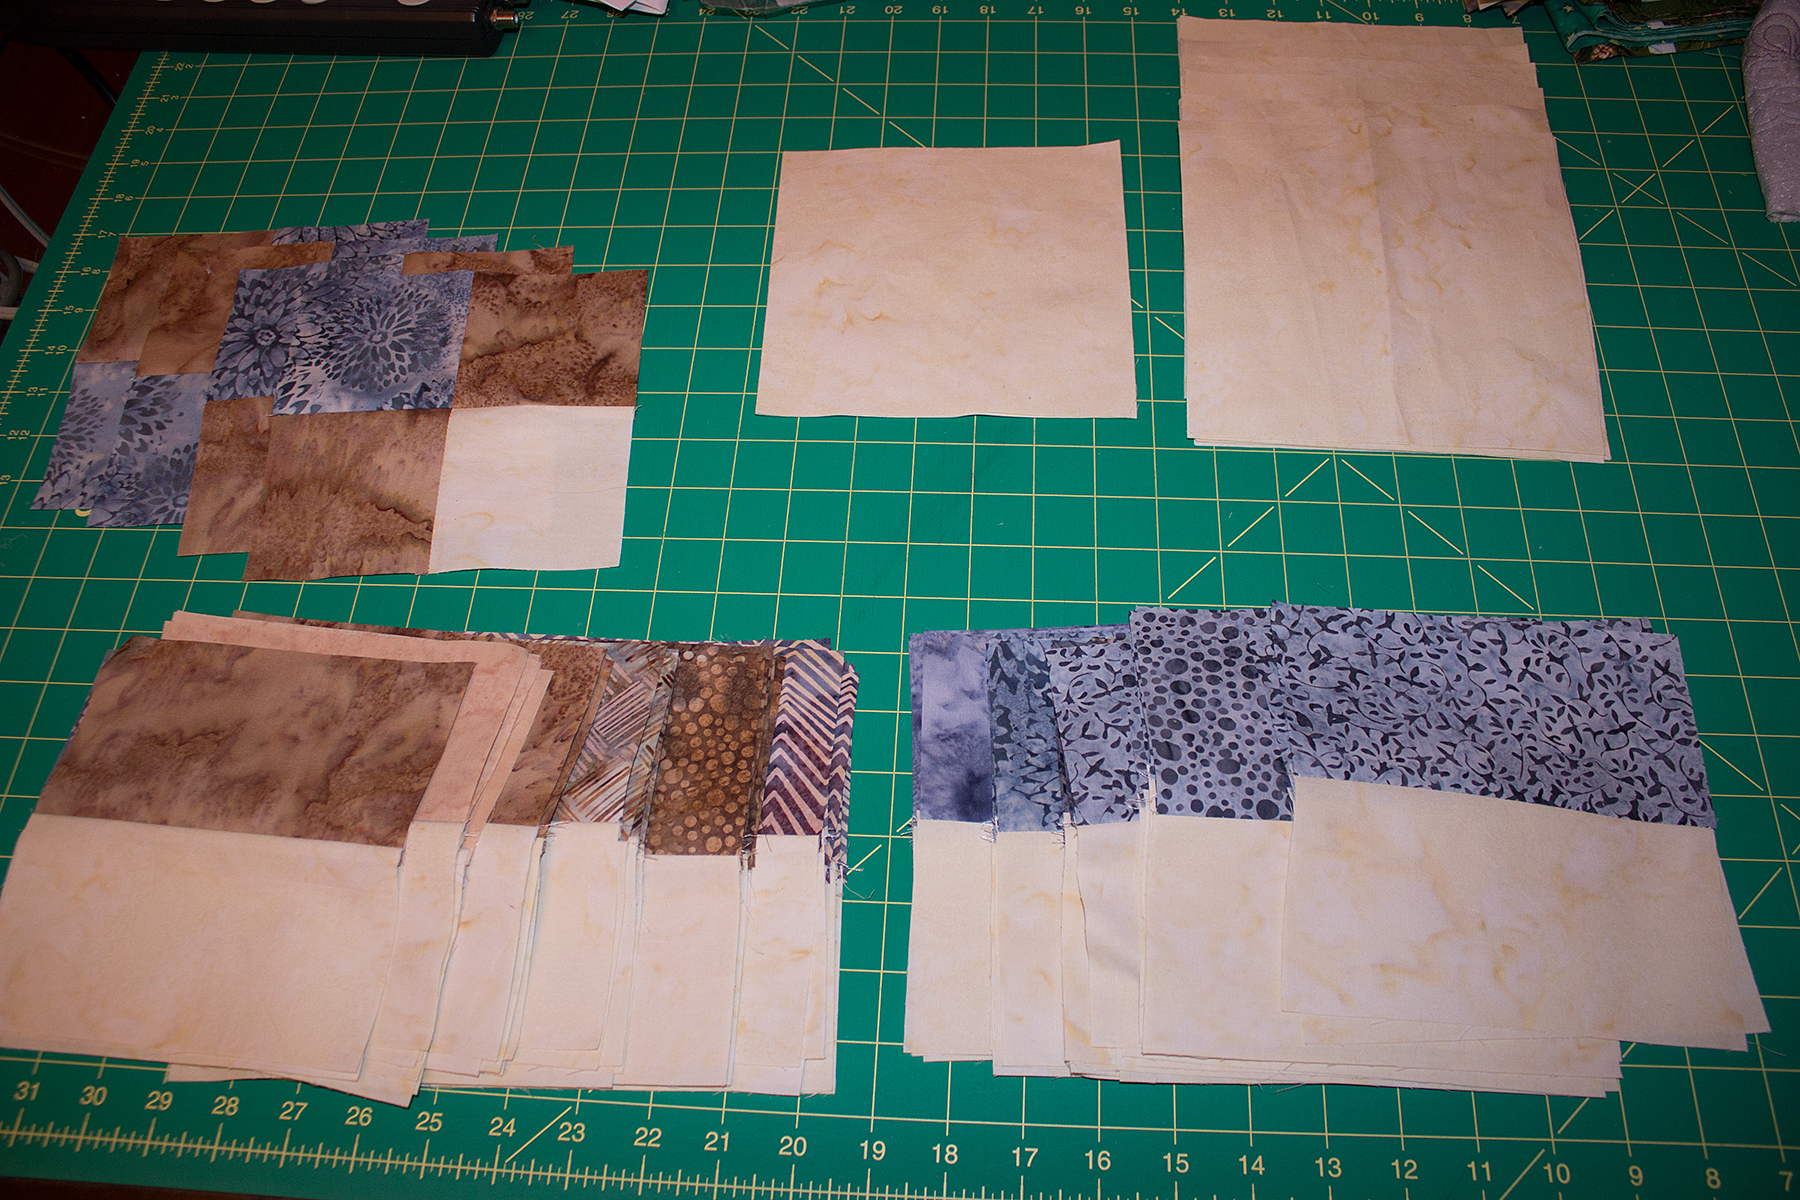
Although I vowed not to try a king quilt again, I’ve decided to give it another go. This time I am dividing the quilt into thirds. I’ve modified the design just a bit to allow me to assemble each section starting at the top and working my way down section by section. I will be piecing all three sections before beginning my quilting on section 1. I’ve chosen to use fat quarters with two main color themes, blue and beige. So following this template won’t be too hard. However, I still need to match specific fabrics together as I assemble so I need to plan accordingly. Each fat quarter yields six 7-inch squares and three 3 1/2 by 6 1/2 inch rectangles. I won’t have many spares left. My plan is to make two section 1’s. The second one will be flipped for section 3. That way my half square triangles in the corner should work out so that I don’t run out of main fabric 7-inch squares. Essentially the majority of points use both half-square triangles from each 7-inch square by paring with the background fabric…except in the corners. I have to use two 7-inch main color squares on the corner points to match the pattern, which leaves me two remaining half-square triangles to use in another corner. This will make more sense once you see it in progress.
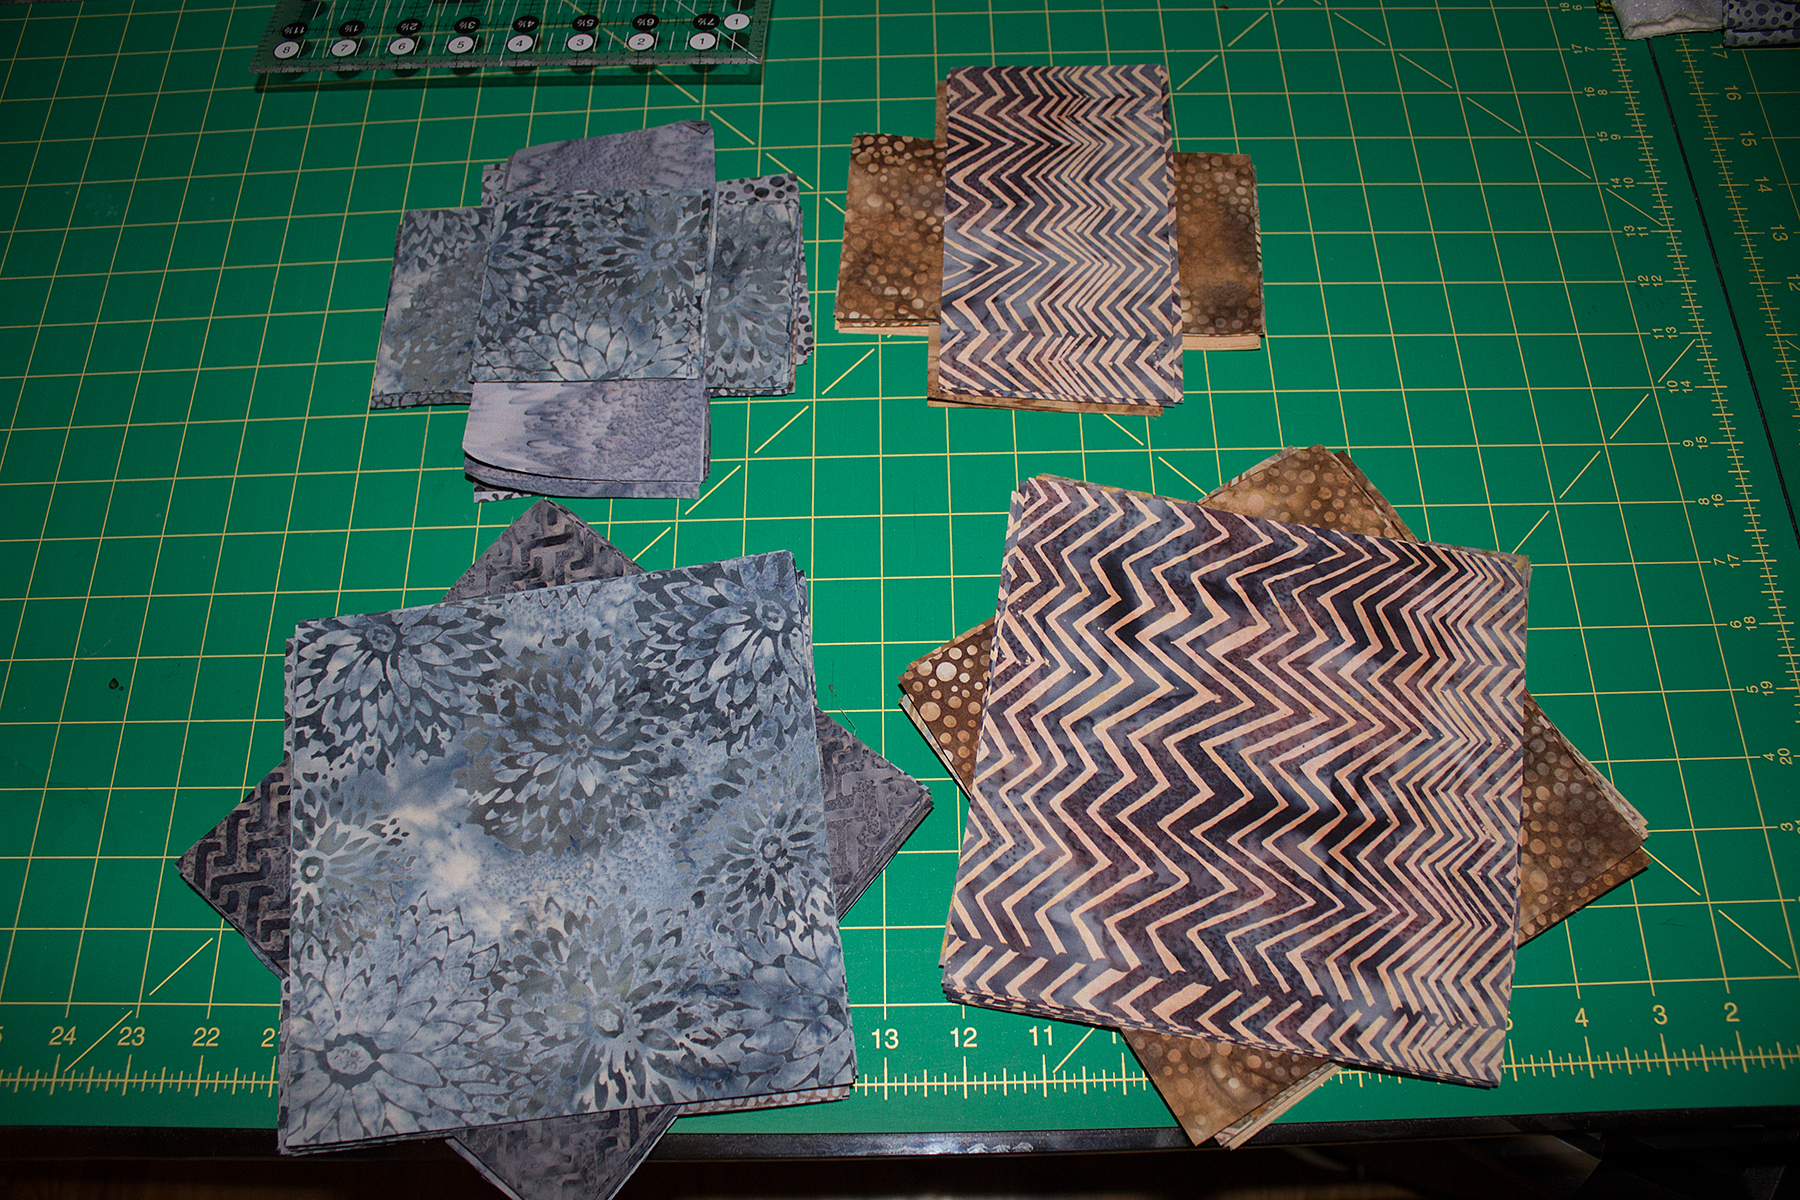
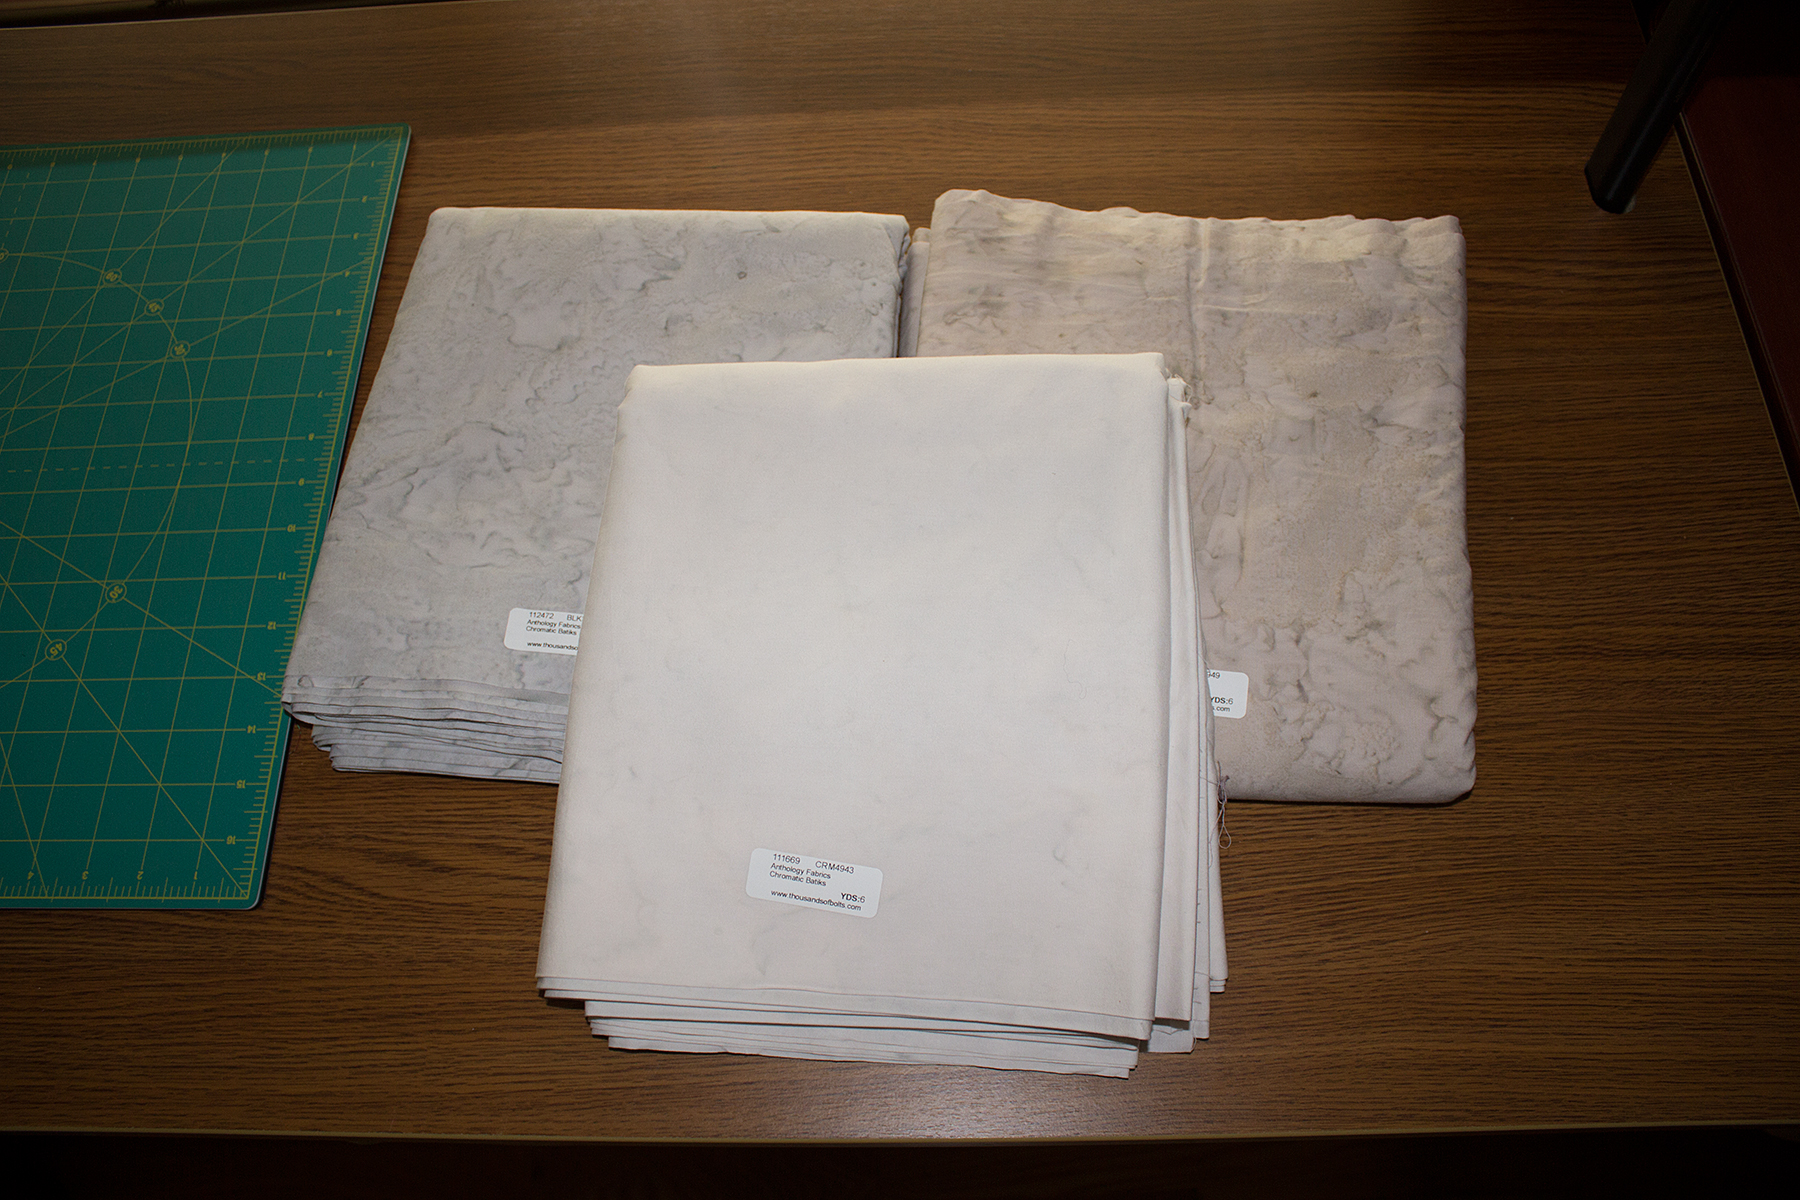
As you can see, I have my fat quarters cut and ready to go. I’m waiting on Thousands of Bolts for my background fabric. I’ve ordered an Anthology neutral batik for the background. Stay tuned…

I would love to have this pattern and instructions How much?
The pattern is available for free here: https://hobbystash.com/gallery/quilts-gallery/quilt-as-you-go-king-size-carpenter-star-finished/
It provides step by step instructions as well as blog posts of my progress step by step.
Enjoy!
I would love this king size carpenter square quilt pattern
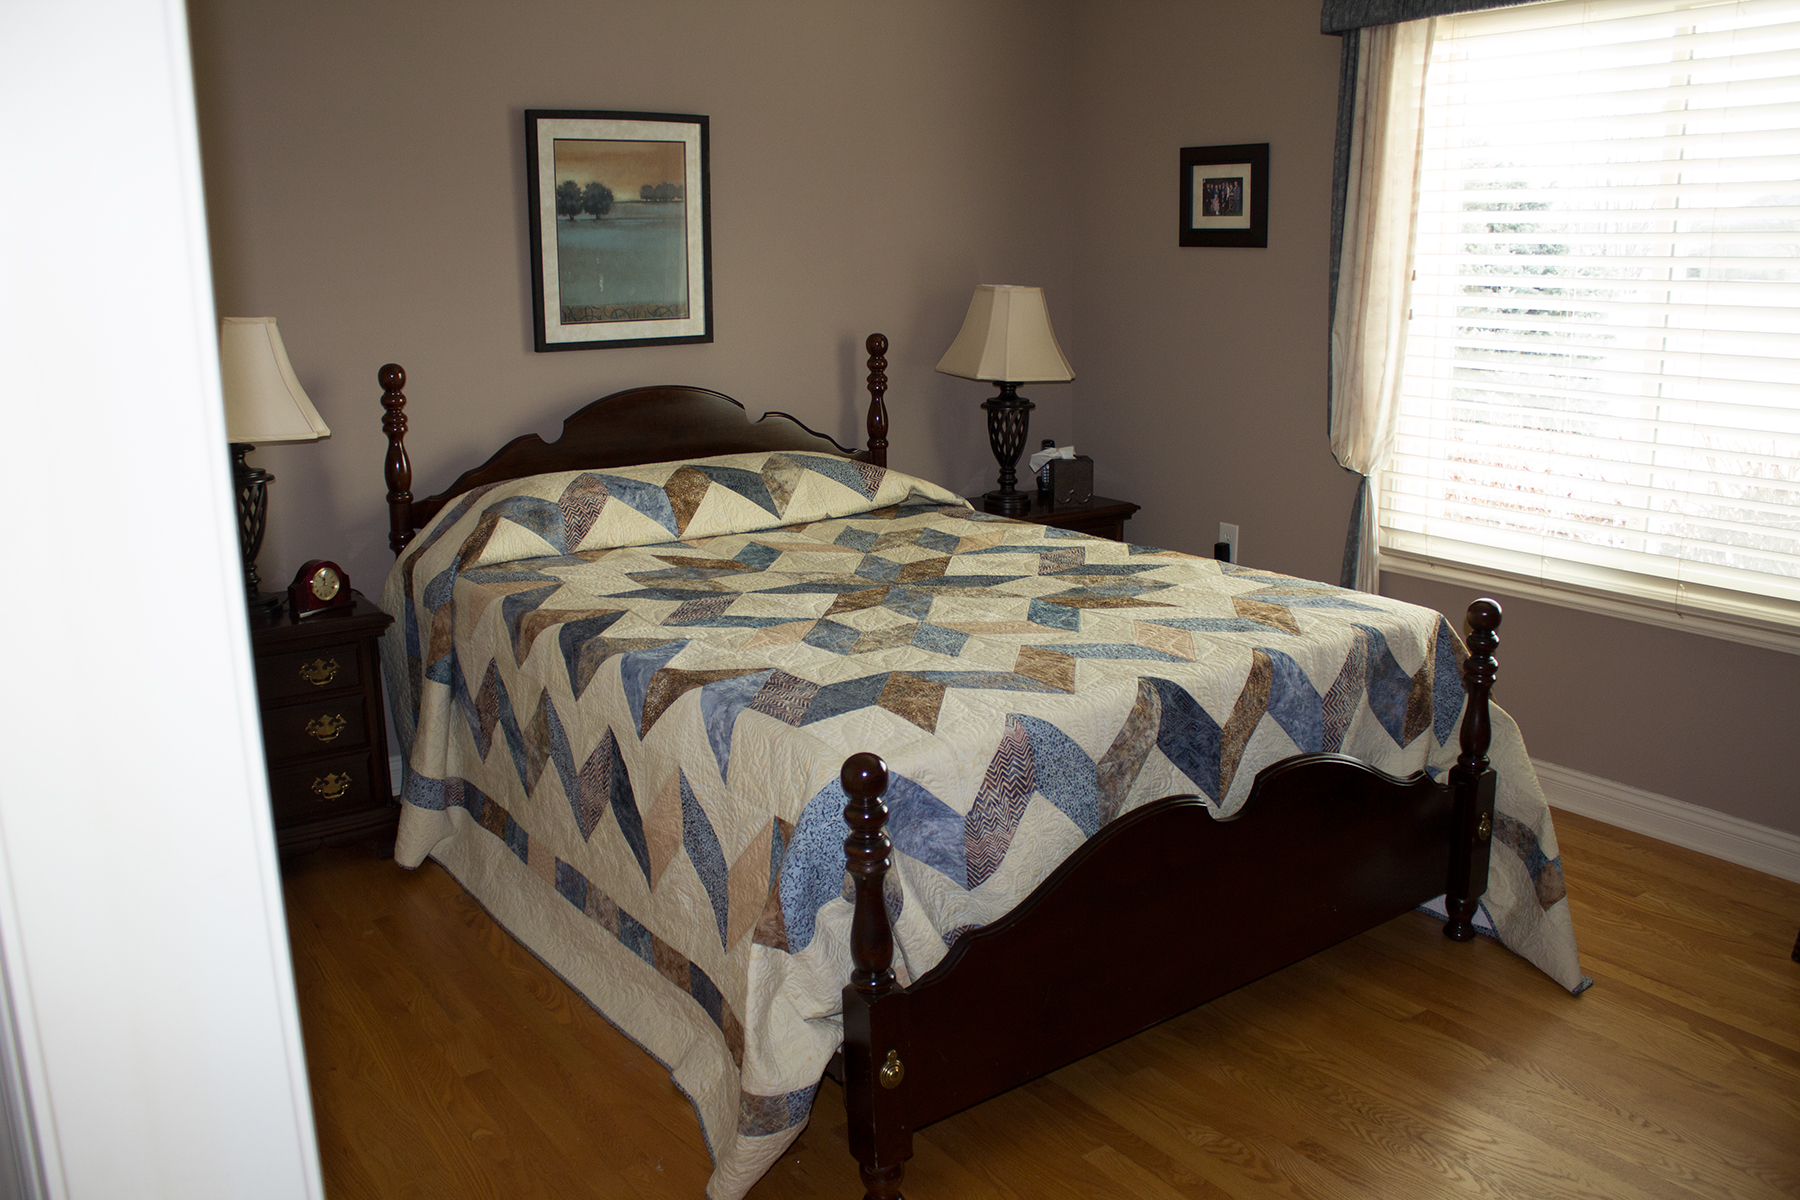
Hi, I’m new to quilting and I would love to make this quilt. Could I use the quilt as you go method and quilt each block then sew them together? It’s such a beautiful quilt and as my partner is a carpenter it just feels right to use this pattern for our bed. Thank you.
I think it can be done although I have not tried it. Your biggest challenge will be matching points as you join the blocks. Here’s a video I found on YouTube:http://youtu.be/l8kyurCw8-g
The video illustrates joining two individual blocks. I suggest trying it out with some scrap fabrics before you commit to the king size project. Make 25 half square triangle blocks and then join them together into rows using the method in the video into five rows of five blocks. Then join the rows together and see if you are happy with the results. If you are, then yay go for it. As stated in the video, use cotton batting. Polyester will melt and stick to your iron!
I want to try this one!