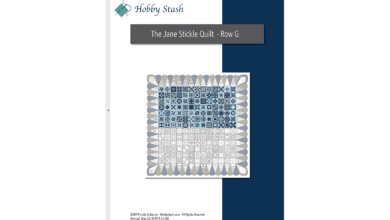
The Jane Stickle Quilt – Row C
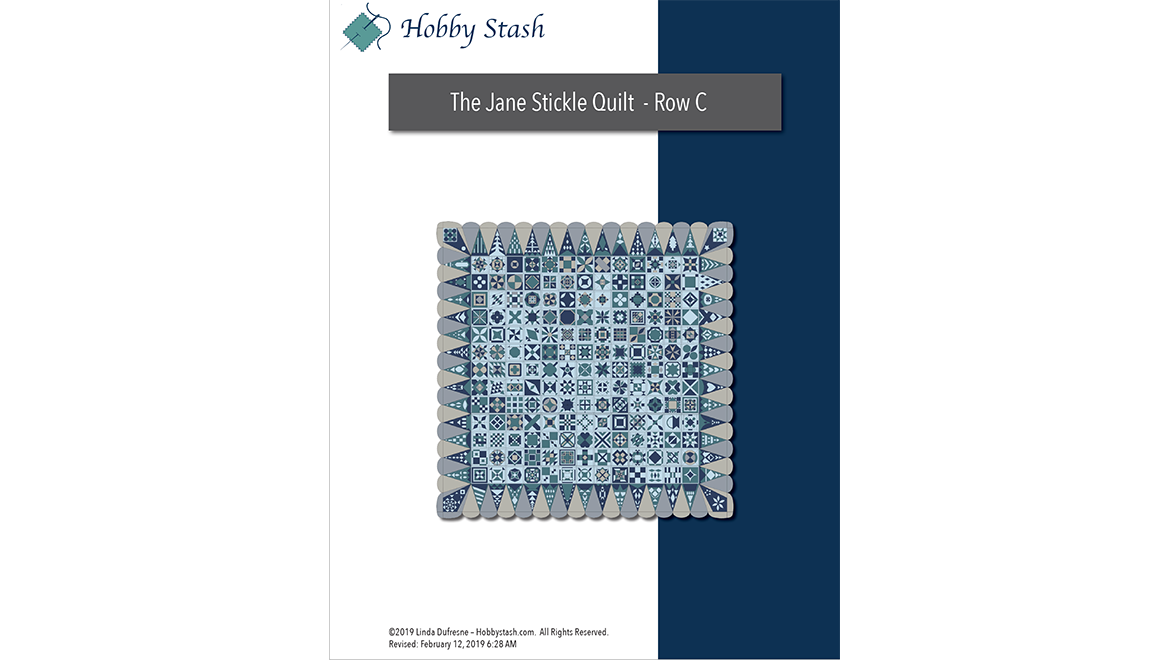
The third row of the Jane Stickle Quilt is up! Each image below links to the PDF pattern for that block. There is also a consolidated download for the entire row, which includes a table of contents so you can jump to a specific pattern.
I recommend you cruise basic instructions. It explains the different templates and my sizing methodology. I am doing my blocks slightly different from the Dear Jane book. I am making 5-inch blocks as Jane Stickle did versus 4½-inch blocks like the Dear Jane book. If you prefer to add your sashing when your blocks are all finished, just eliminate the A and B units from my pattern. The center sections will then be 4½ inches finished in size and you can add your sashing later.
Easiest block? Without a doubt C3.
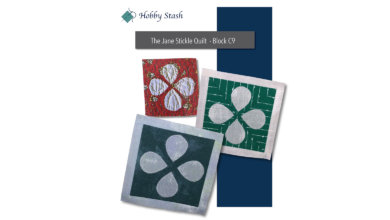
Hardest block? For me, I would say C7 was mildly difficult simply because it had so many oddly shaped tiny pieces. It was definitely time consuming.
Most pieces? C12 earns that honor with 53 pieces.
I have done my best to proof these patterns but there will inevitably be something that slips through the cracks. Working so close with a pattern, I sometimes miss the most obvious mistakes. So, please be kind when pointing them out. 🙂
Enjoy!


Basic Instructions