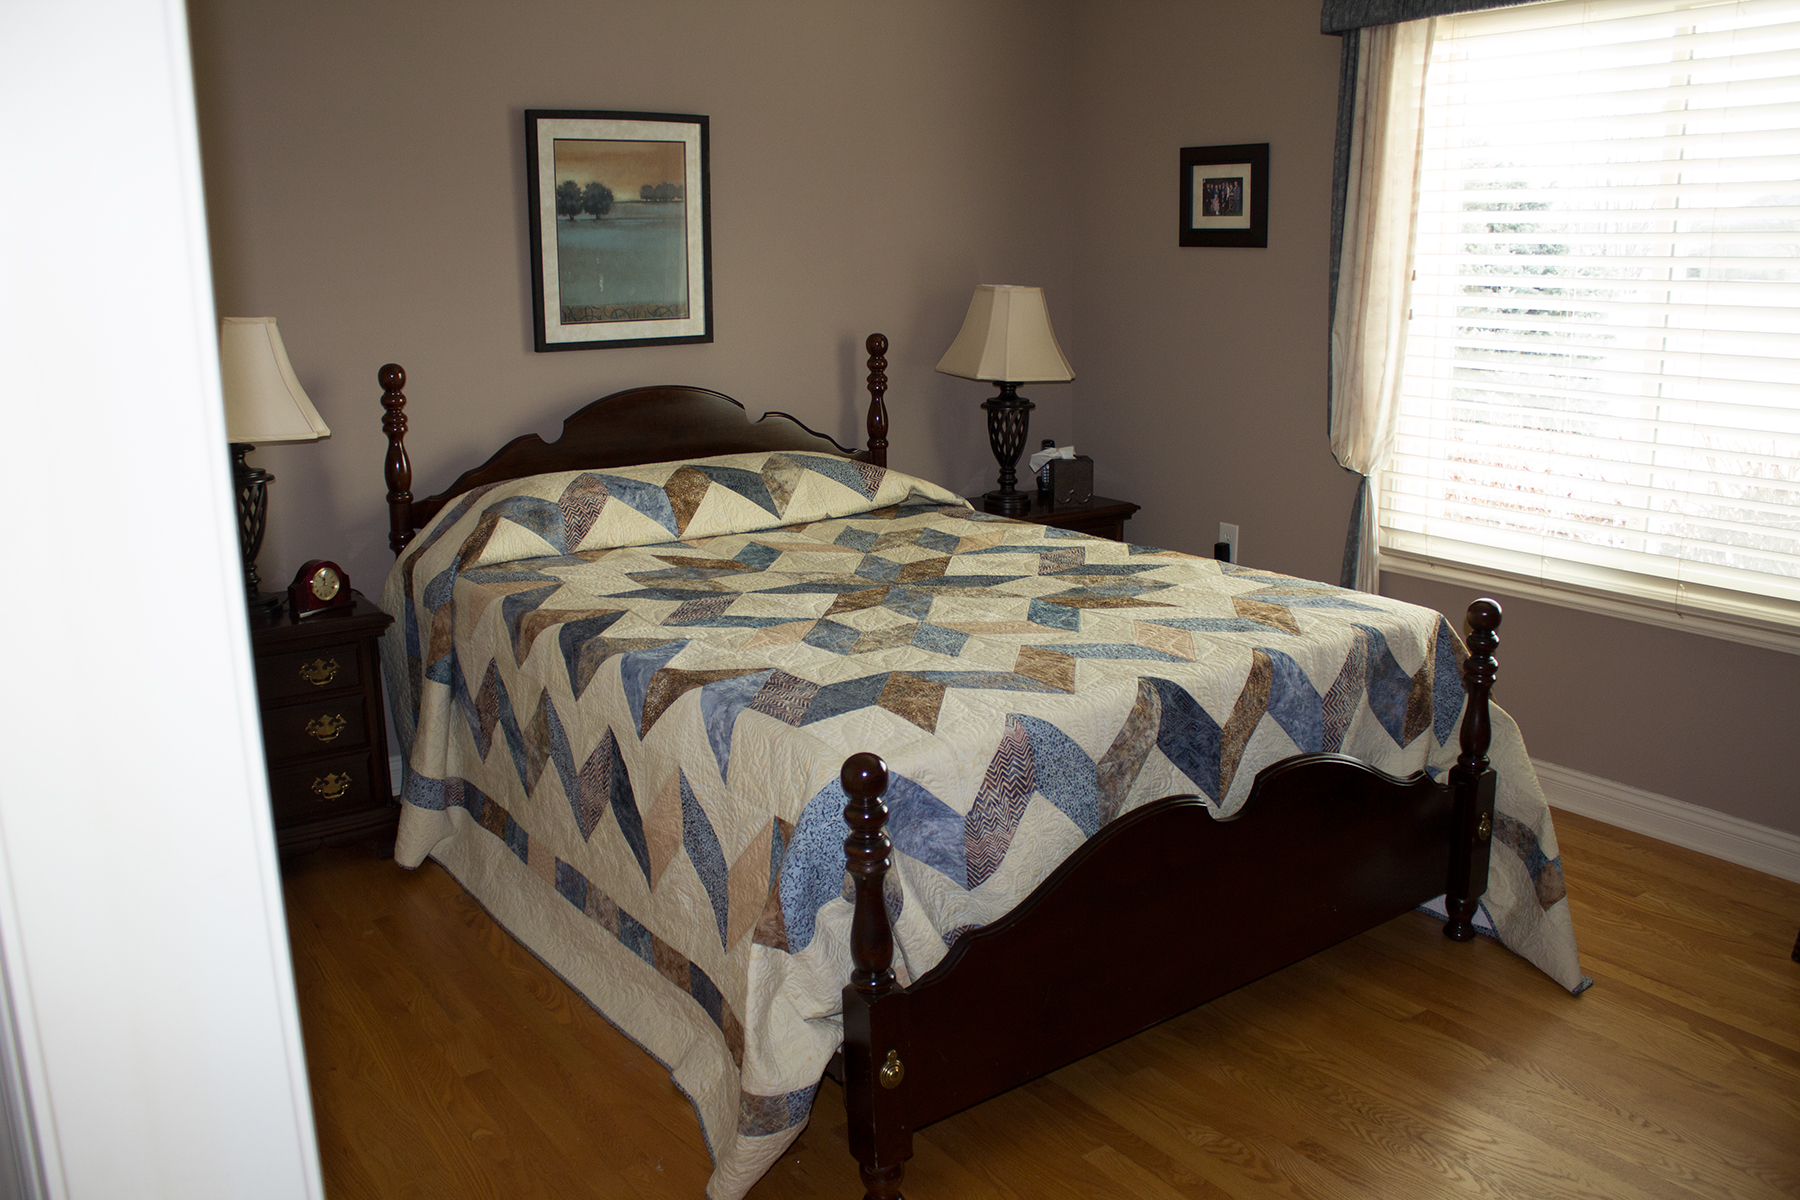
Carpenter Star
Carpenter Star – Piecing Section 1
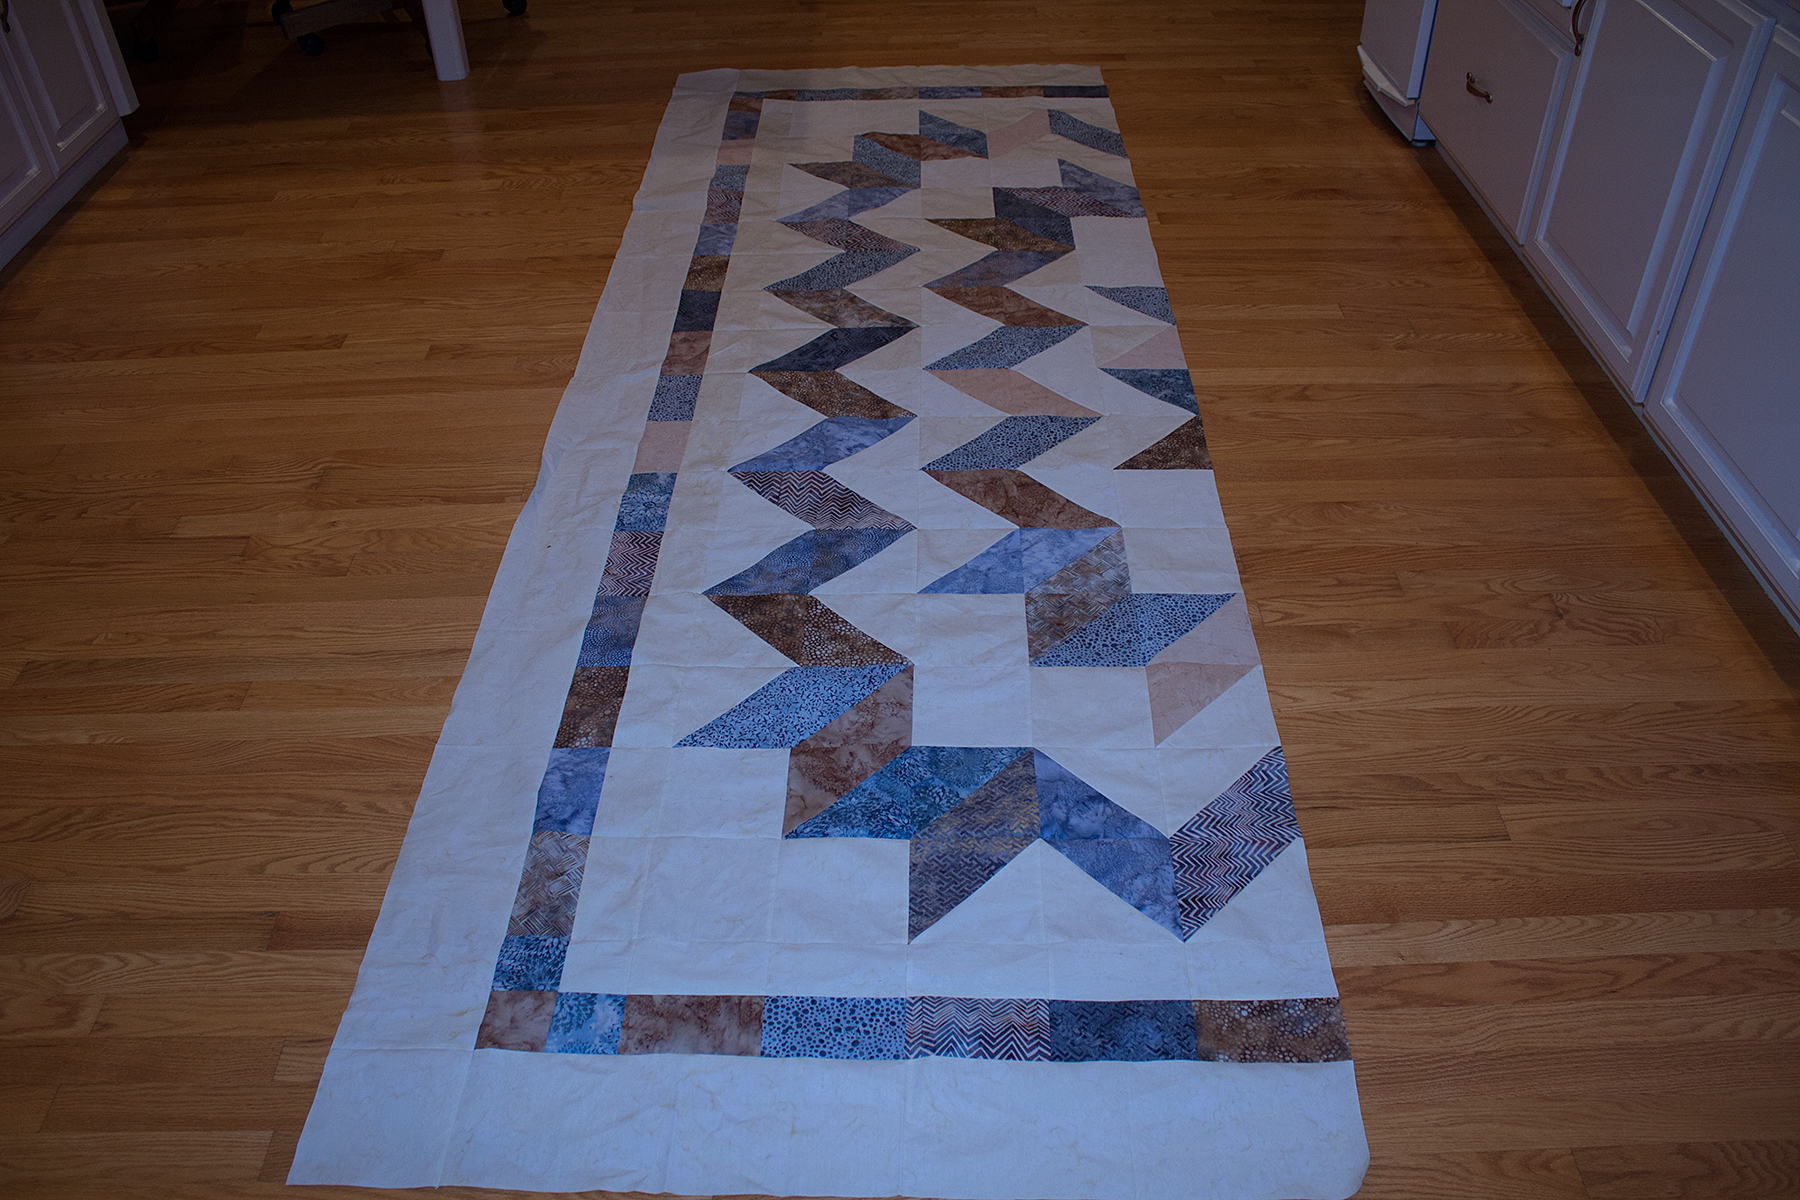
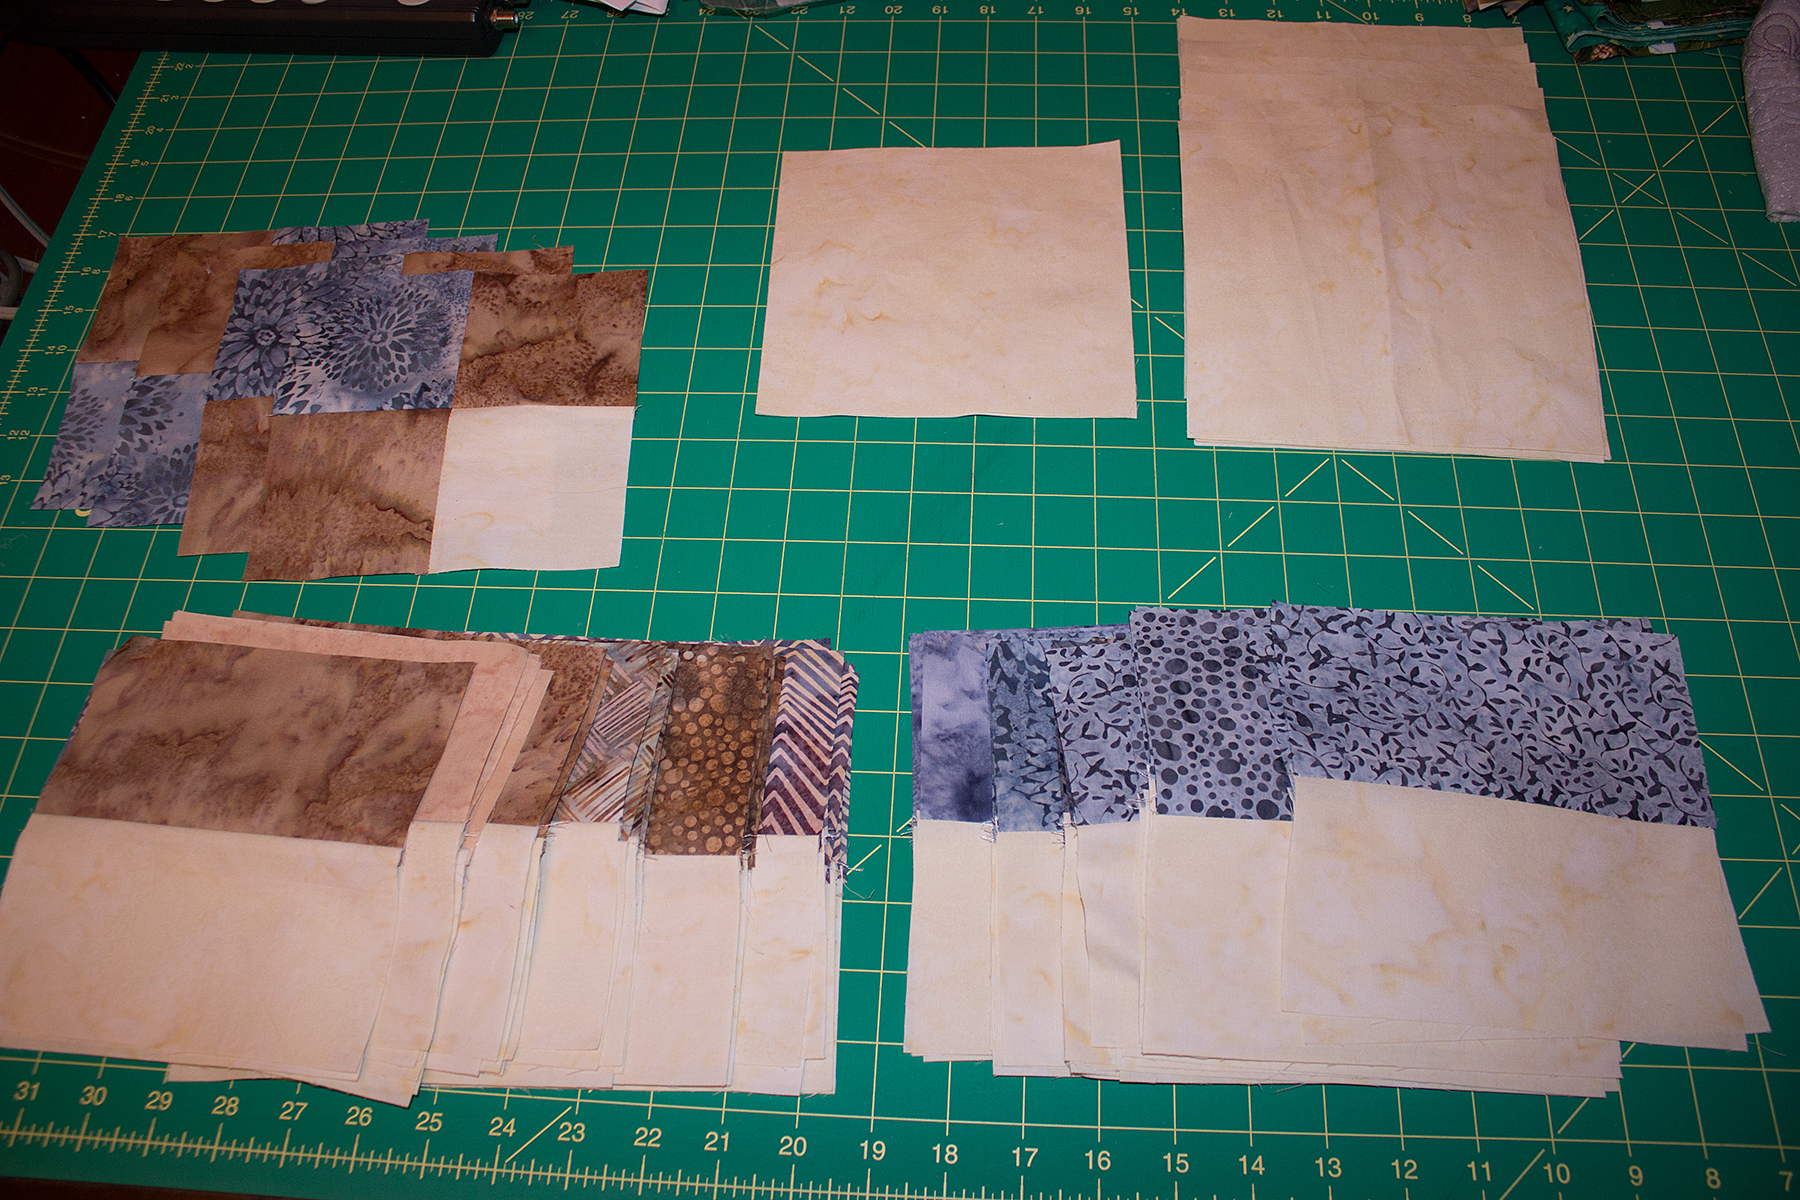
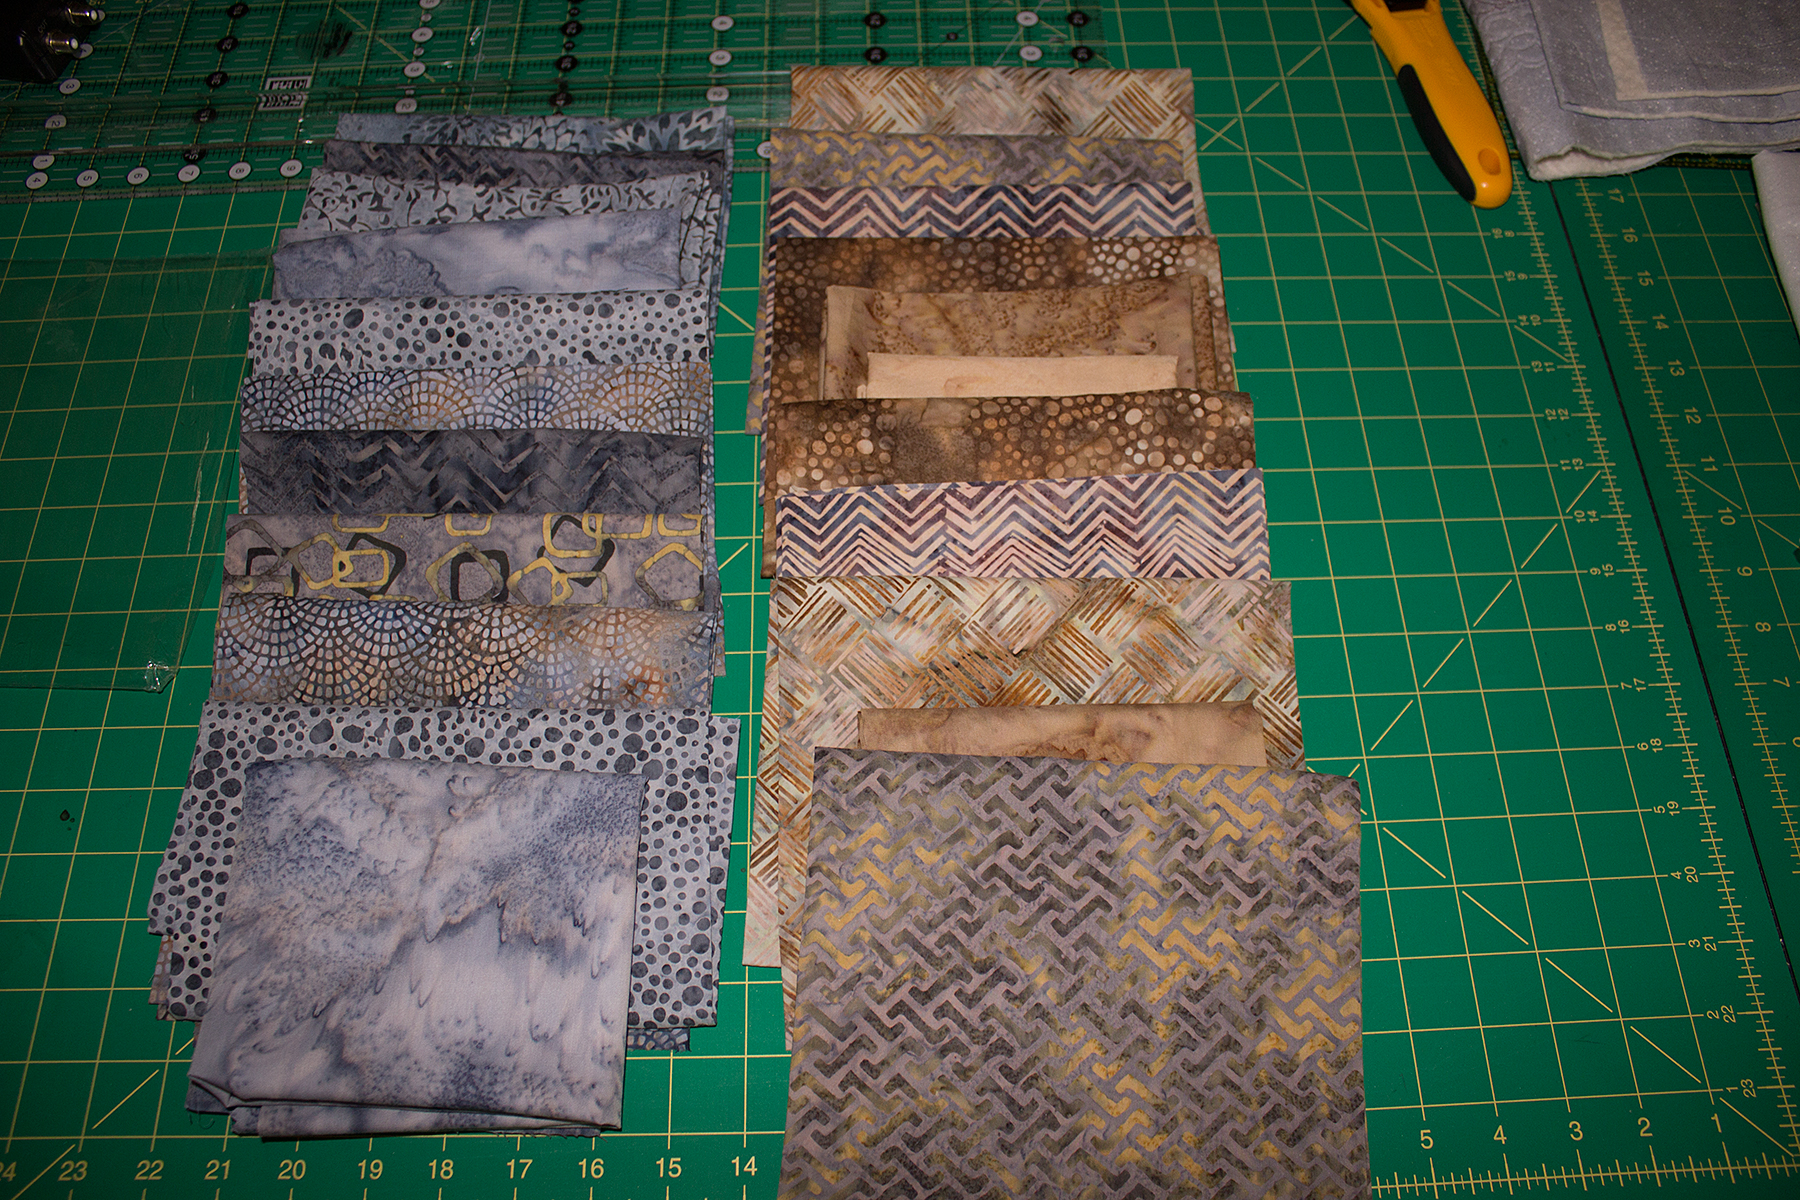
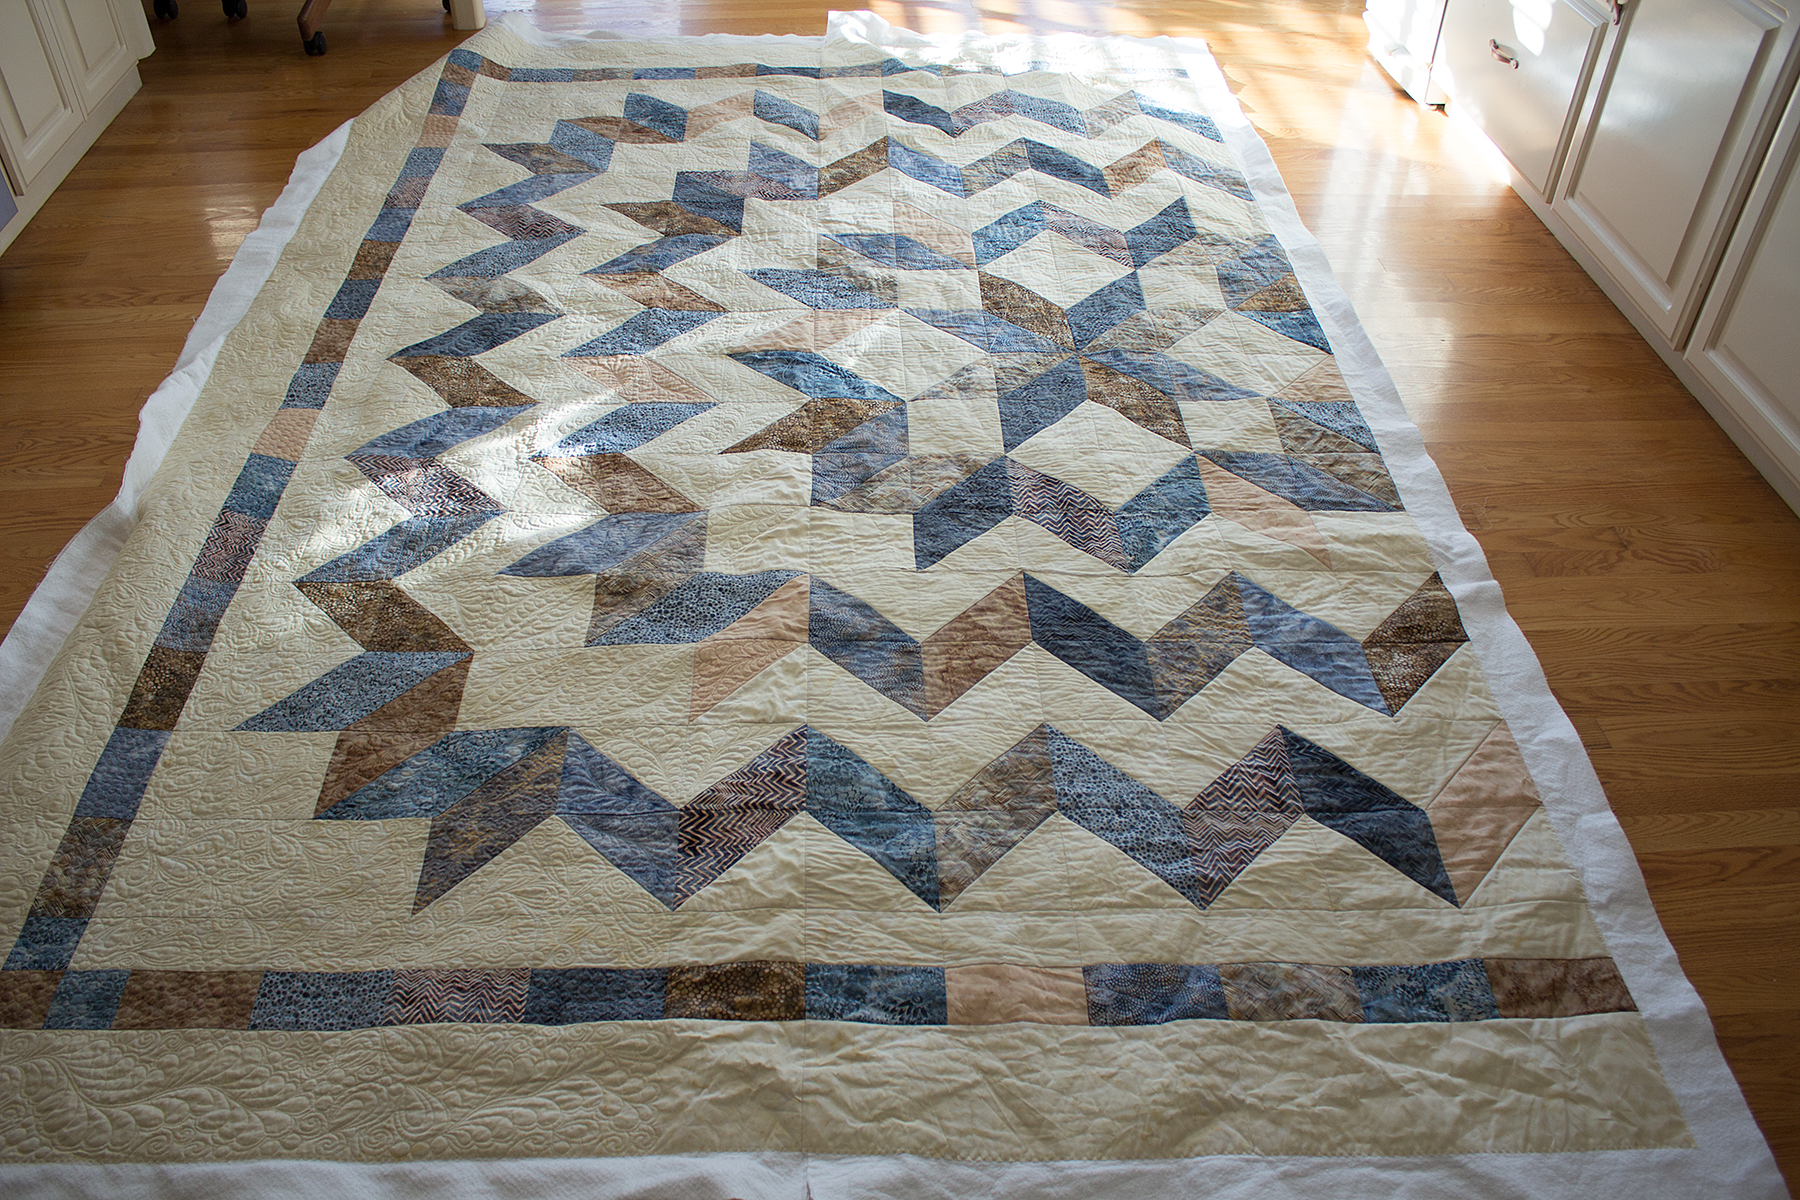
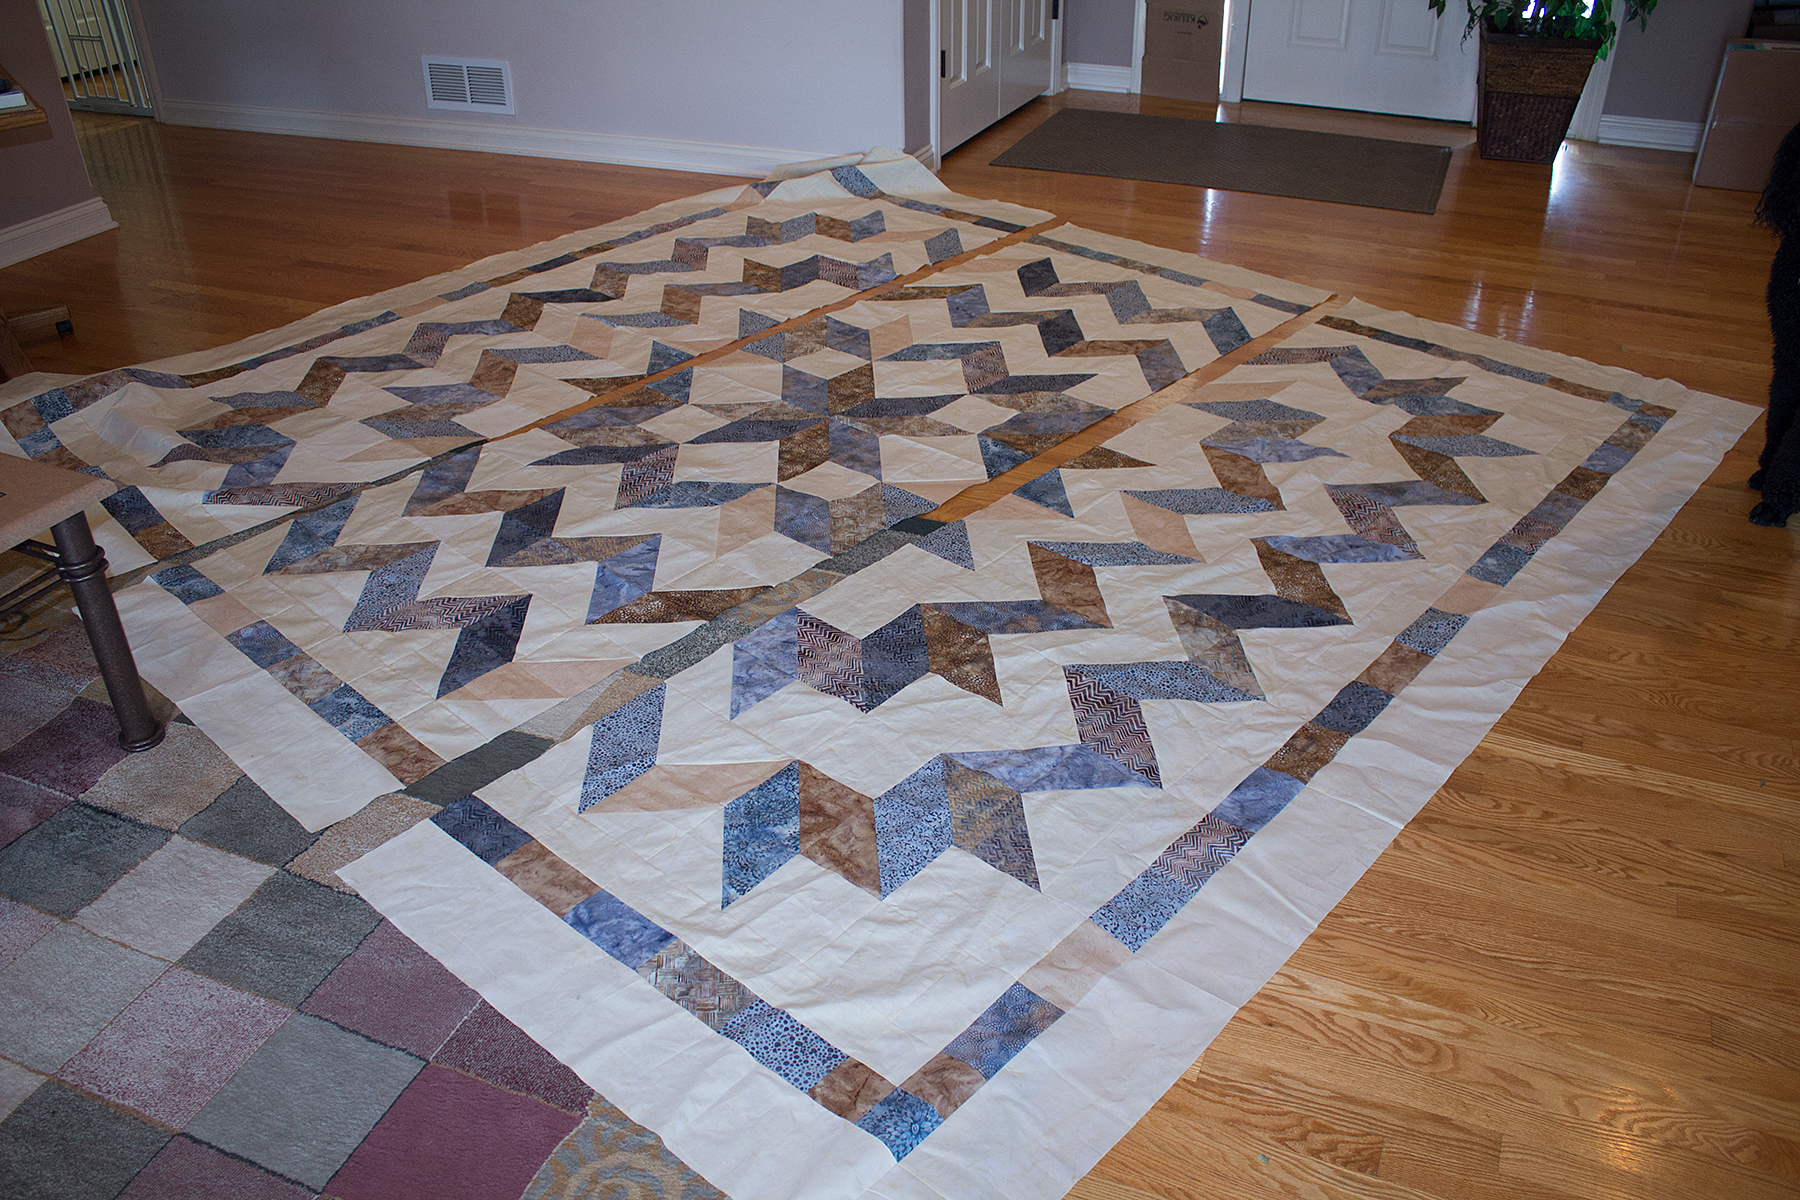
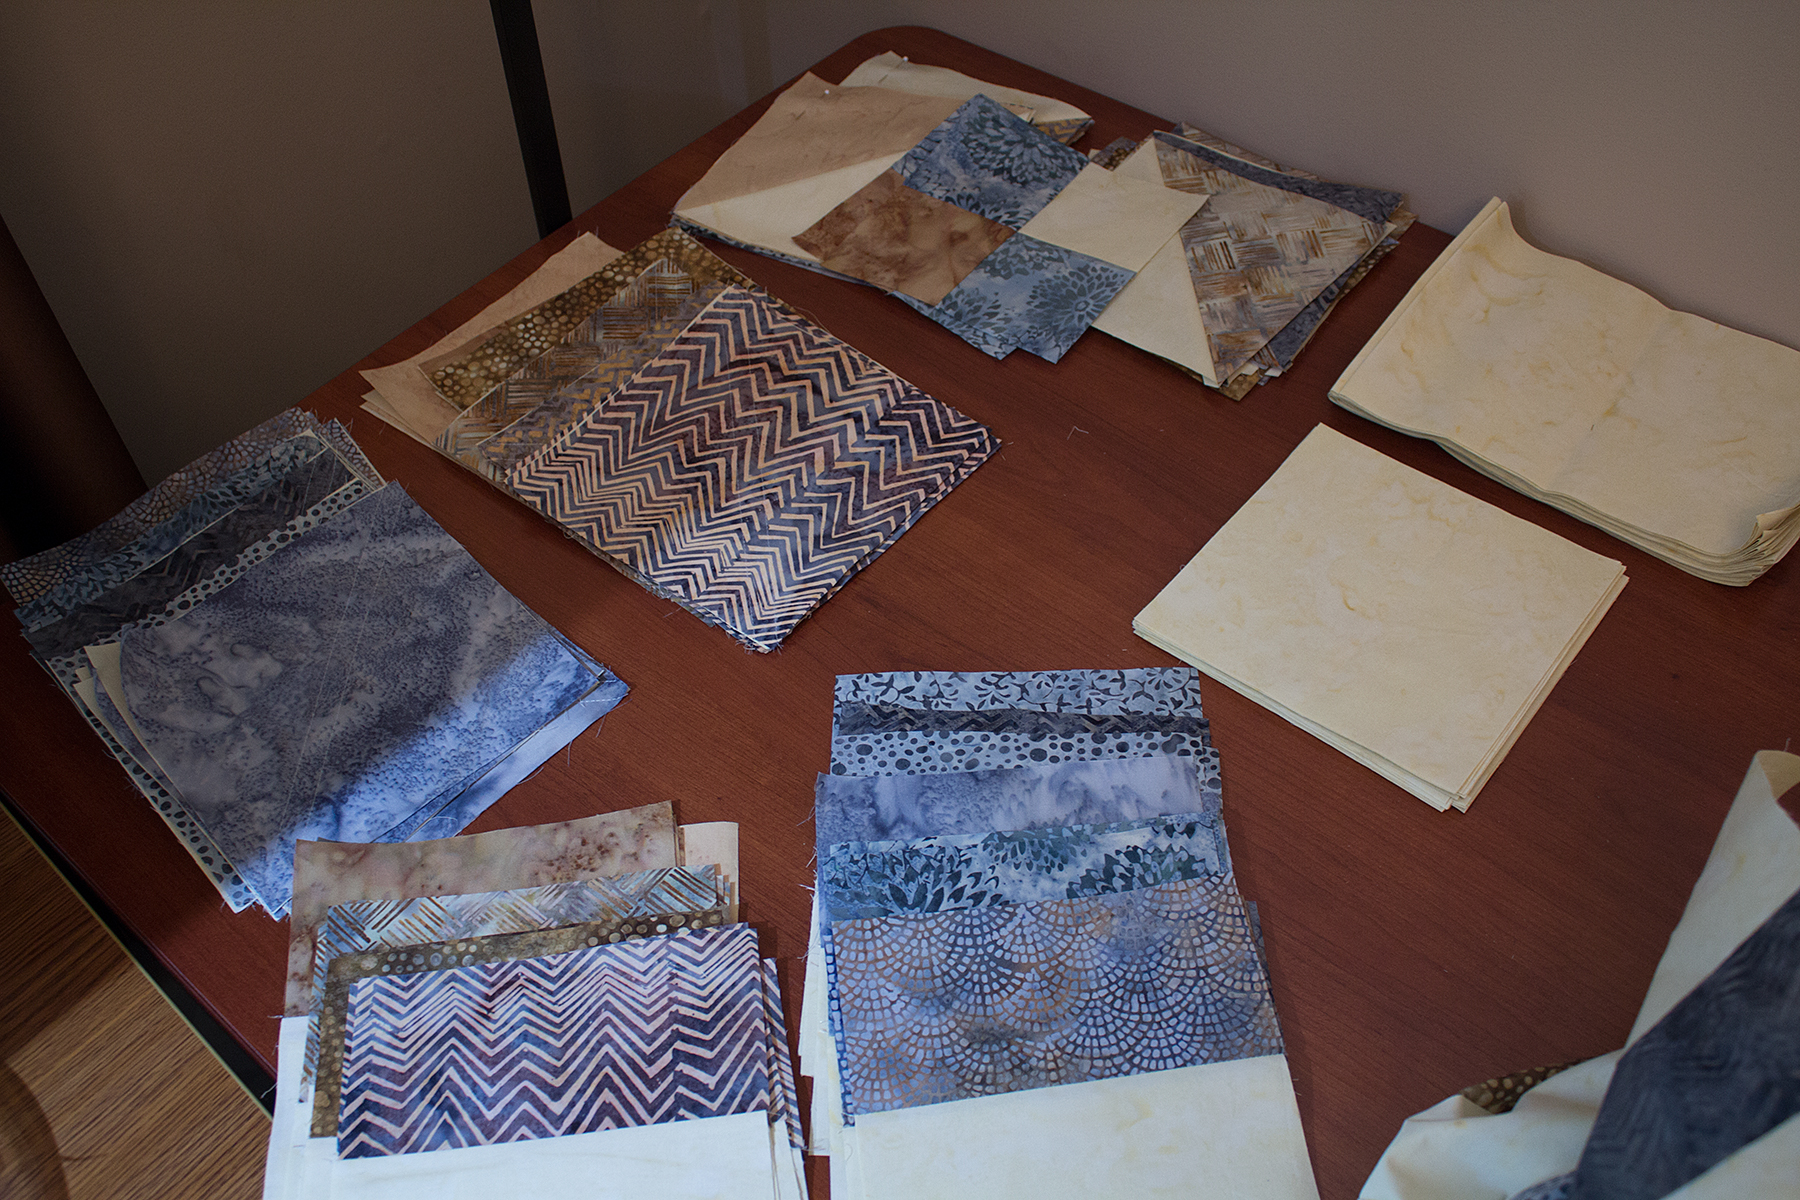 Section 1 is complete and Section 3 is lacking three rows and the side border. Next in line…Section 2. I am anxious to get started quilting but my organized chaos (blocks for section 2) are in the way. I separated all my blocks by type and then color. I made the decision not to block and separate my half square triangles until I was ready to use them in each row. This slowed down the piecing but insured I would not go insane blocking 128 blocks all at once. It also made it easier to keep track of my fabric inventory as it was being used up.
Tips learned while piecing this section
- Starching fabric before cutting is awesome! It made a world of difference in the cutting, piecing, and pressing of seams. I will be starching my fabric on all future quilts!
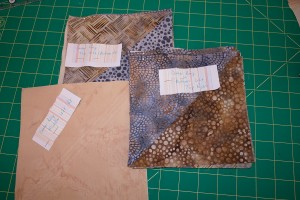
- Once I started using my ring corner block sets, I pinned a label to the remaining blocks in the set to avoid confusion. There are a couple of occasions where two sets were being assembled row by row at the same time and noting the ring and corner on the label eliminate confusion.
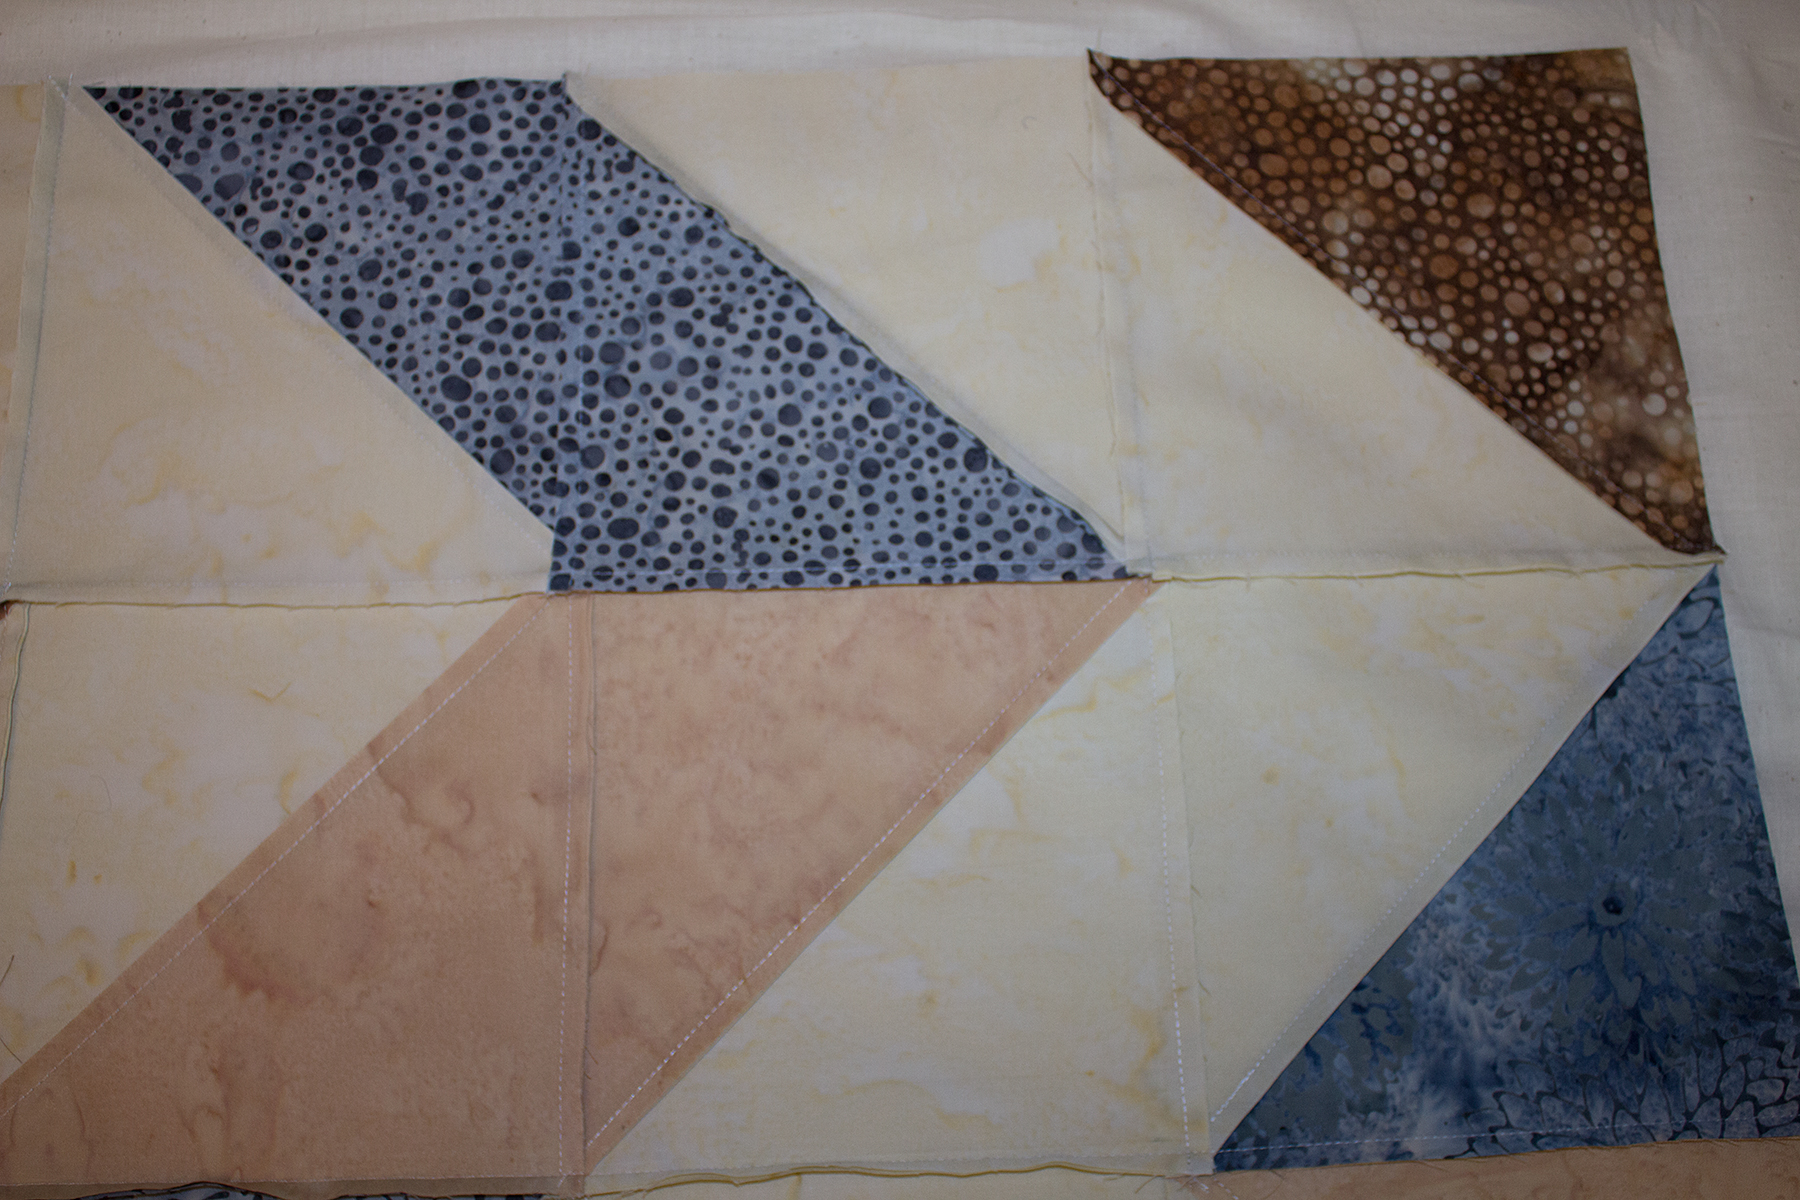
- Pressing seams for nesting
- I chose to press towards blue fabrics and away from beige fabrics in the individual blocks.
- Blocks in each row were pressed in one direction and alternated directions row by row.
- Section 1 rows were pressed down, Section 2 rows will be pressed up, and section 3 rows will be pressed down