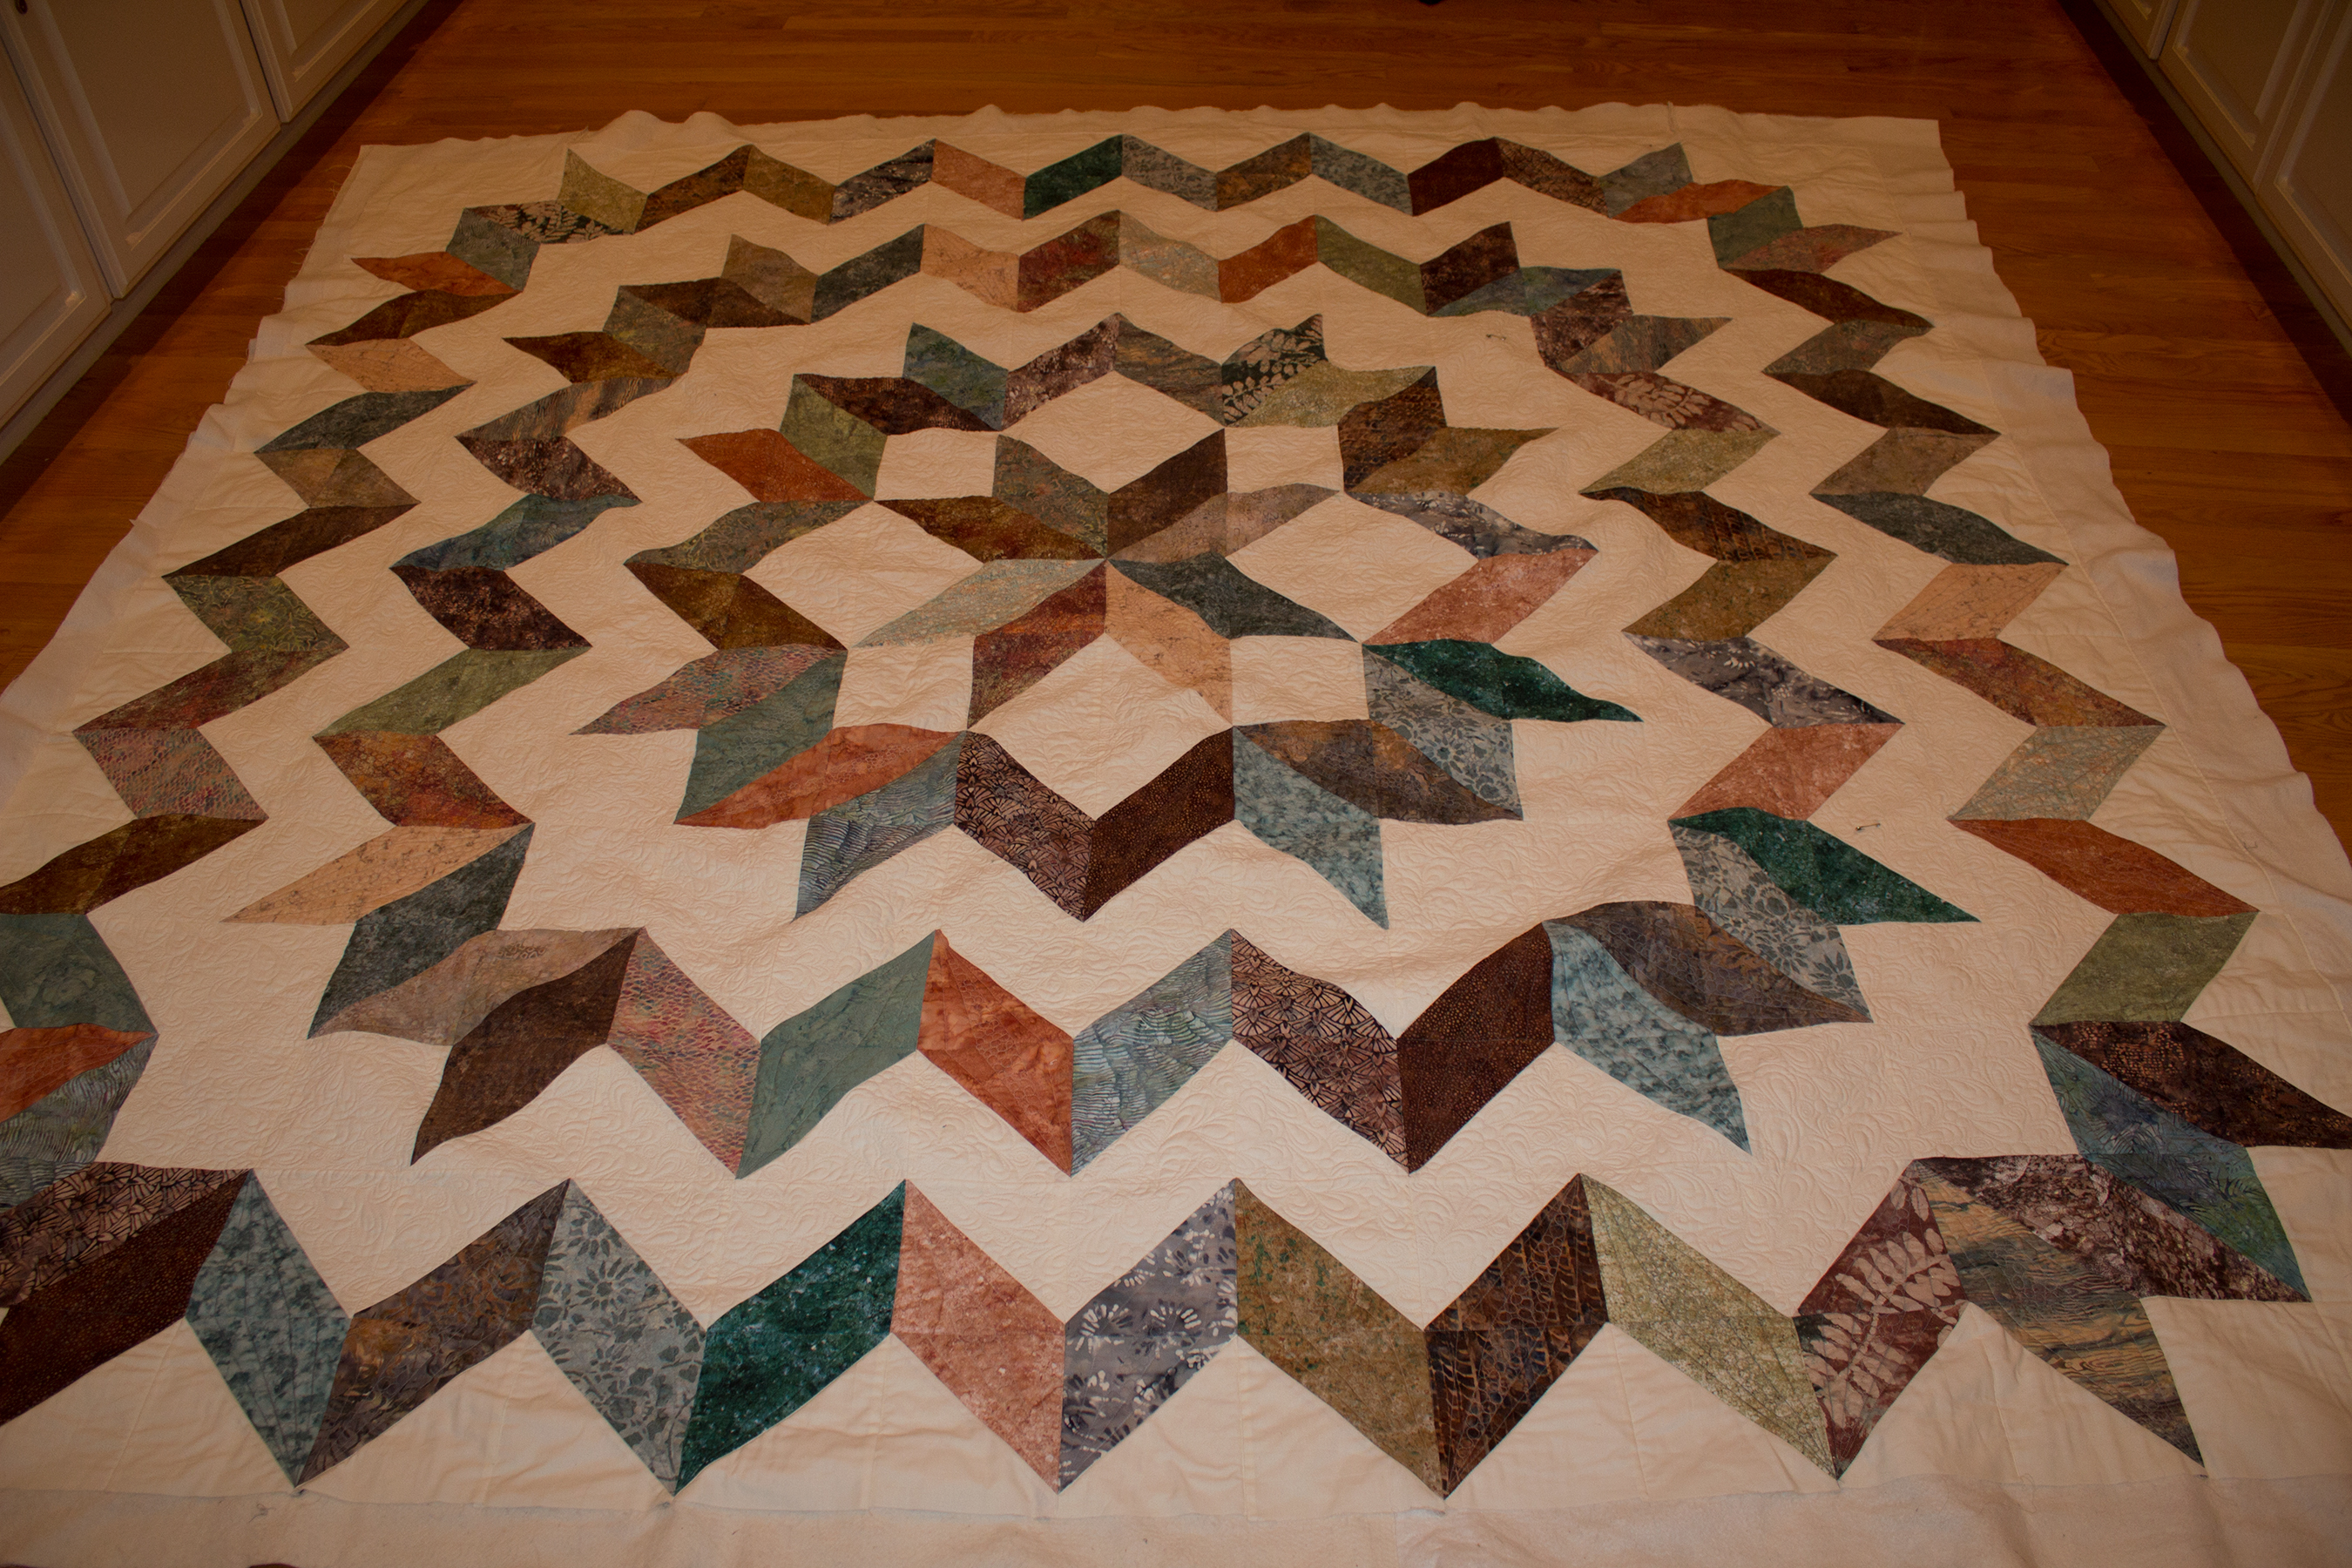
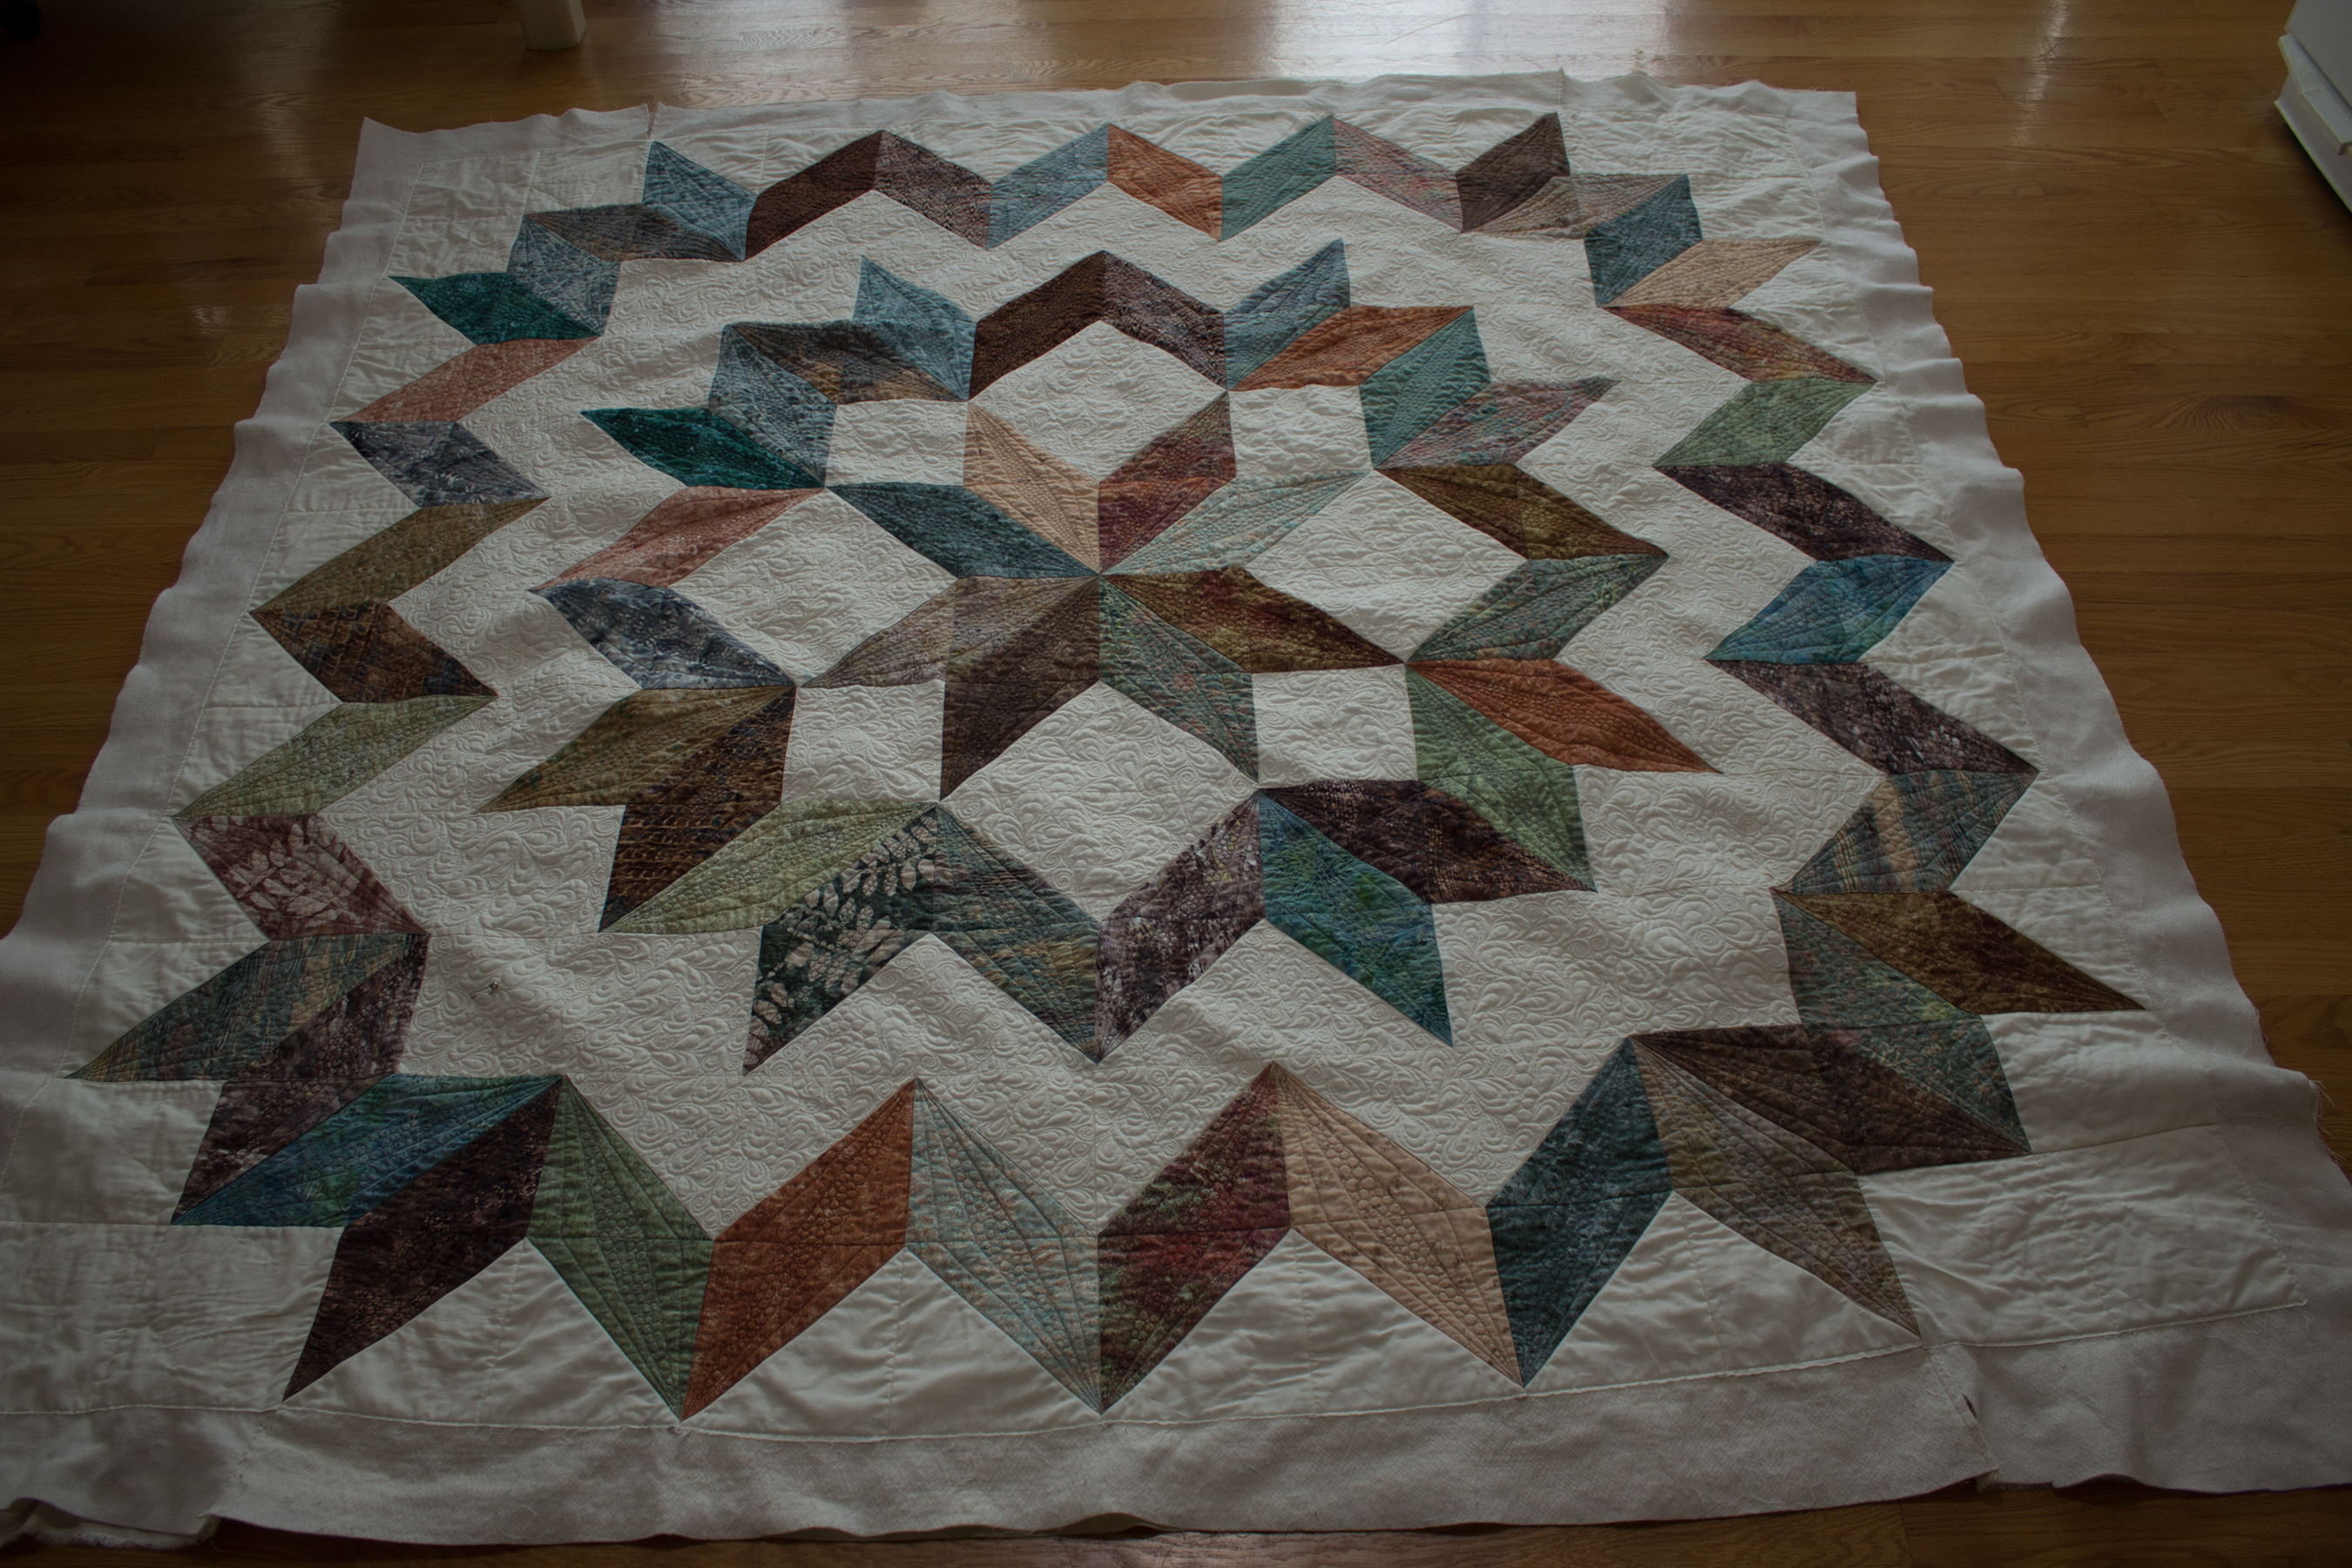
Carpenter Star – Adding Section 2
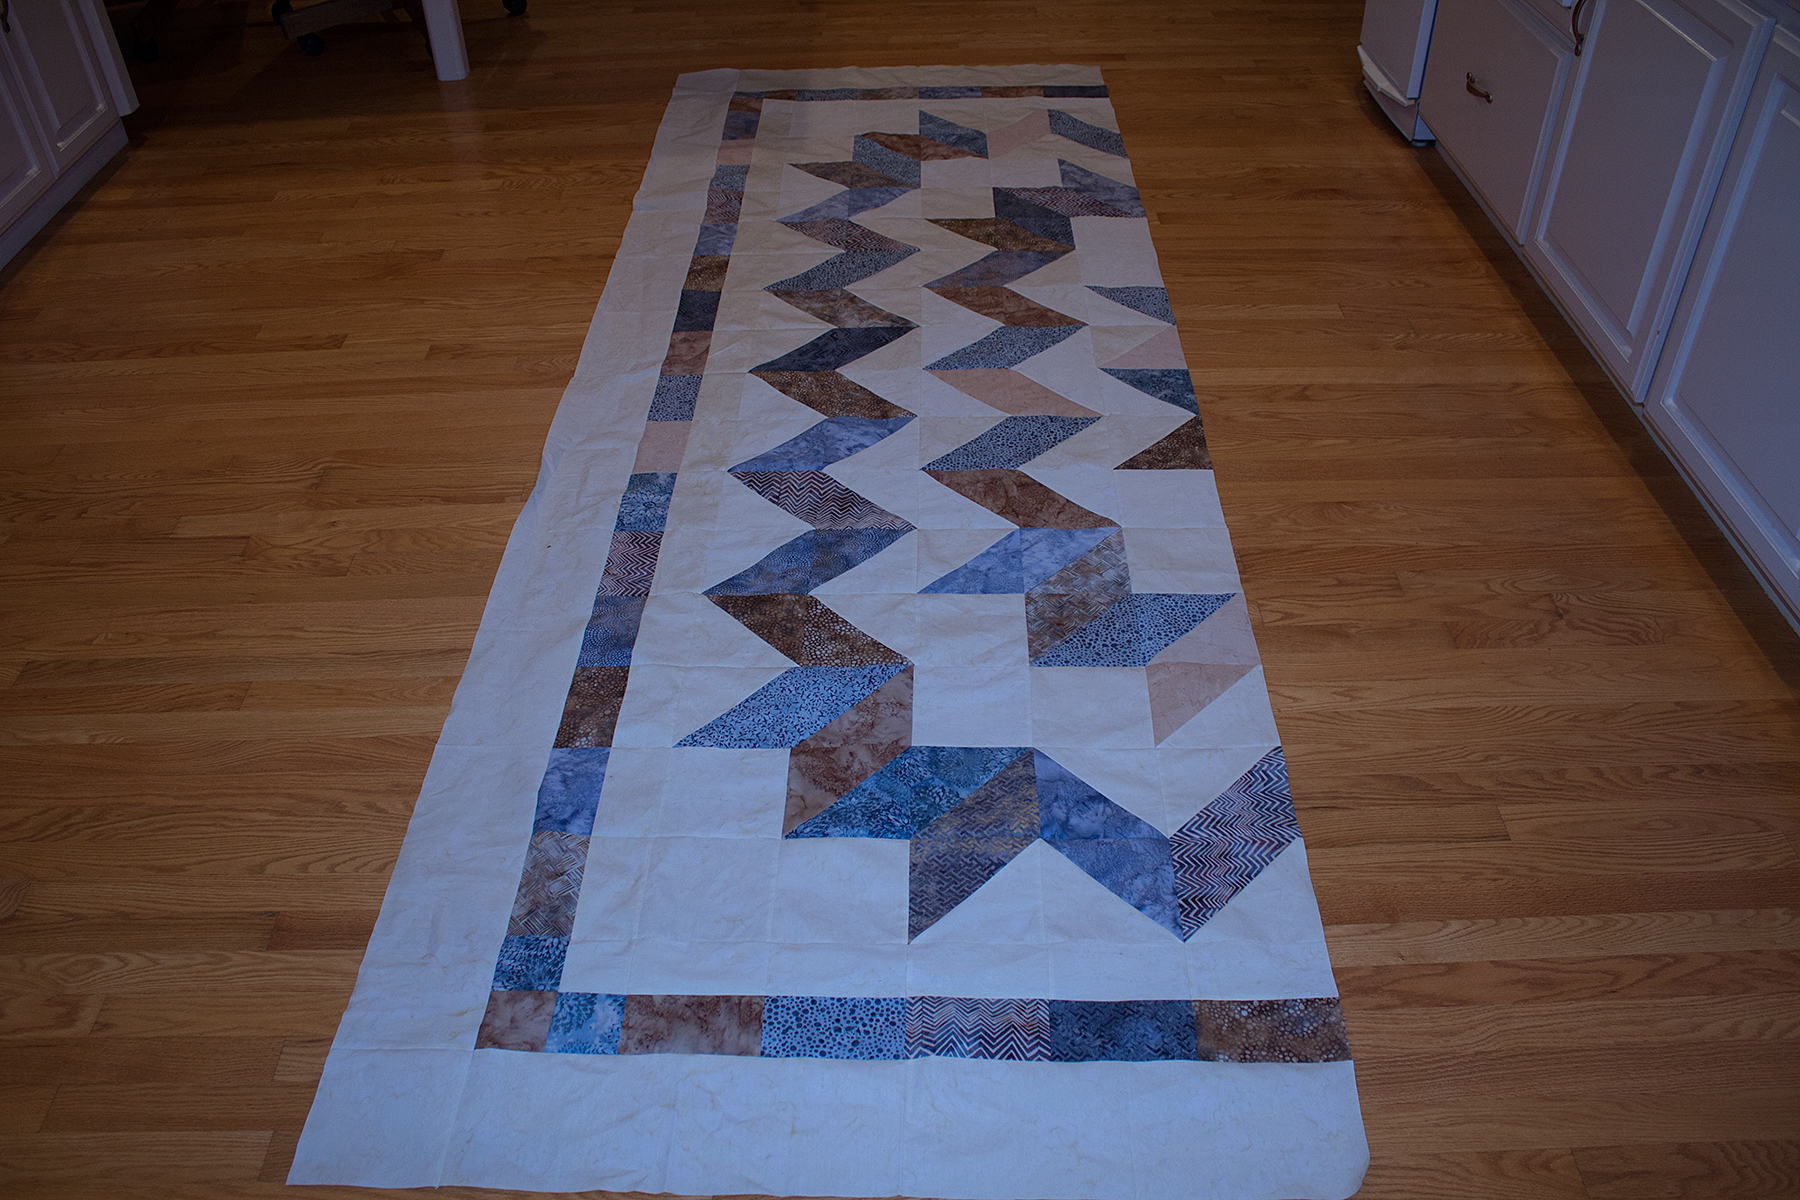
I’ve finished the quilting for Section 1. I started out by stitching in the ditch of the lengthwise seams. Once that was done I repeated the process across the width. This was a bit trickier since the piece is so long and I’m now working with it sideways. I worked my way towards the middle seam by seam. Then I flipped it and started at the other end. Next I worked on all the diagonal seams. Finally, I basted the outer edge of the quilt. (Chloe chose to photo bomb the one pic I got of the entire section after stitching in the ditch.)
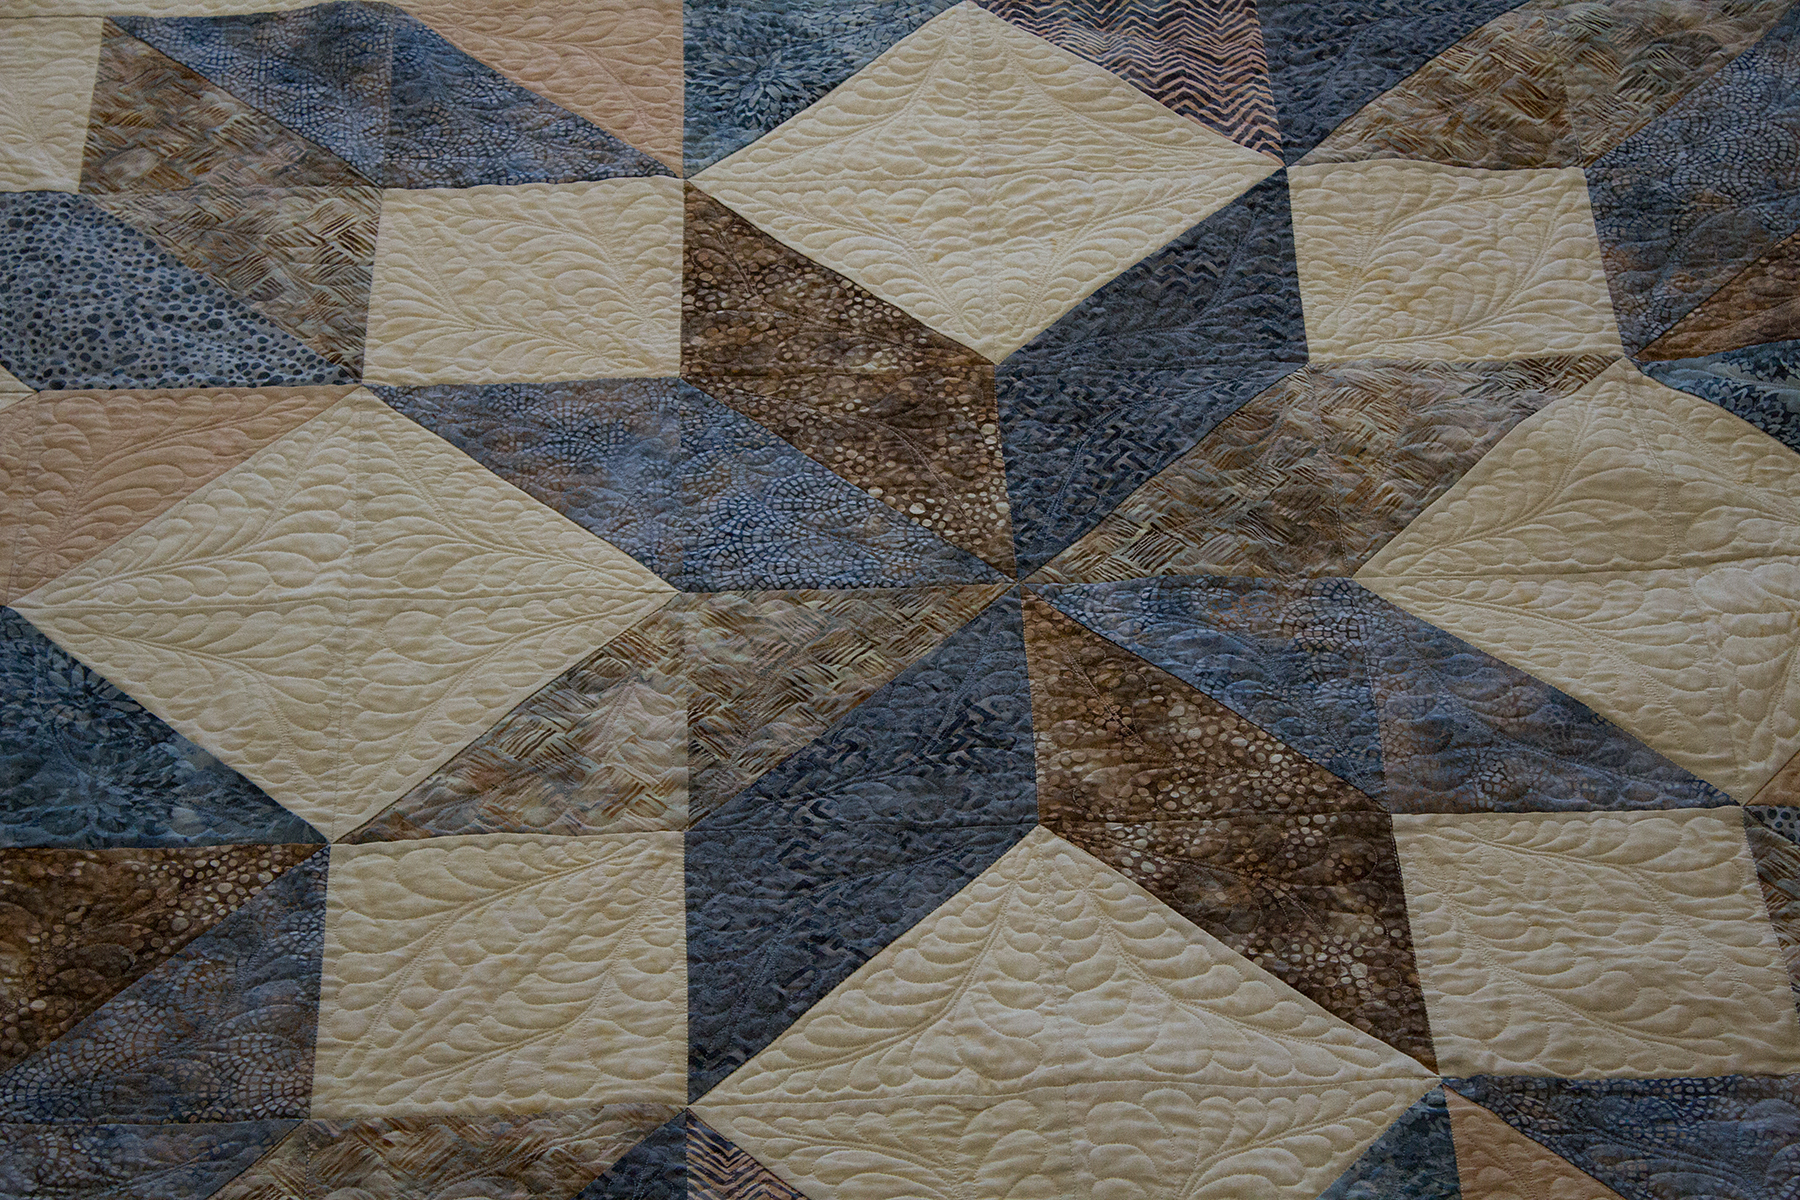
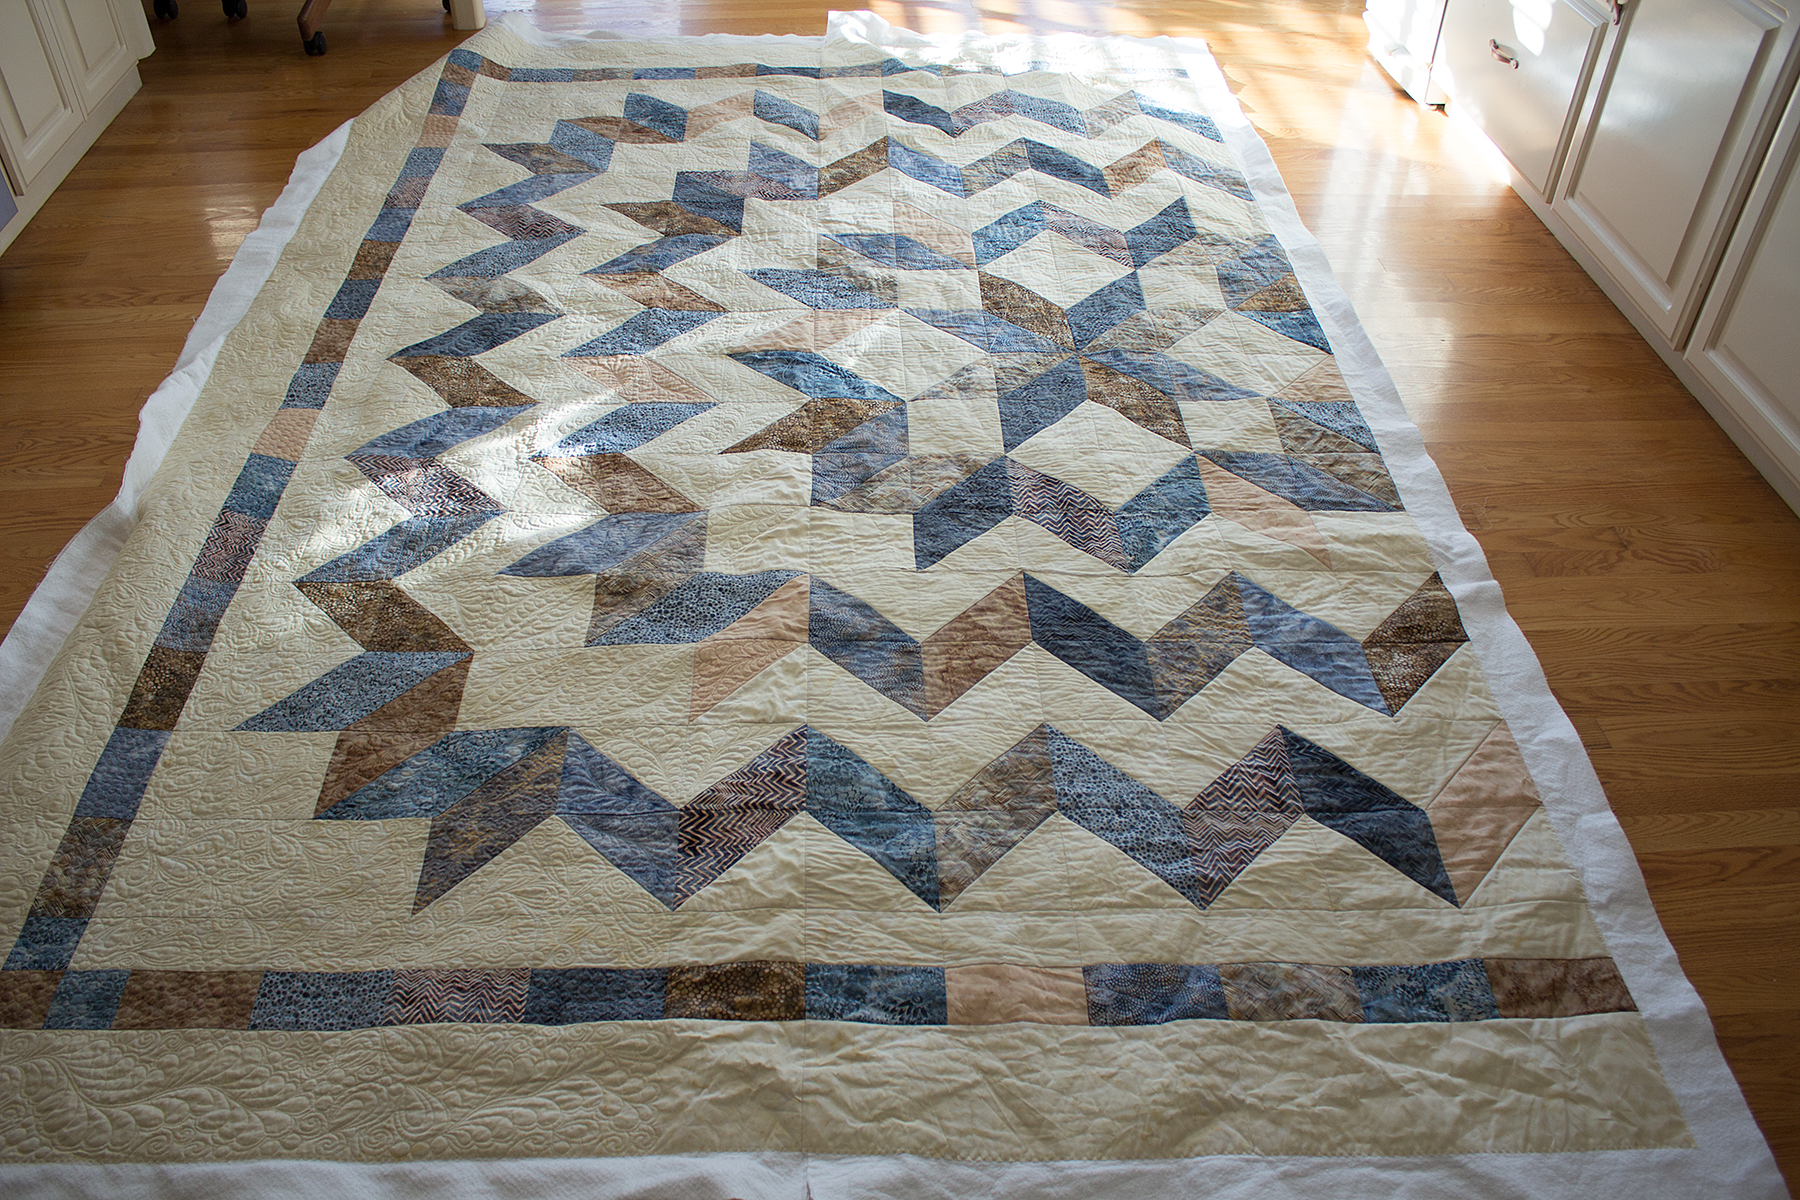
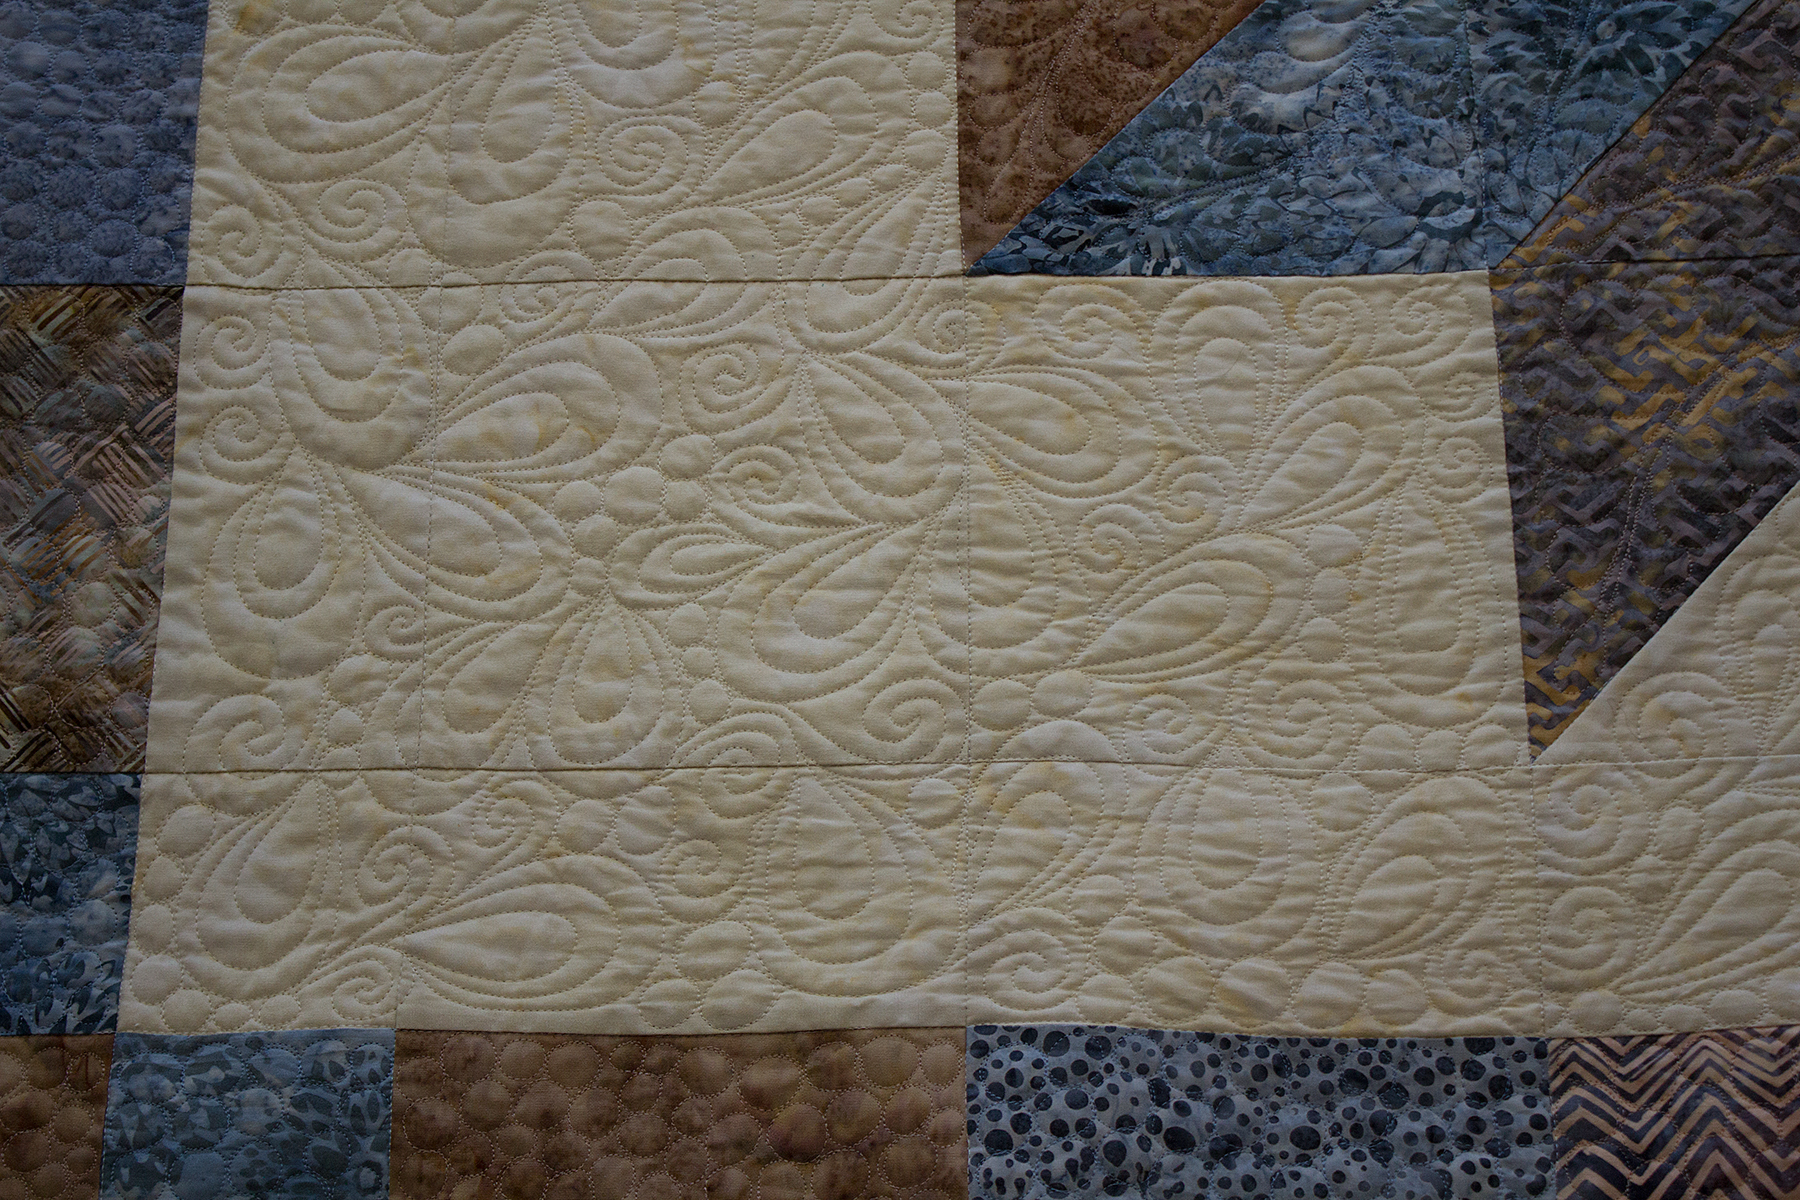
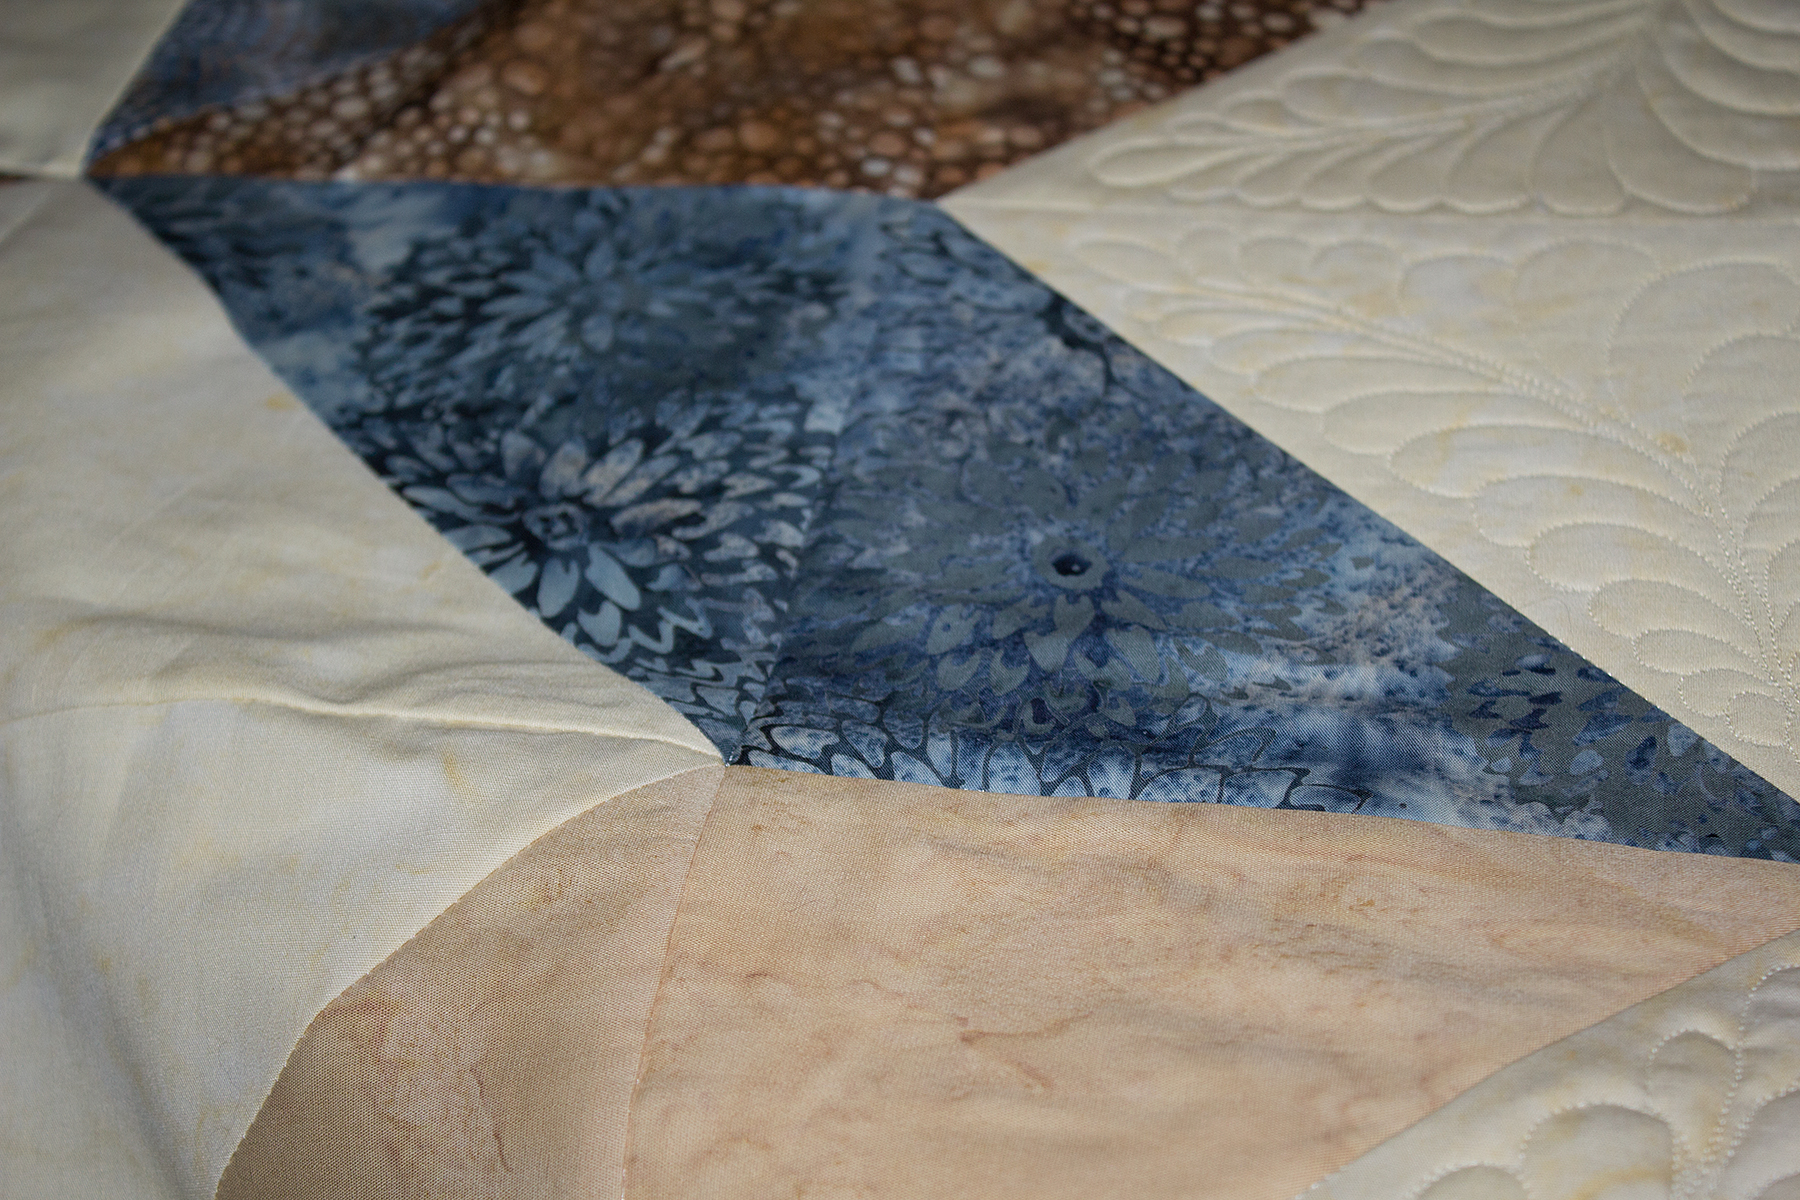
Then it was time for the fun part. The outer border is a combination of paisleys, swirls, feathers, and pebbles.
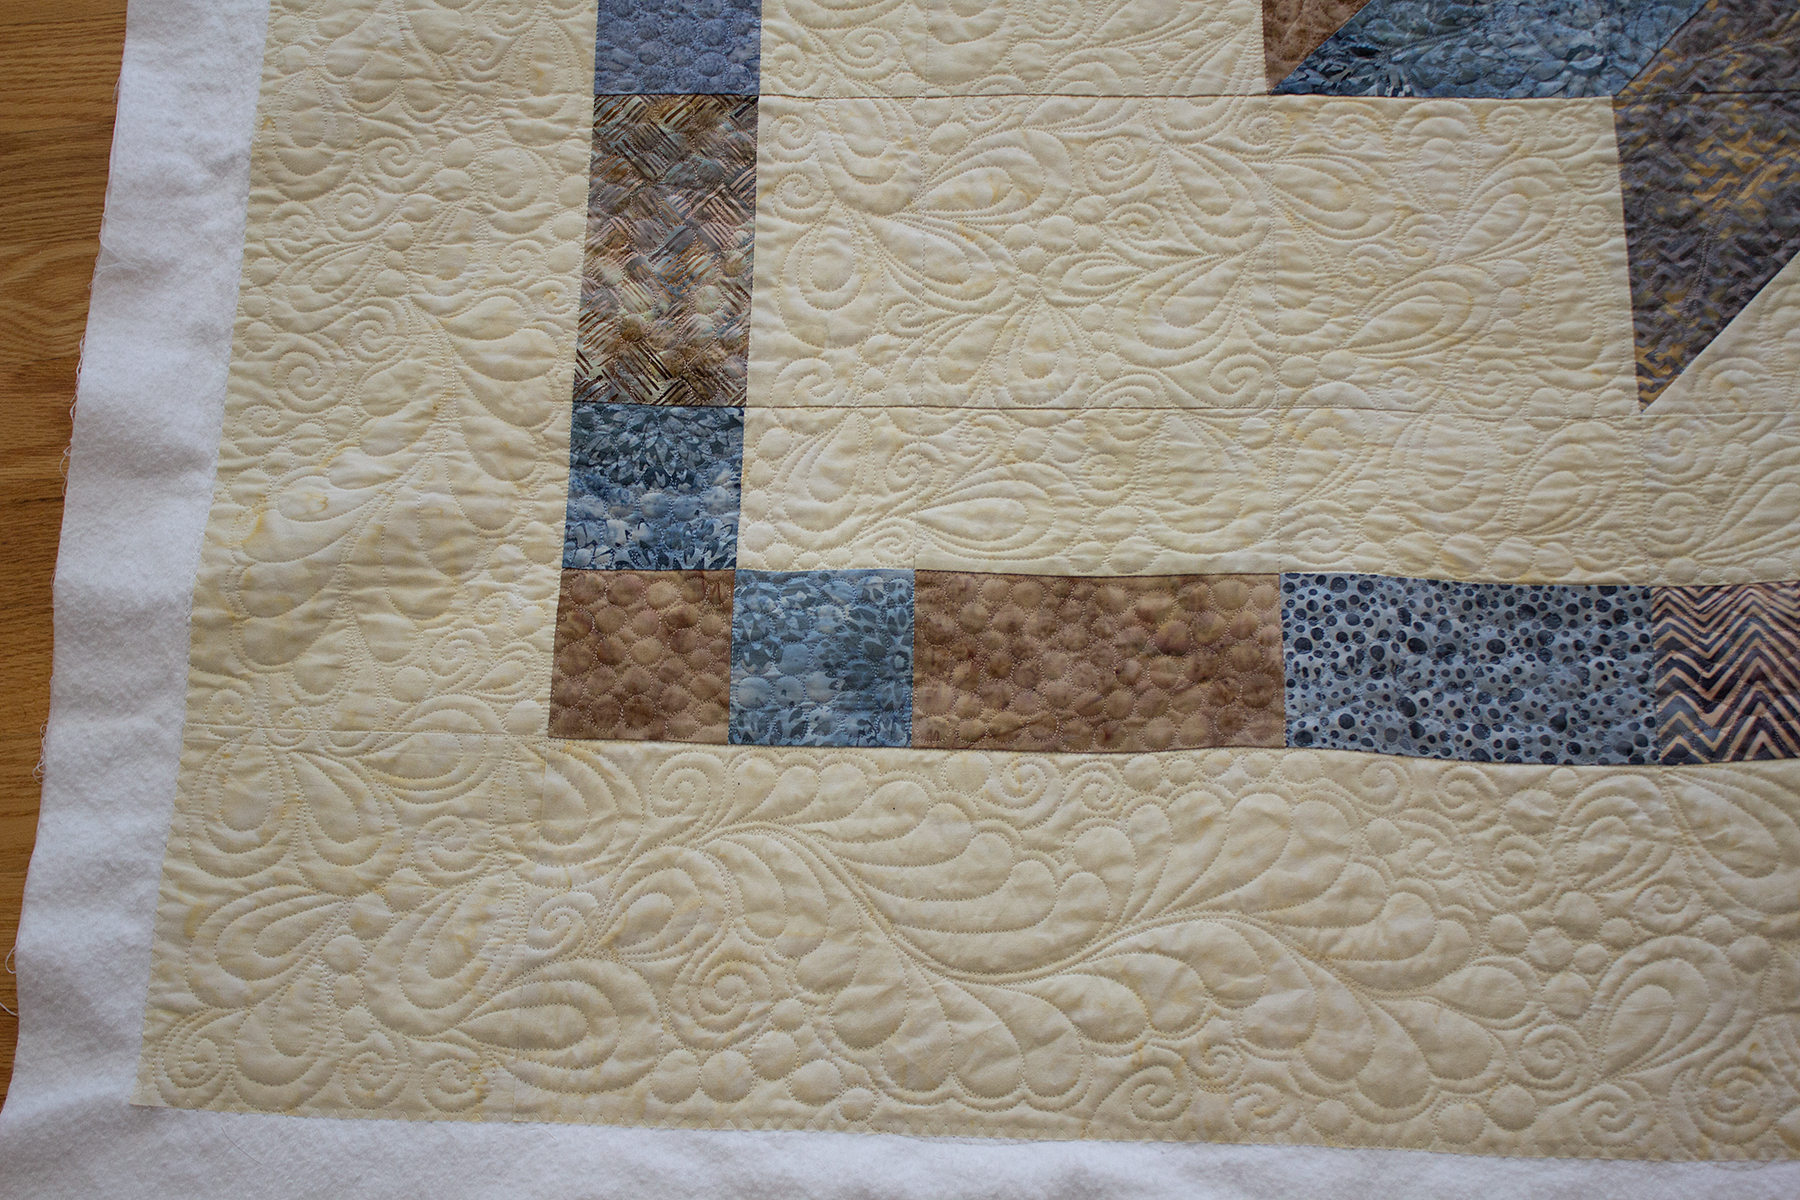
The middle border is all pebbles done with thread matching the color of each rectangle.
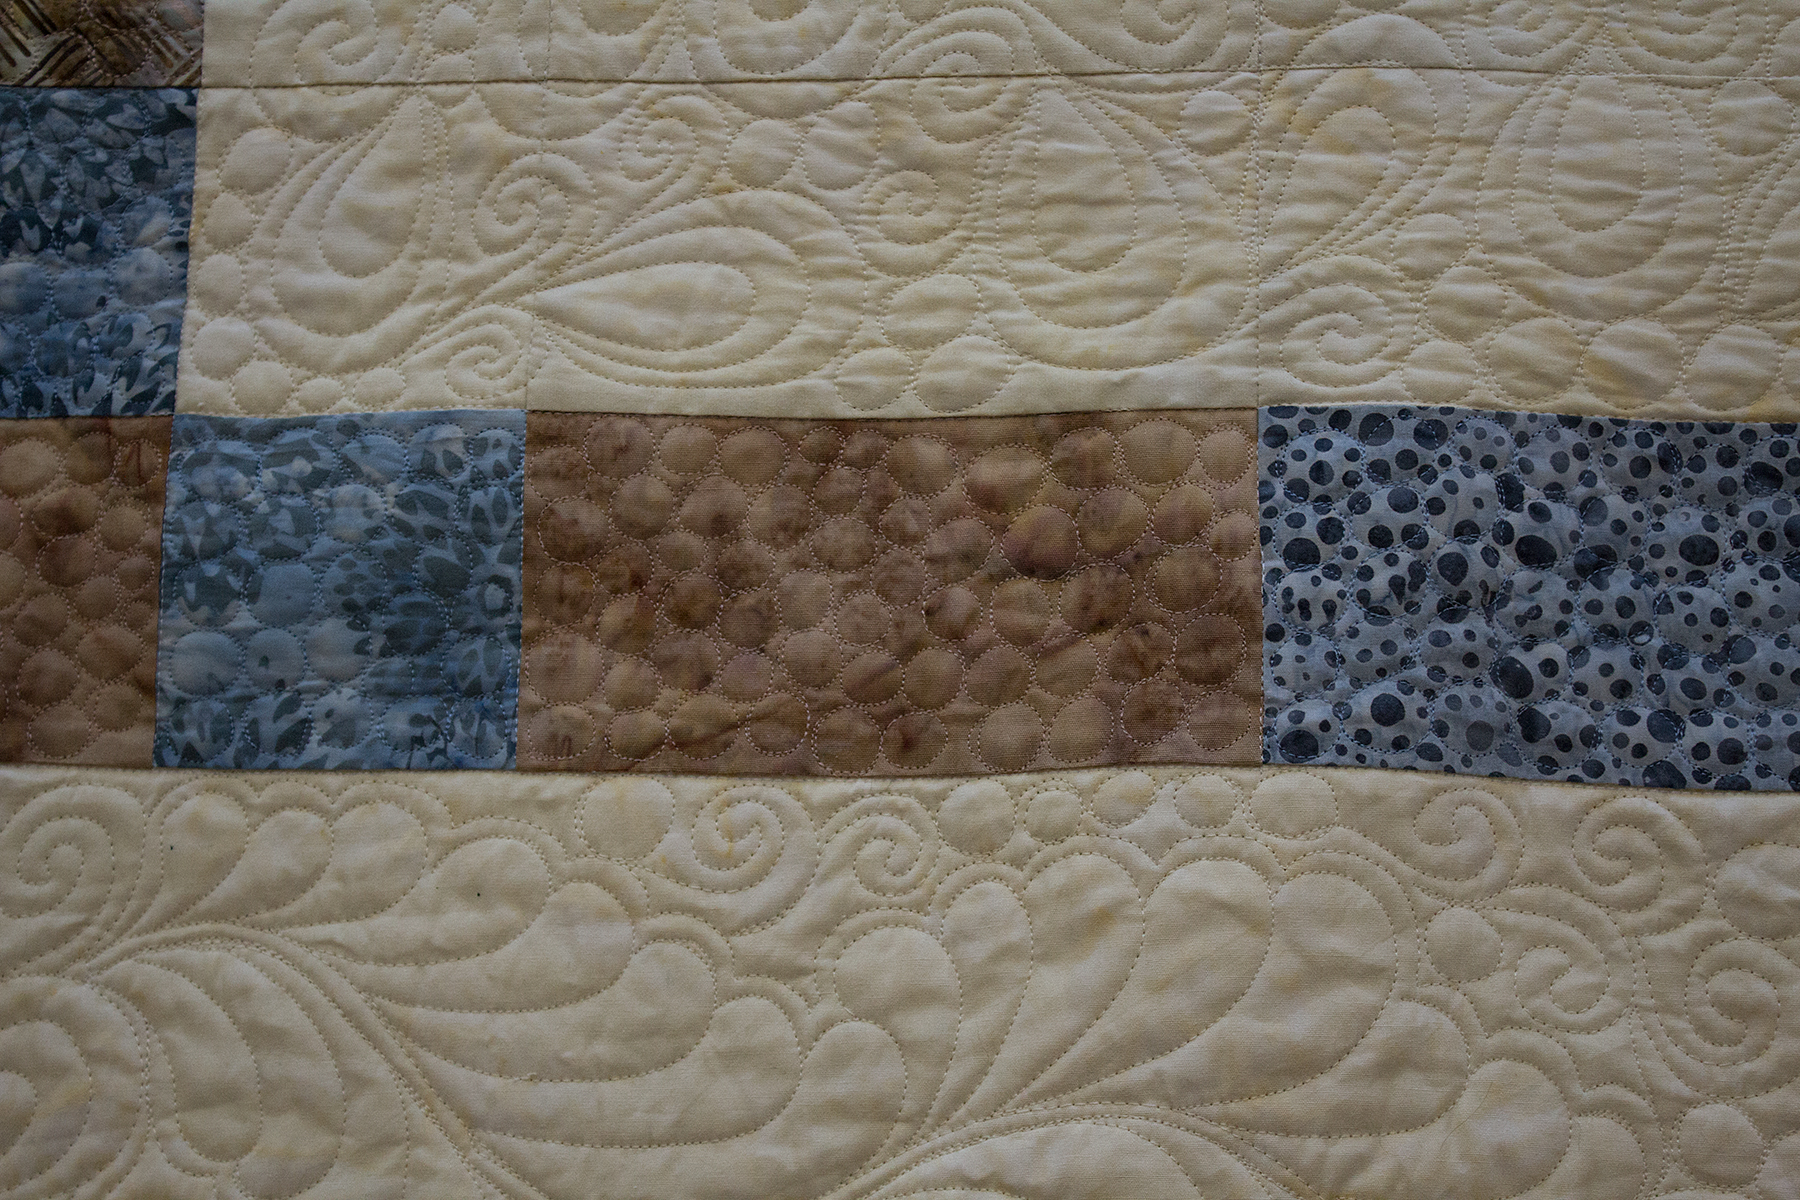
The inner border is a combination of paisleys, swirls, and pebbles.
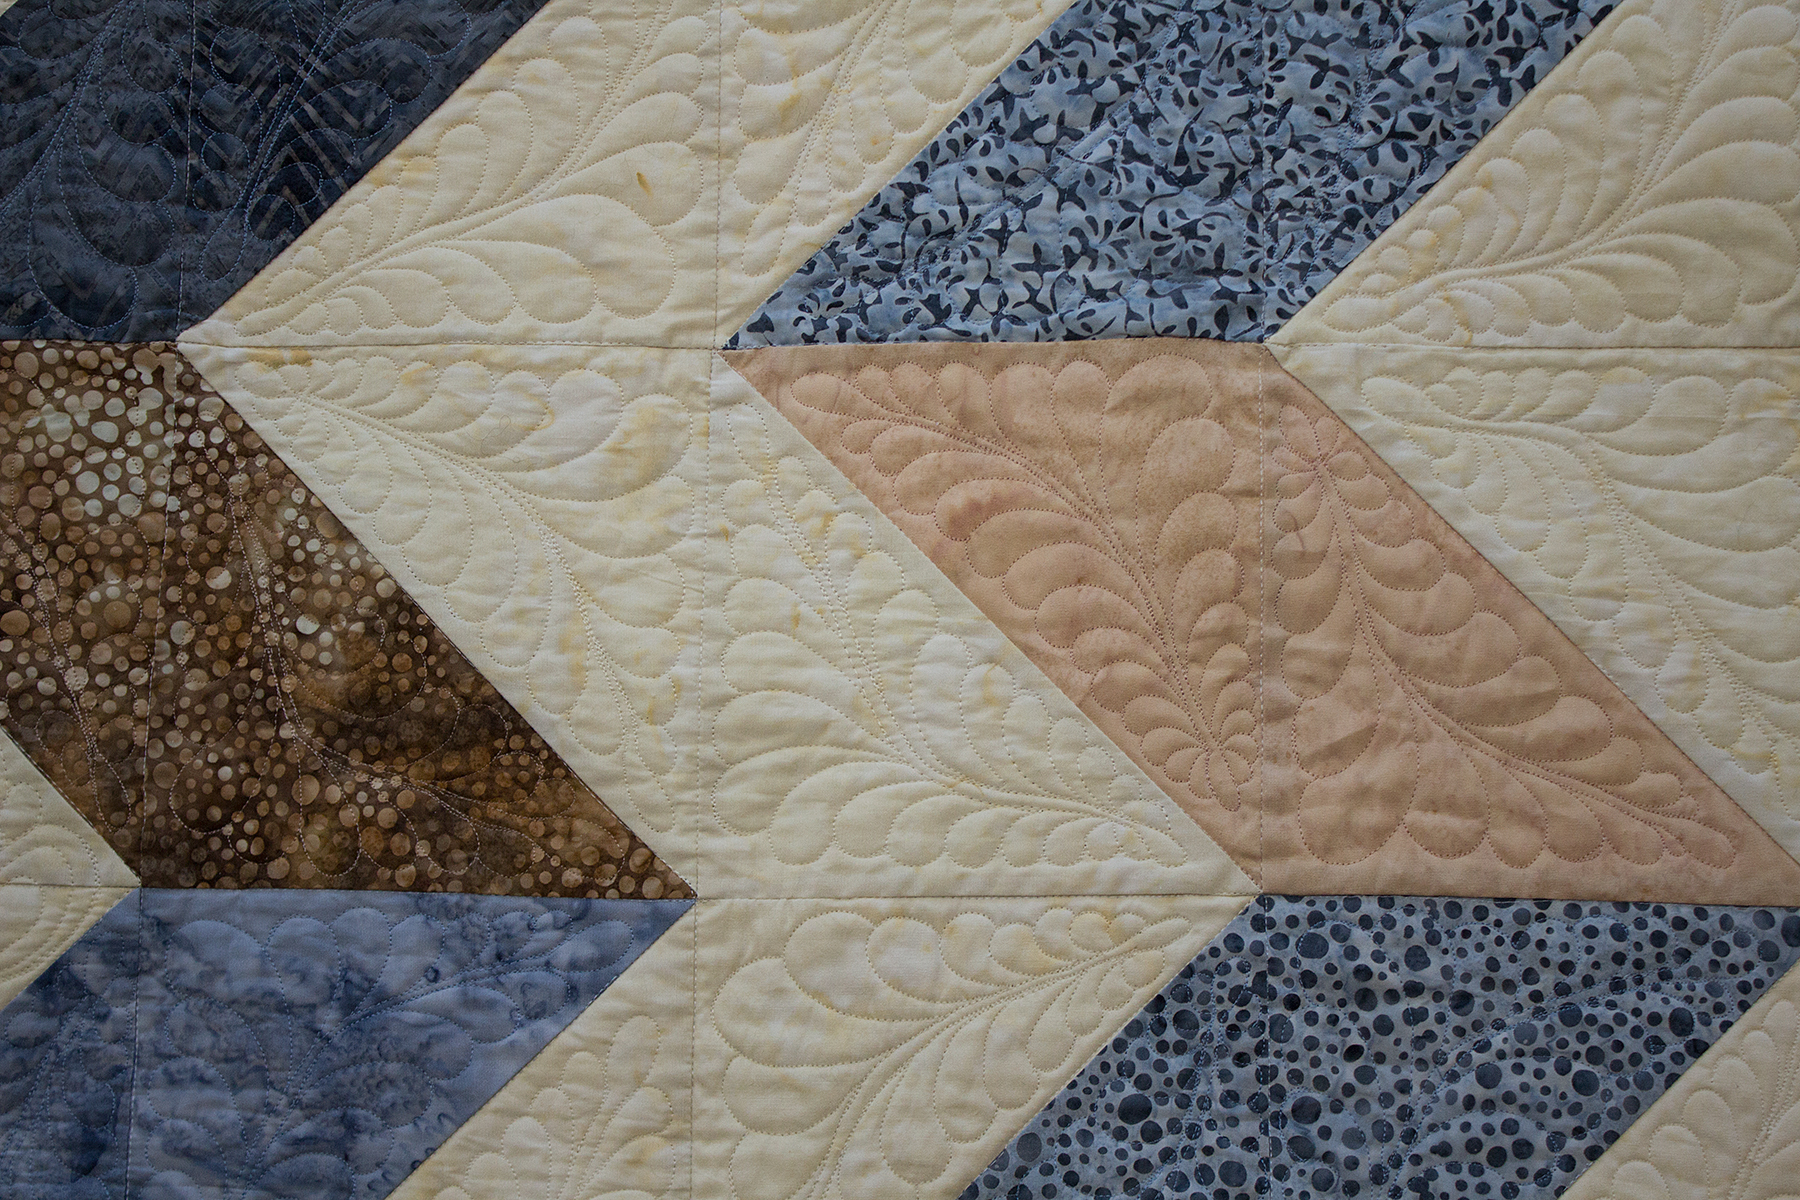
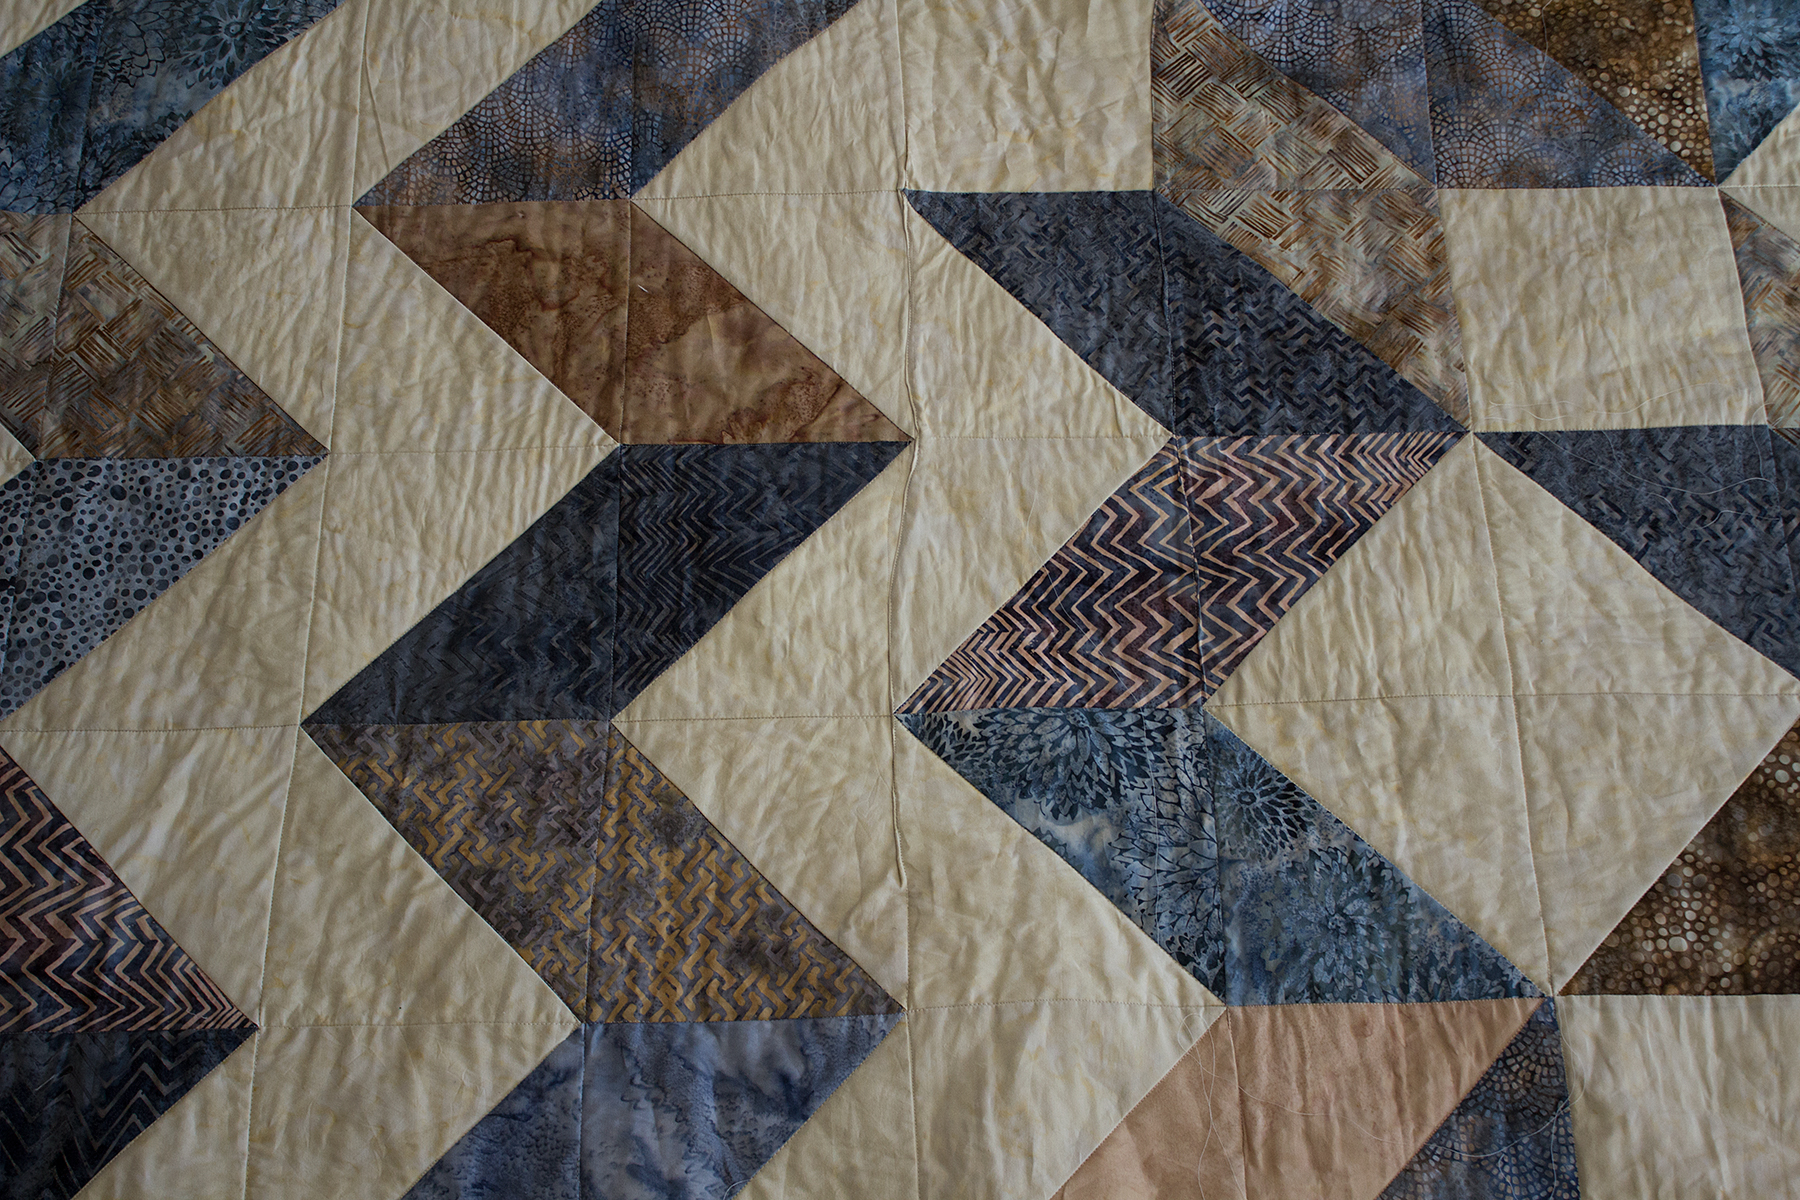
From there on it’s all feathers, feathers, and more feathers. Each triangle contains one.
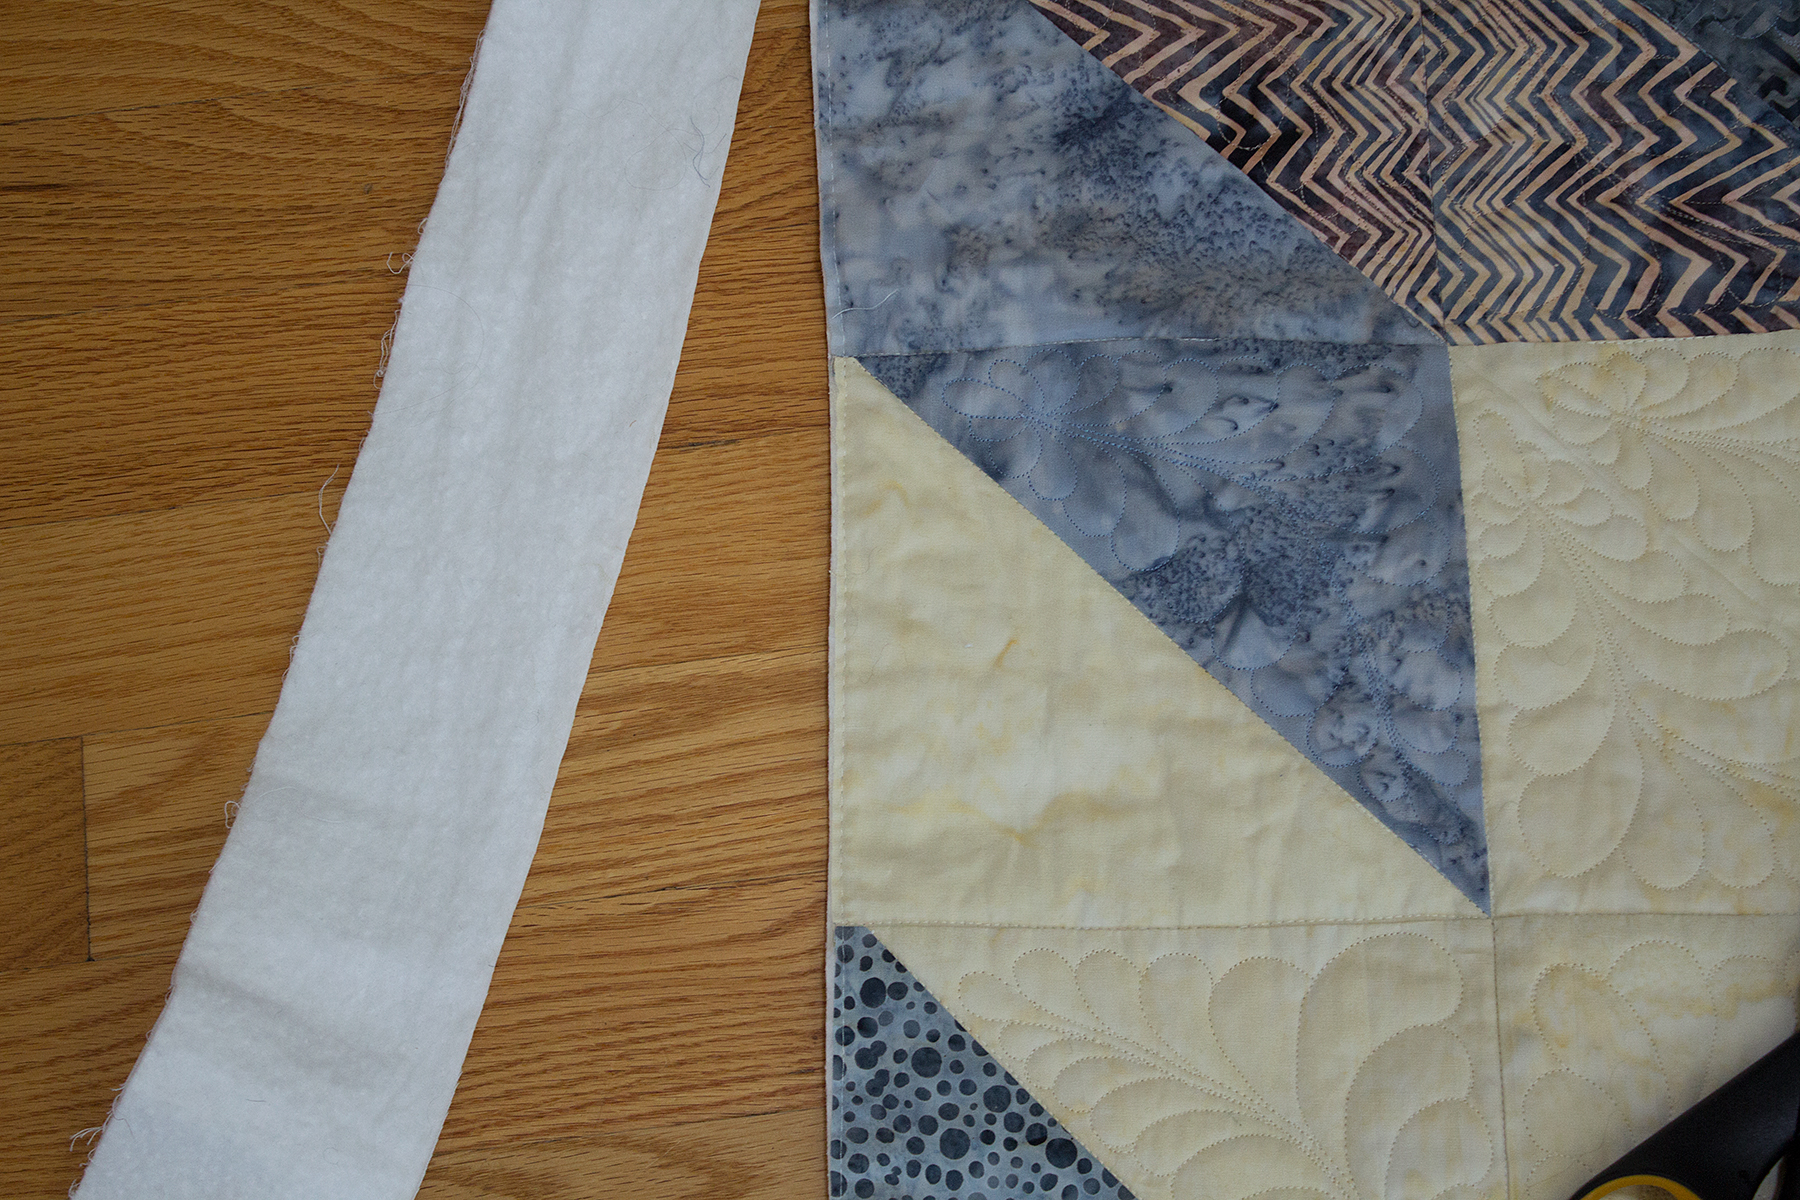
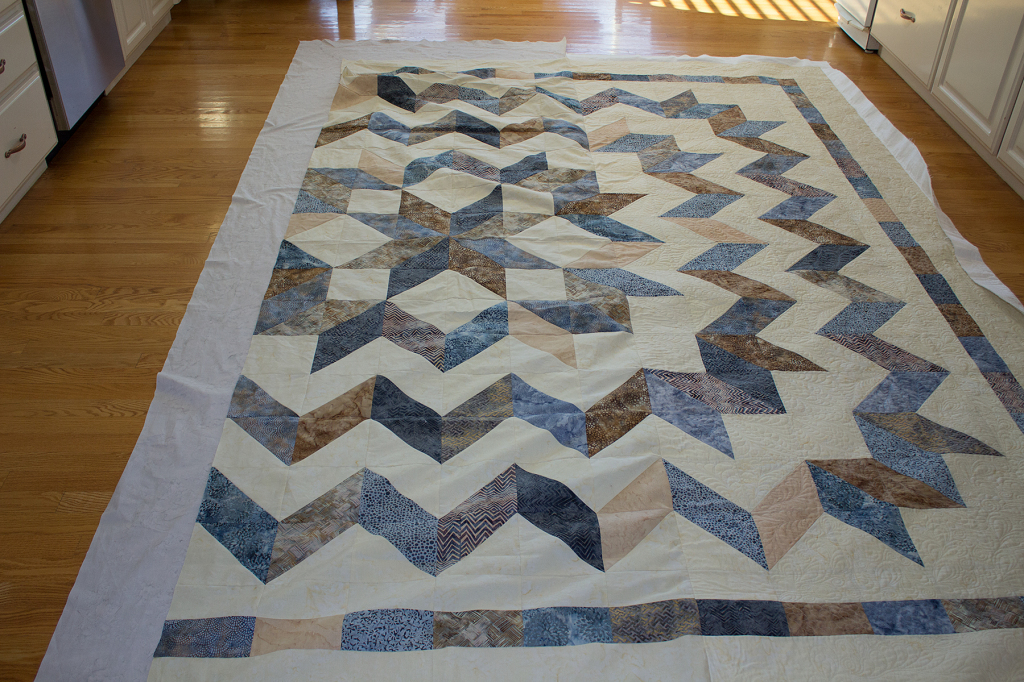
Because the quilt shrinks slightly as more quilting is added, I quilted all of Section 1 except for the column that will be attached to section 2.

I trimmed the excess batting and backing off that column.
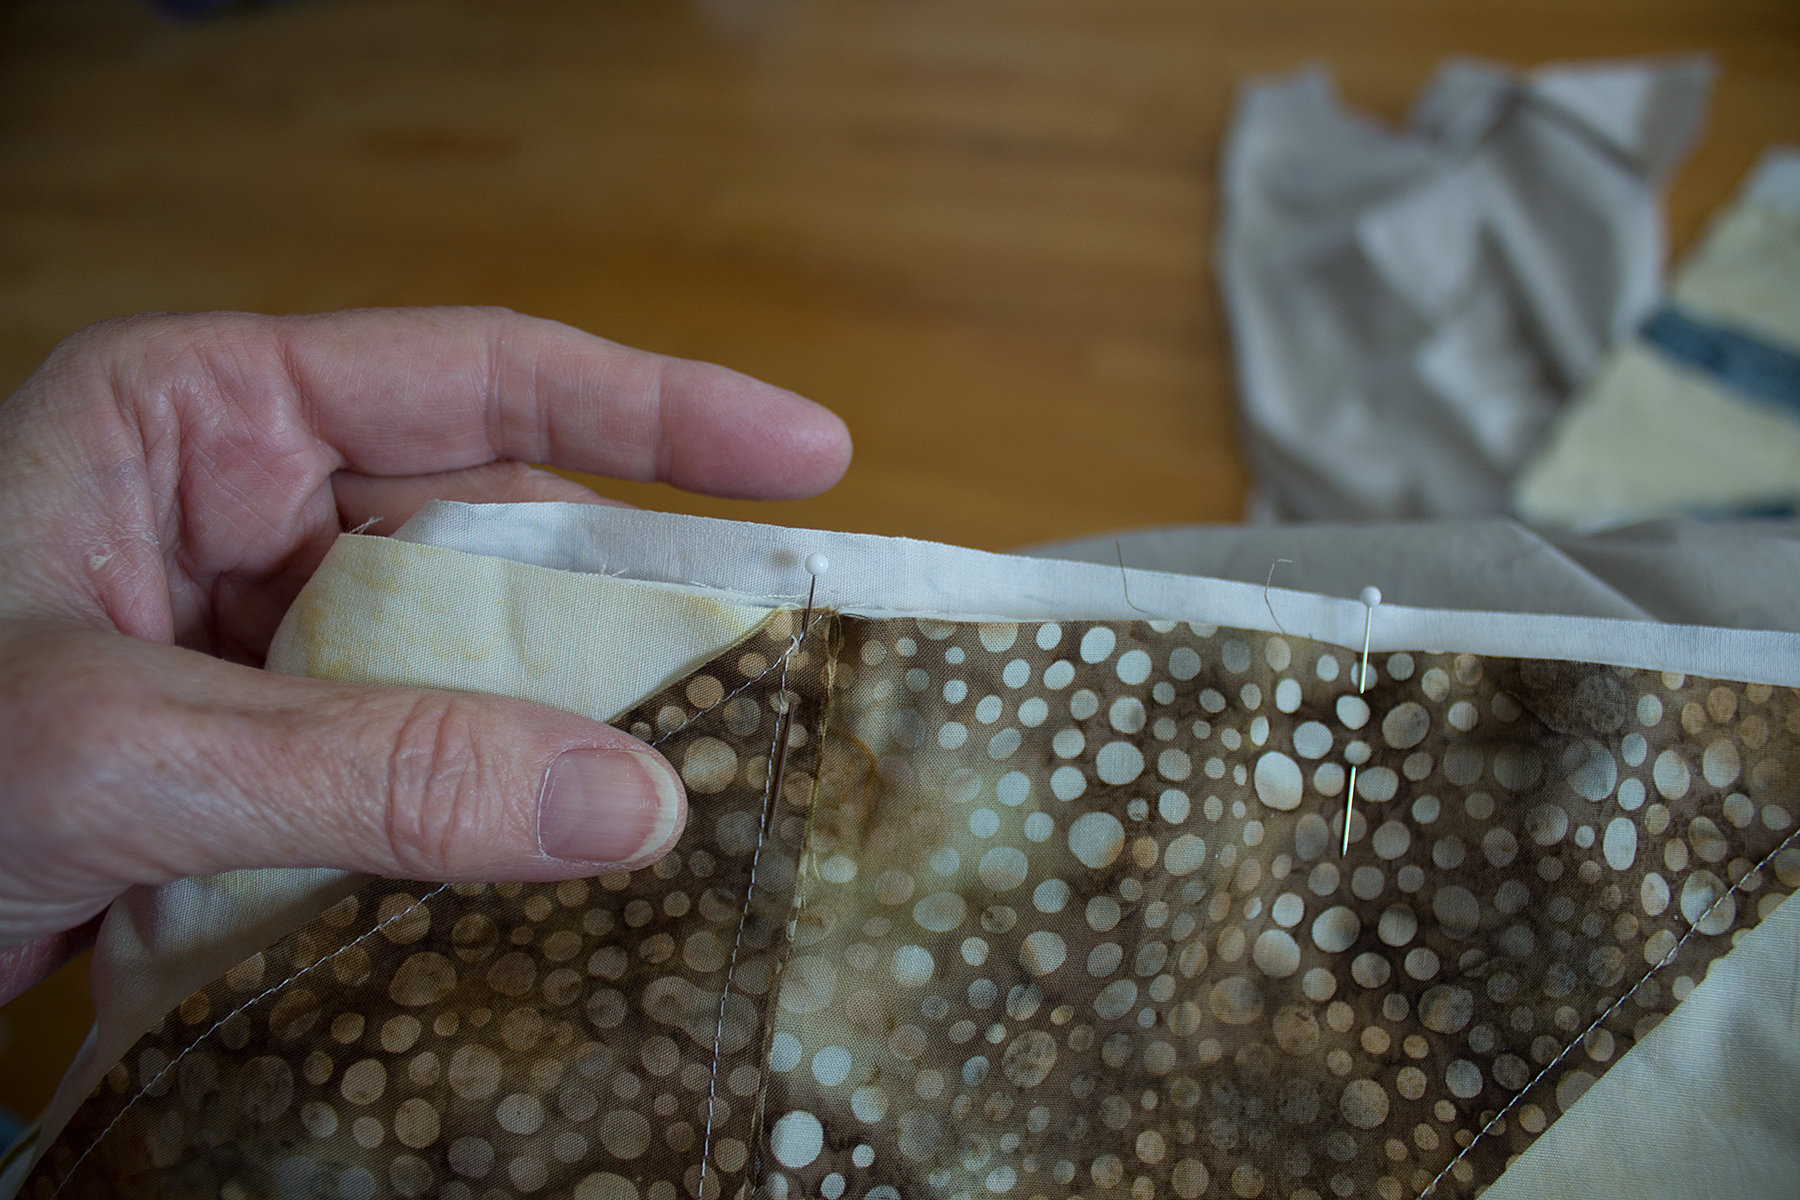
Then with right sides together, I pinned section 2 to section 1, nesting seams. I placed a pin next to each seam.
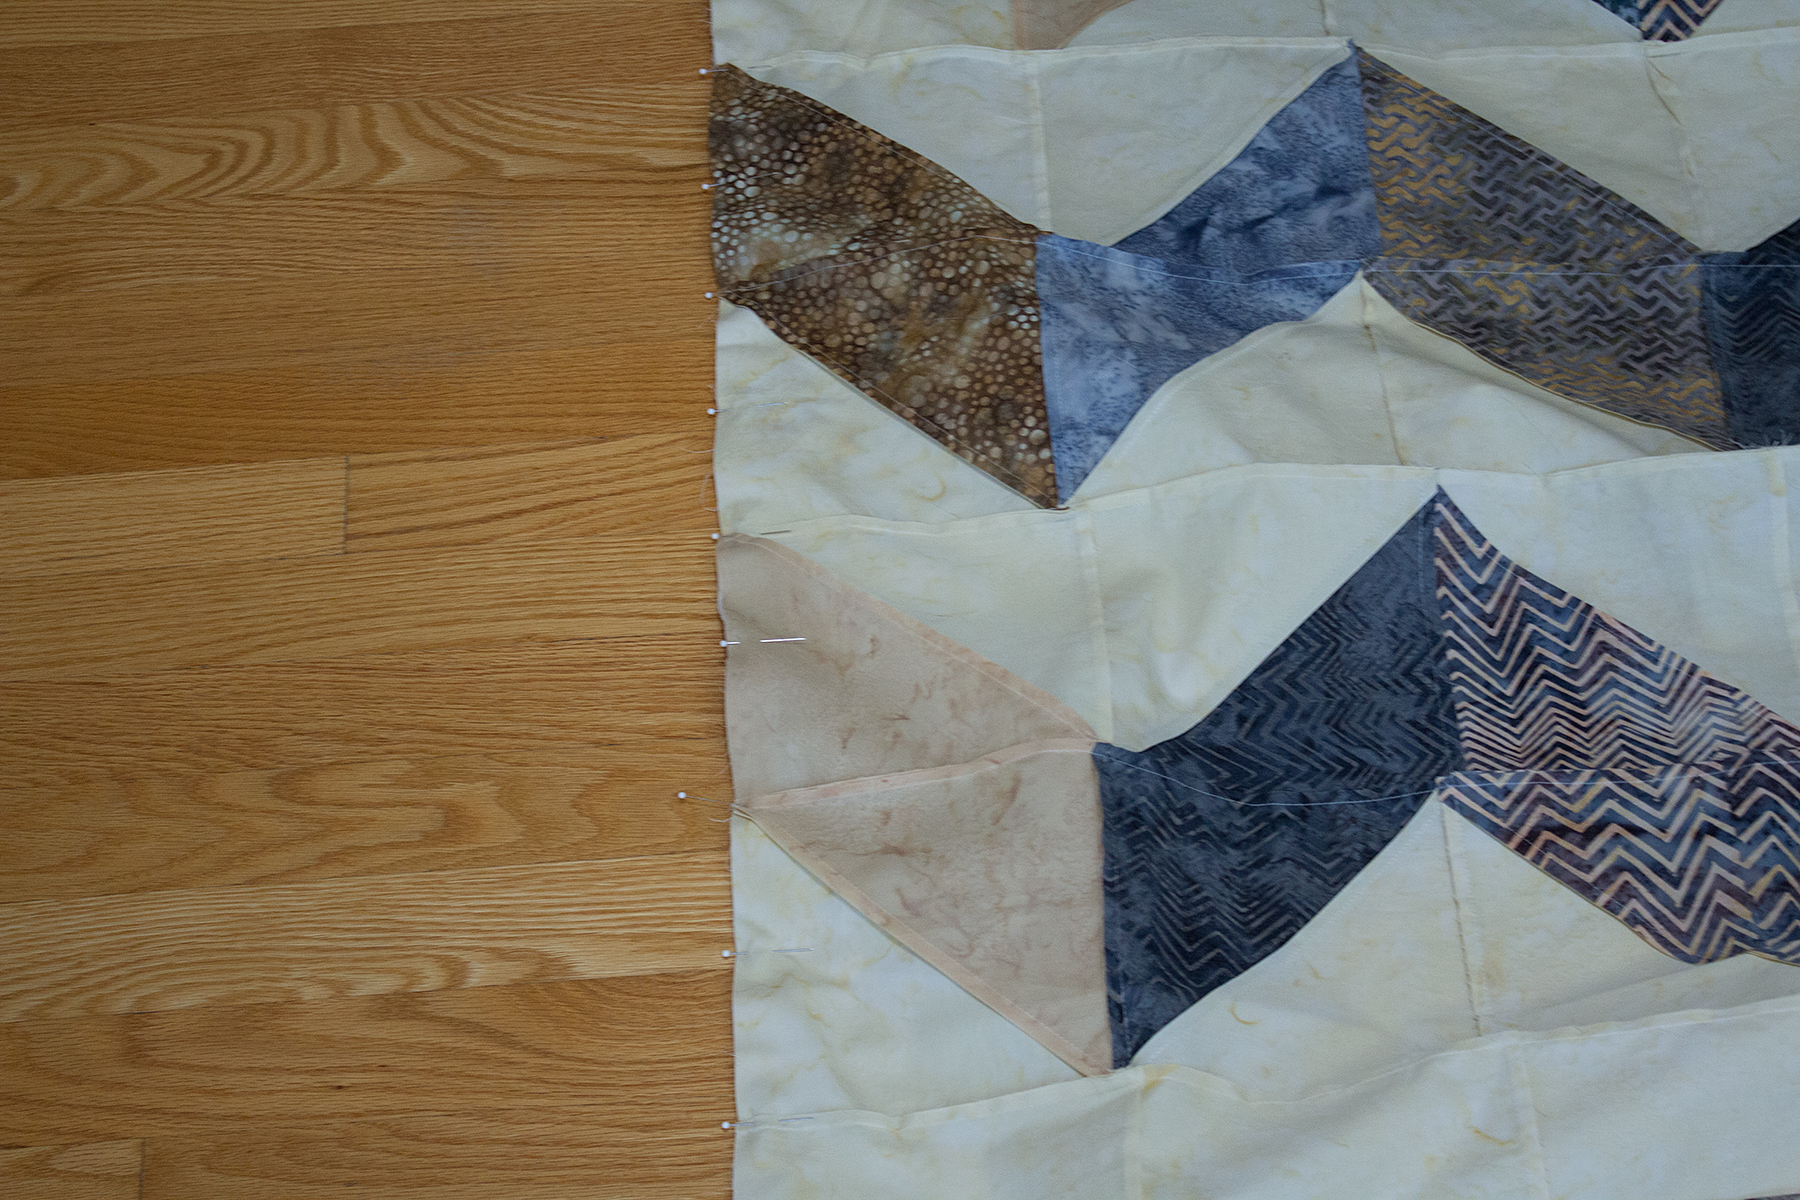
With right sides together, I added the backing and pinned between each of the seams. Rather than matching edges, I brought the backing in about 1/4 inch. This insures I’m catching the backing as I’m stitching through all the layers.
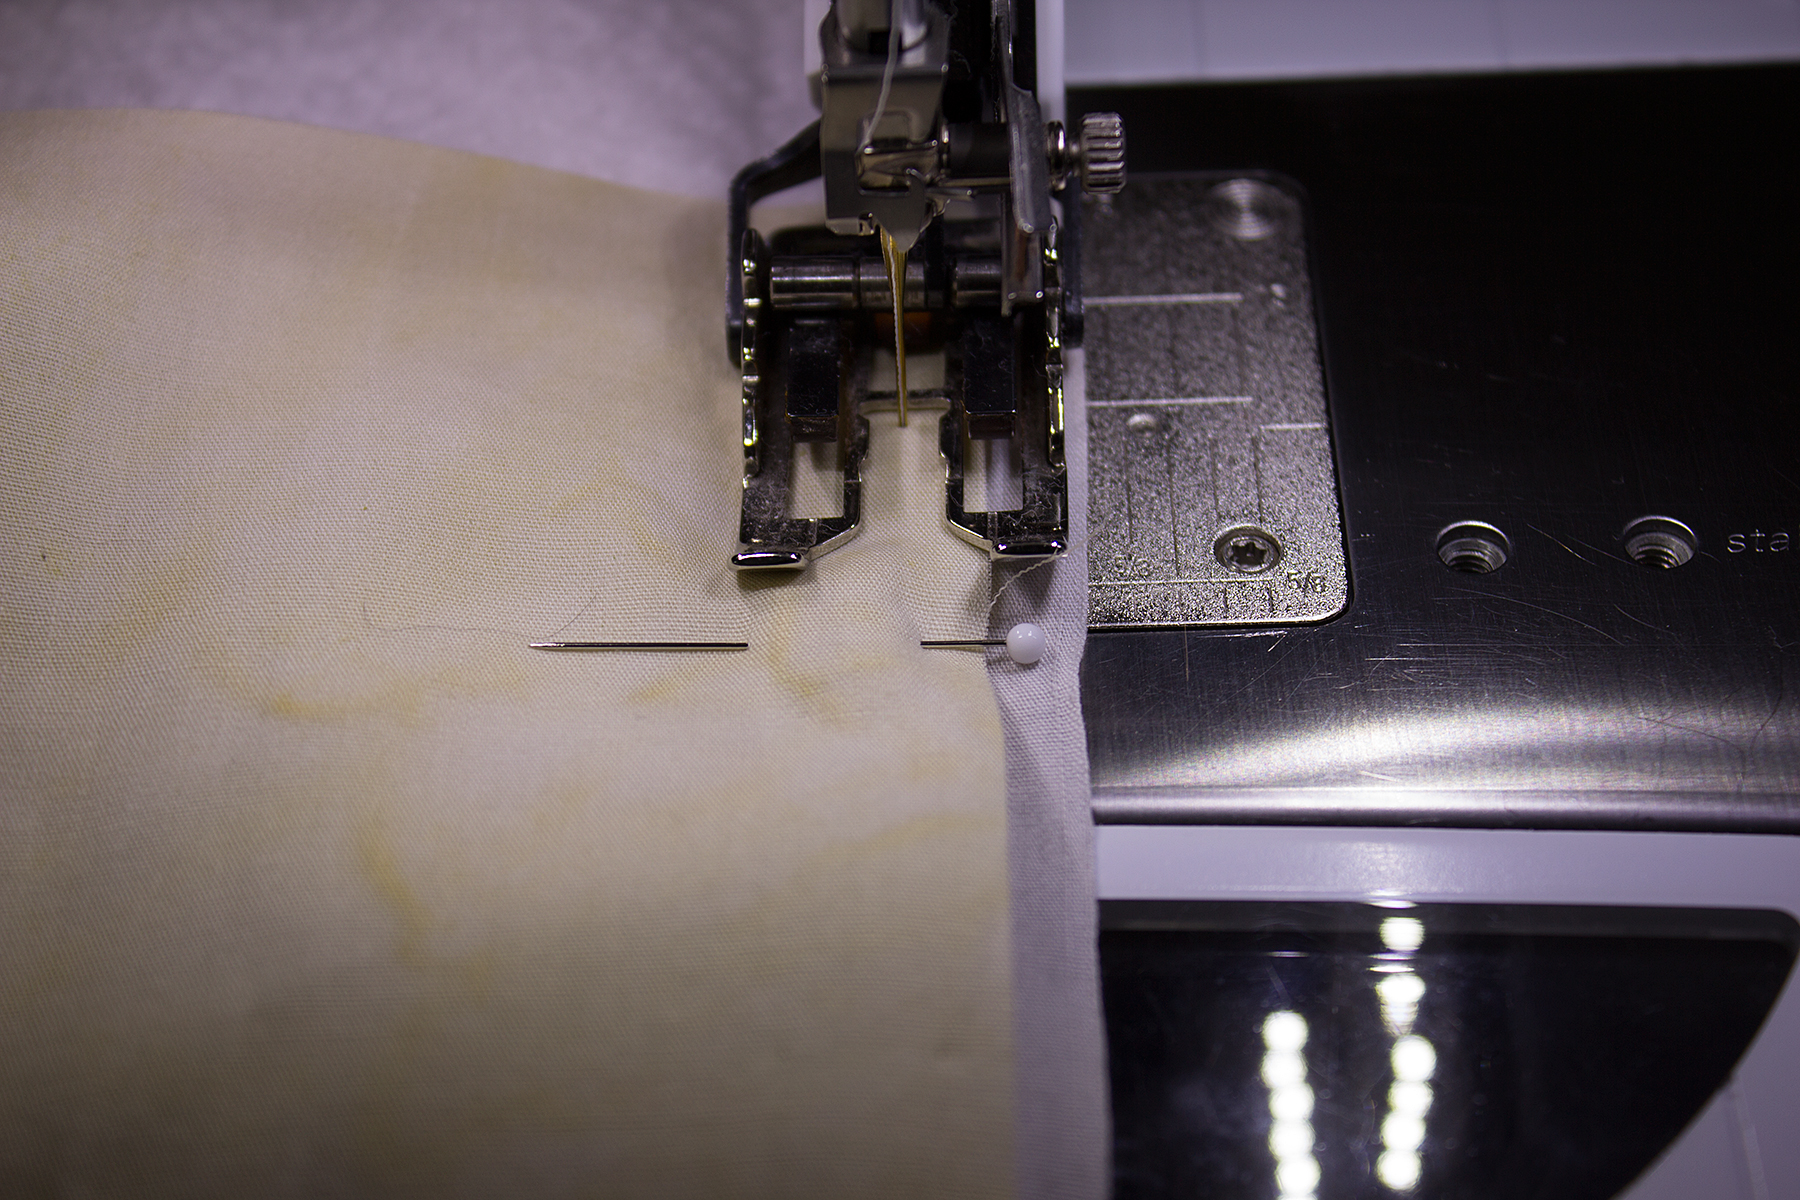
Using a 1/4 inch seam allowance from the top piece (section 2), I stitched through all the layers.
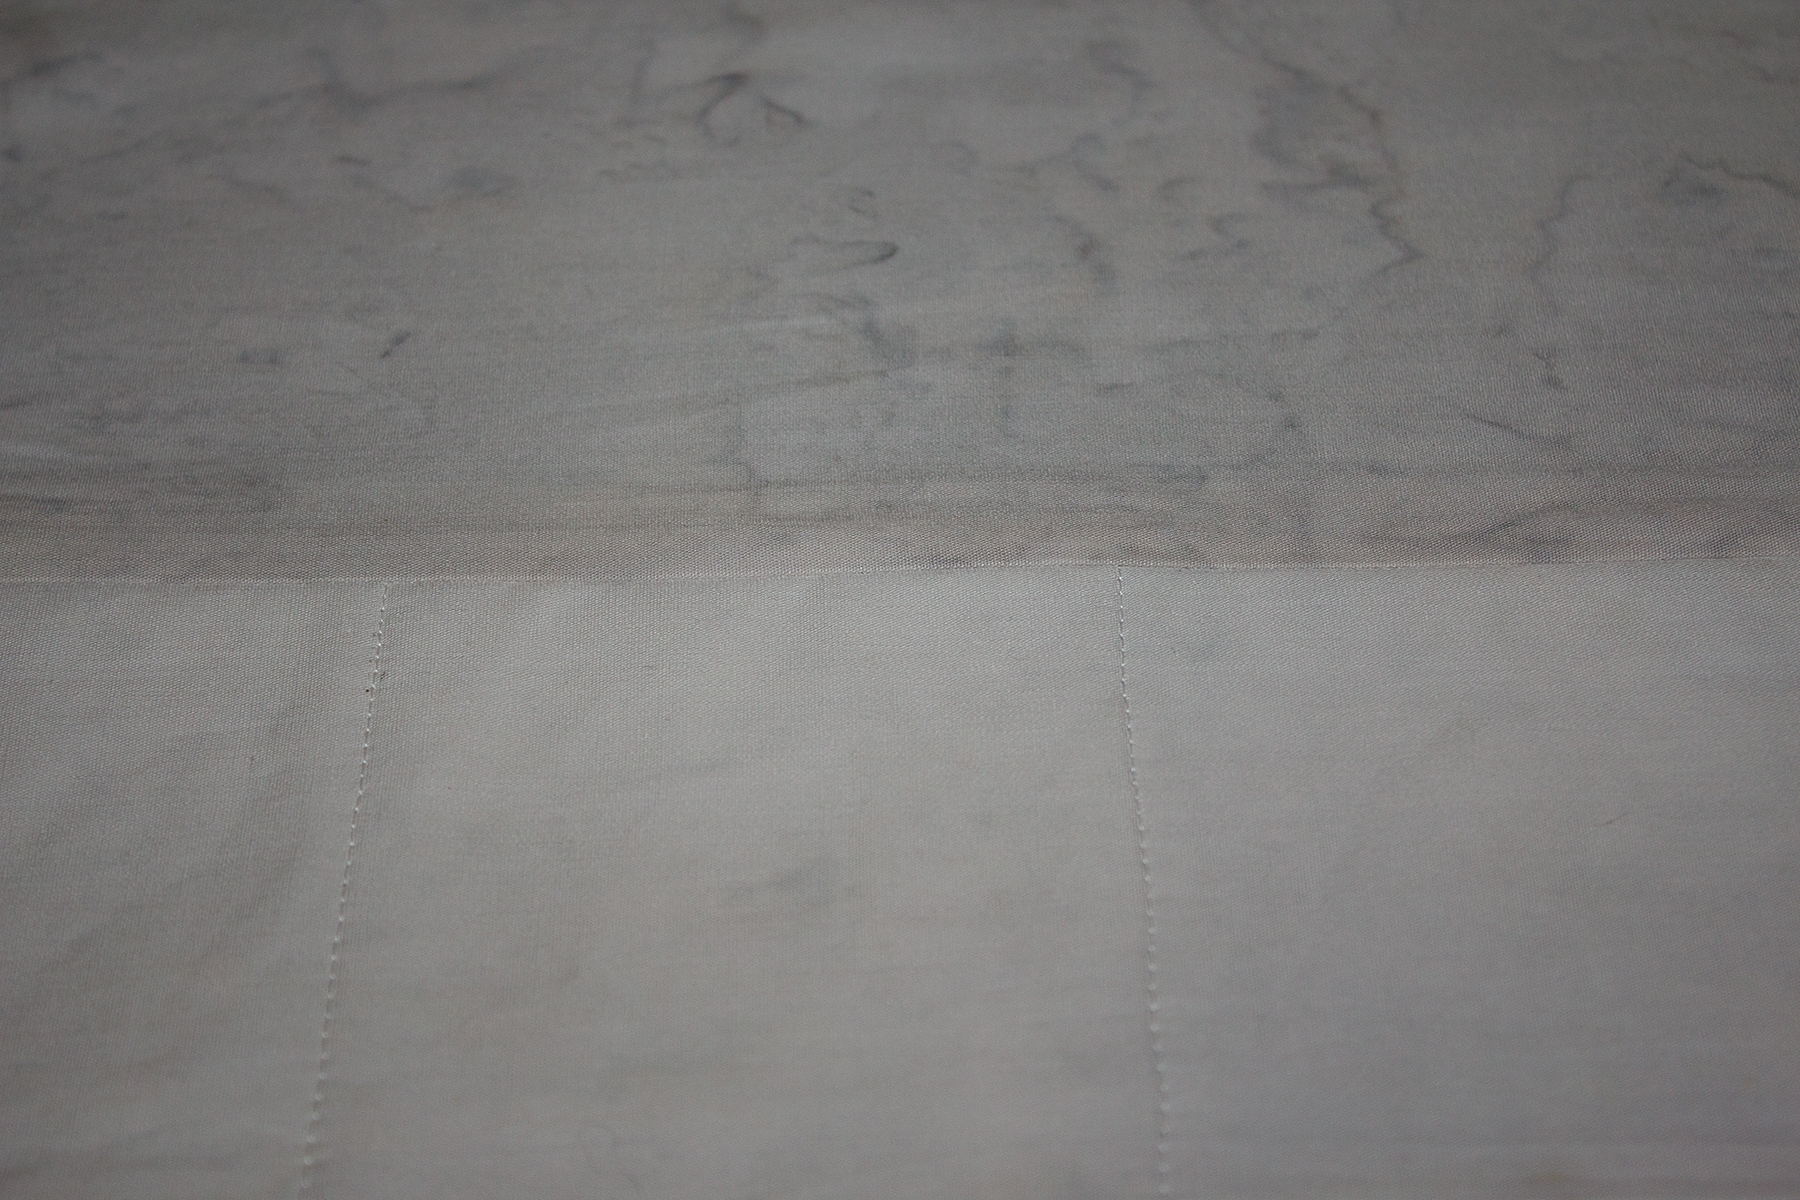
Then I pressed the seams for both the backing and the top out.
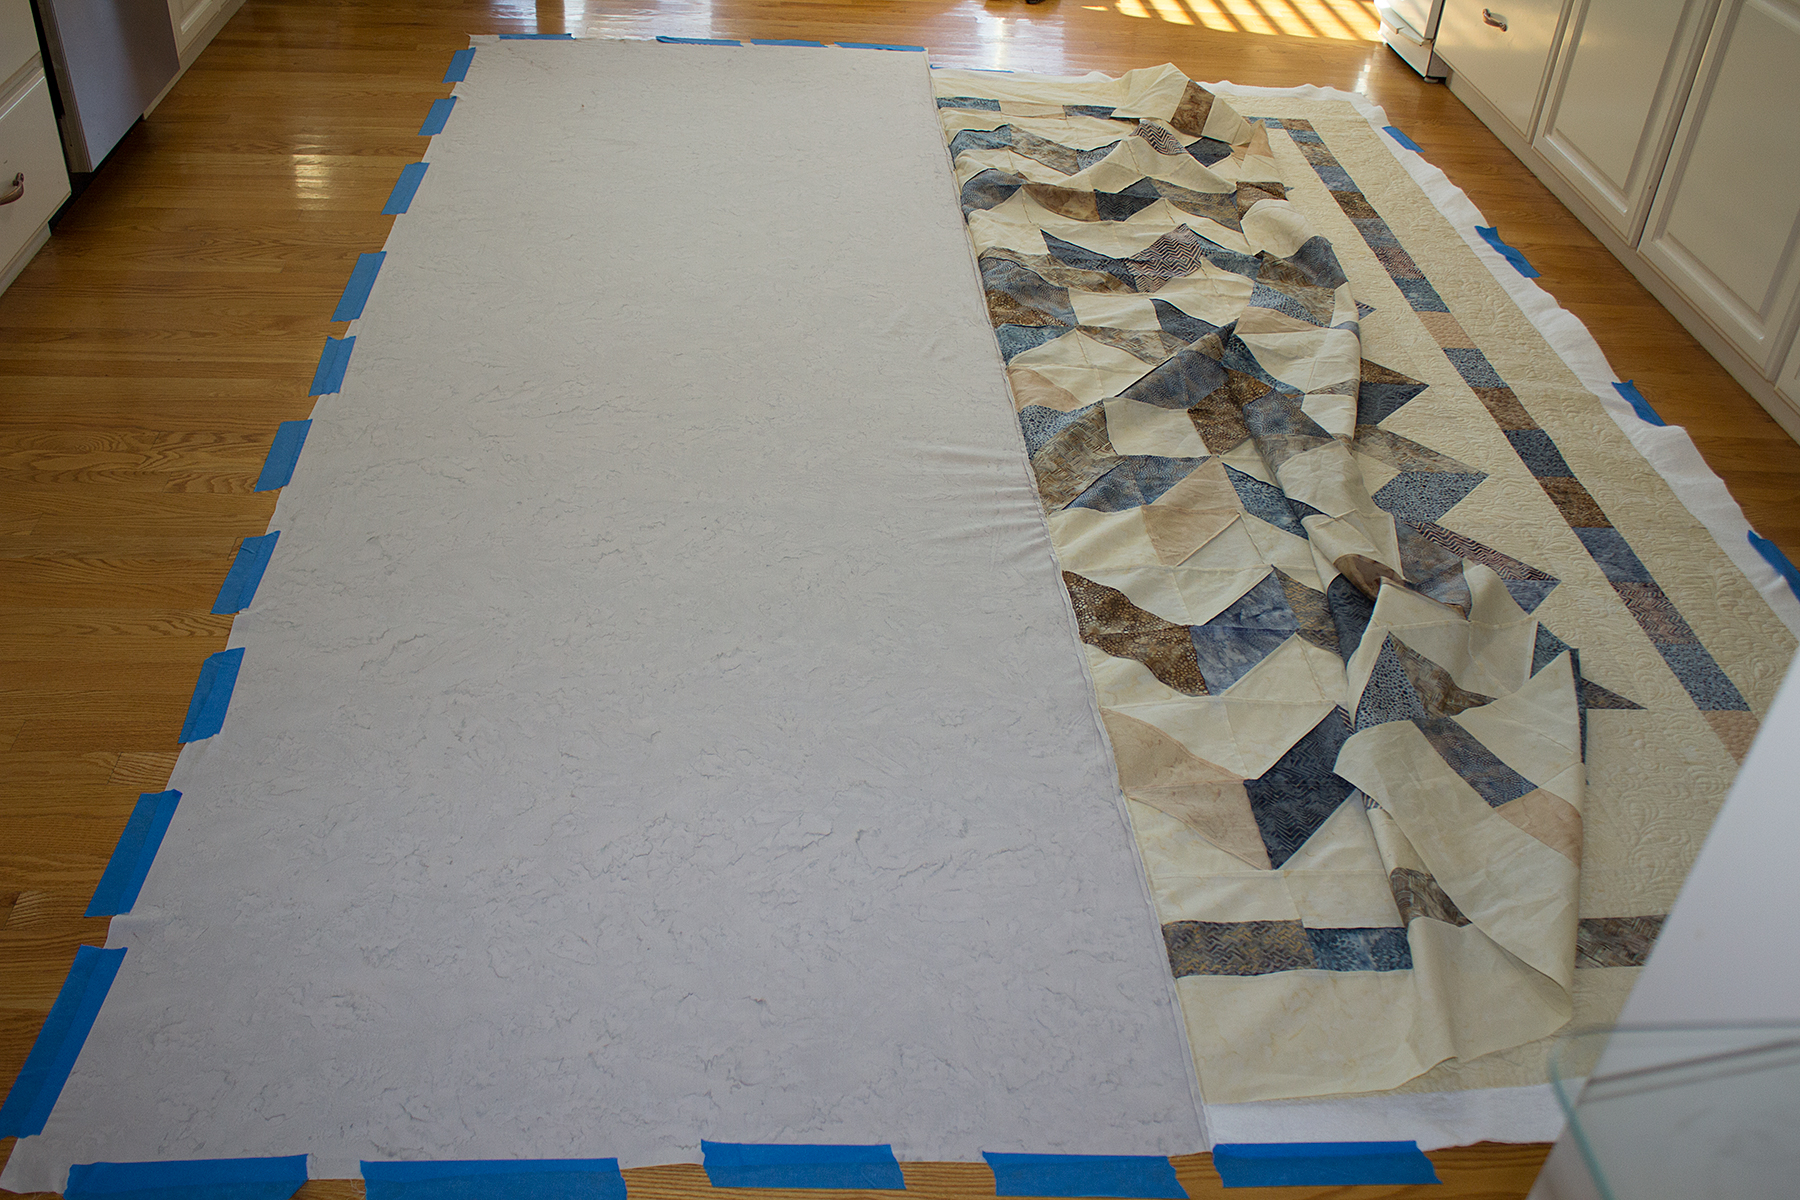
To prepare for the sandwich, I use the same process to spray baste section 2. I taped the backing to the floor on all three sides, stretching until flat.
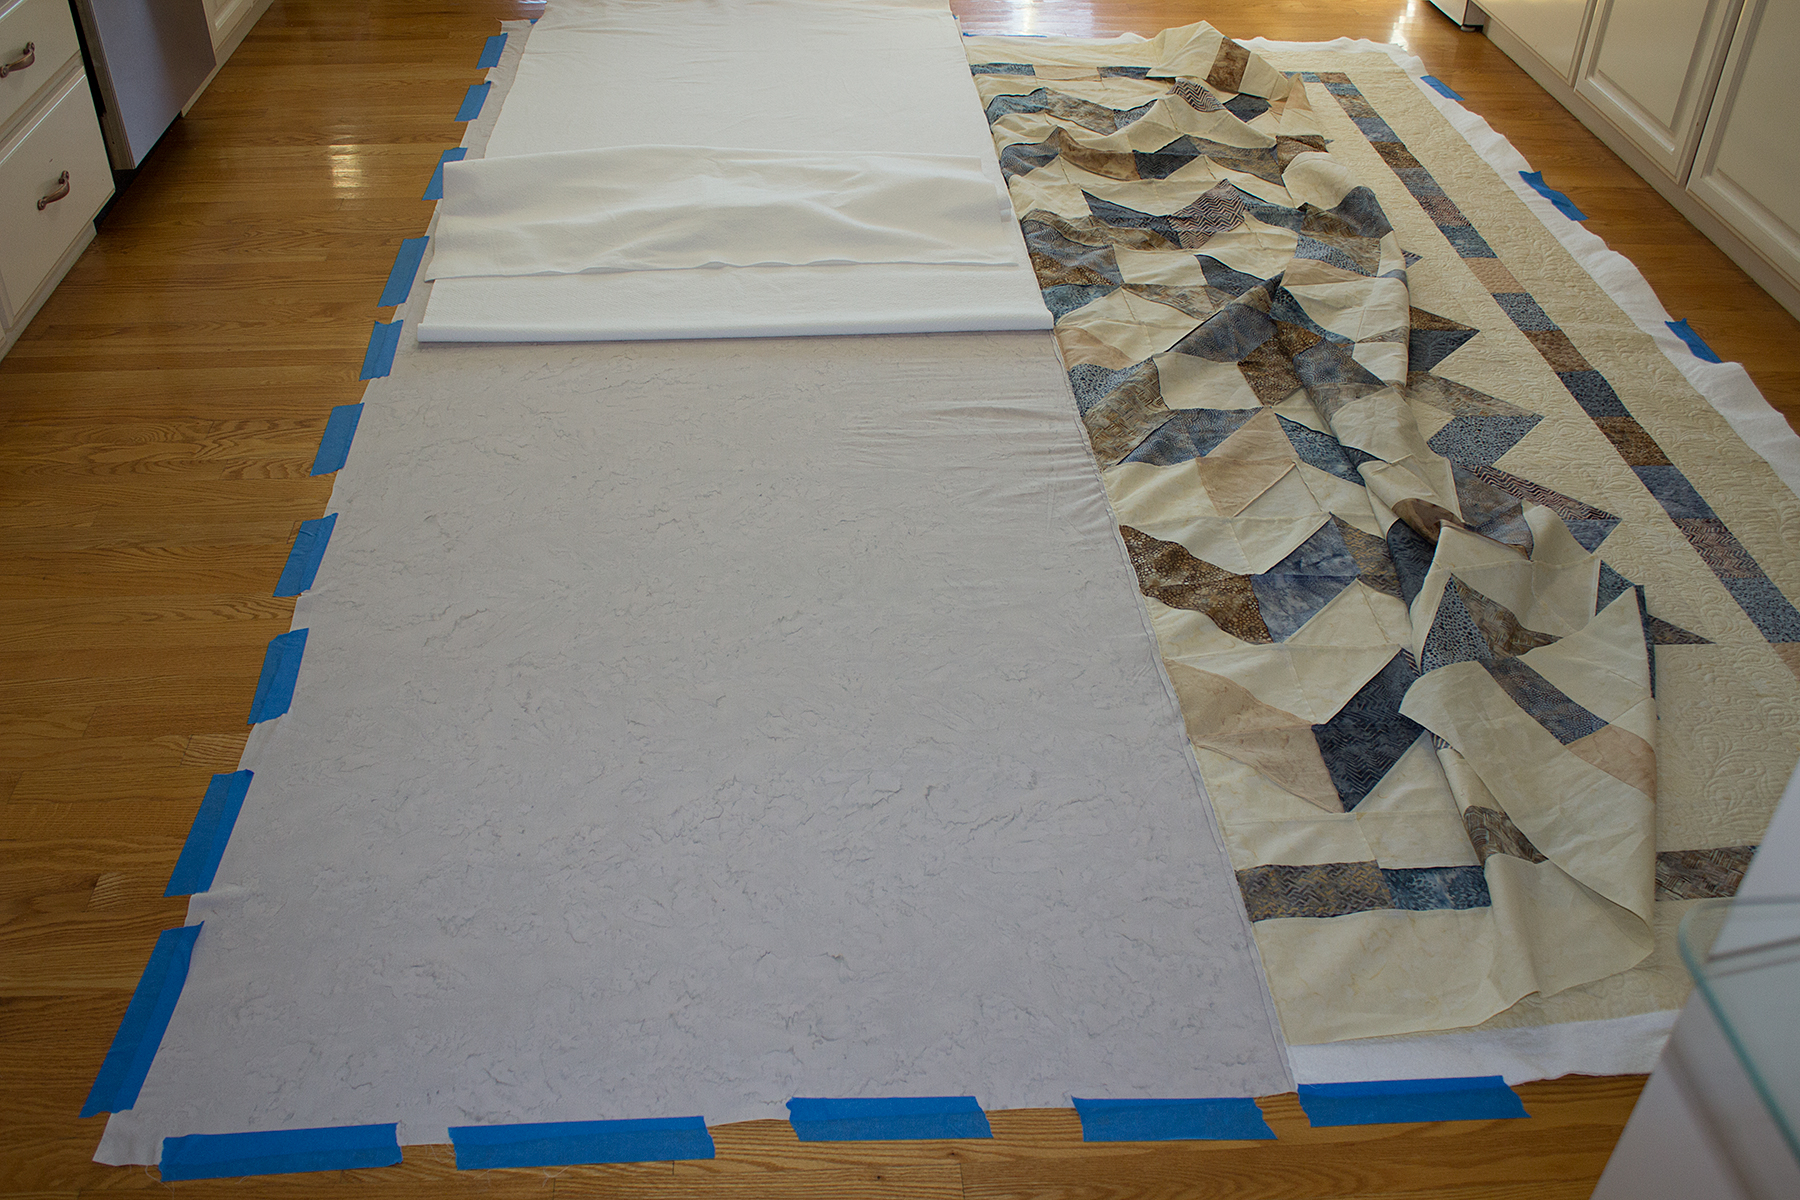
Then I laid the batting on top butting it to the edge of the seam. At this point I fold it in half and spray baste it down working from the middle to the bottom edge and repeating on the other half.
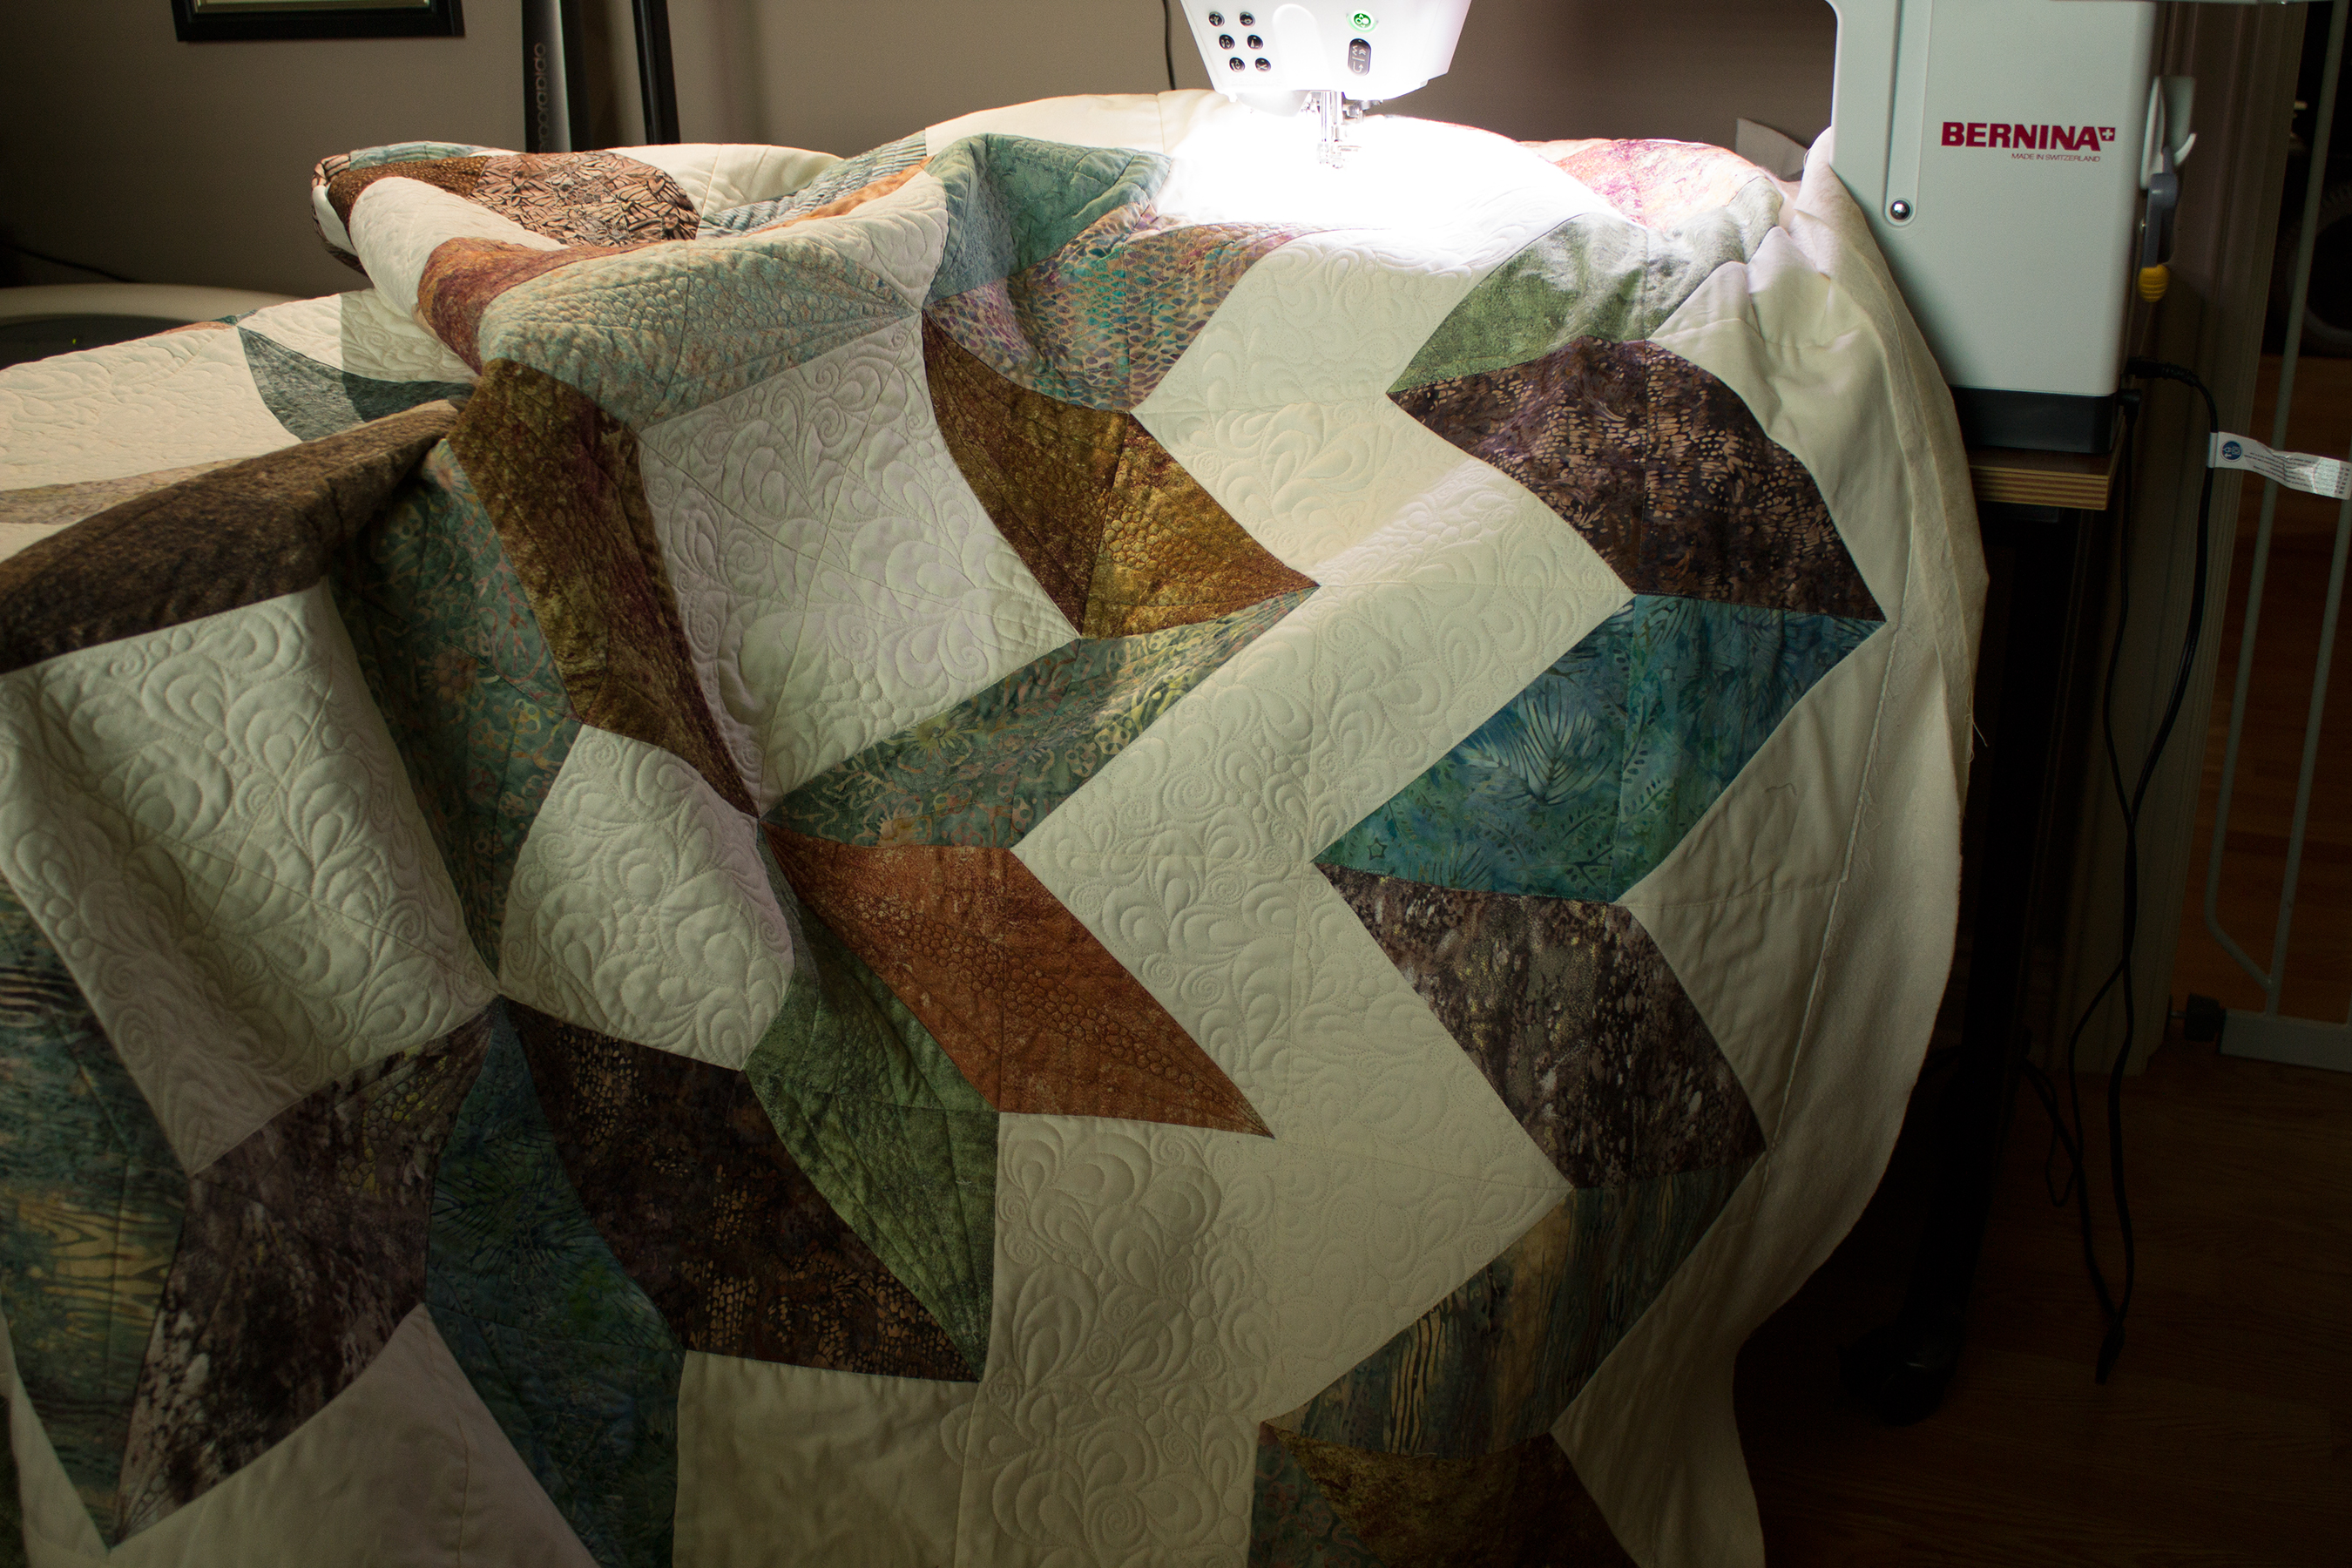
Then I spray basted the top down working from the middle towards each edge. Now it was time to stitch in the ditch using the same procedure as with section 1.

I had several puckers I had to bury in seams. This is the down side of quilt as you go when working with a quilt of this size. The heavier the quilting, the more likely it is that puckering will occur when trying to match an unquilted section to a quilted section.
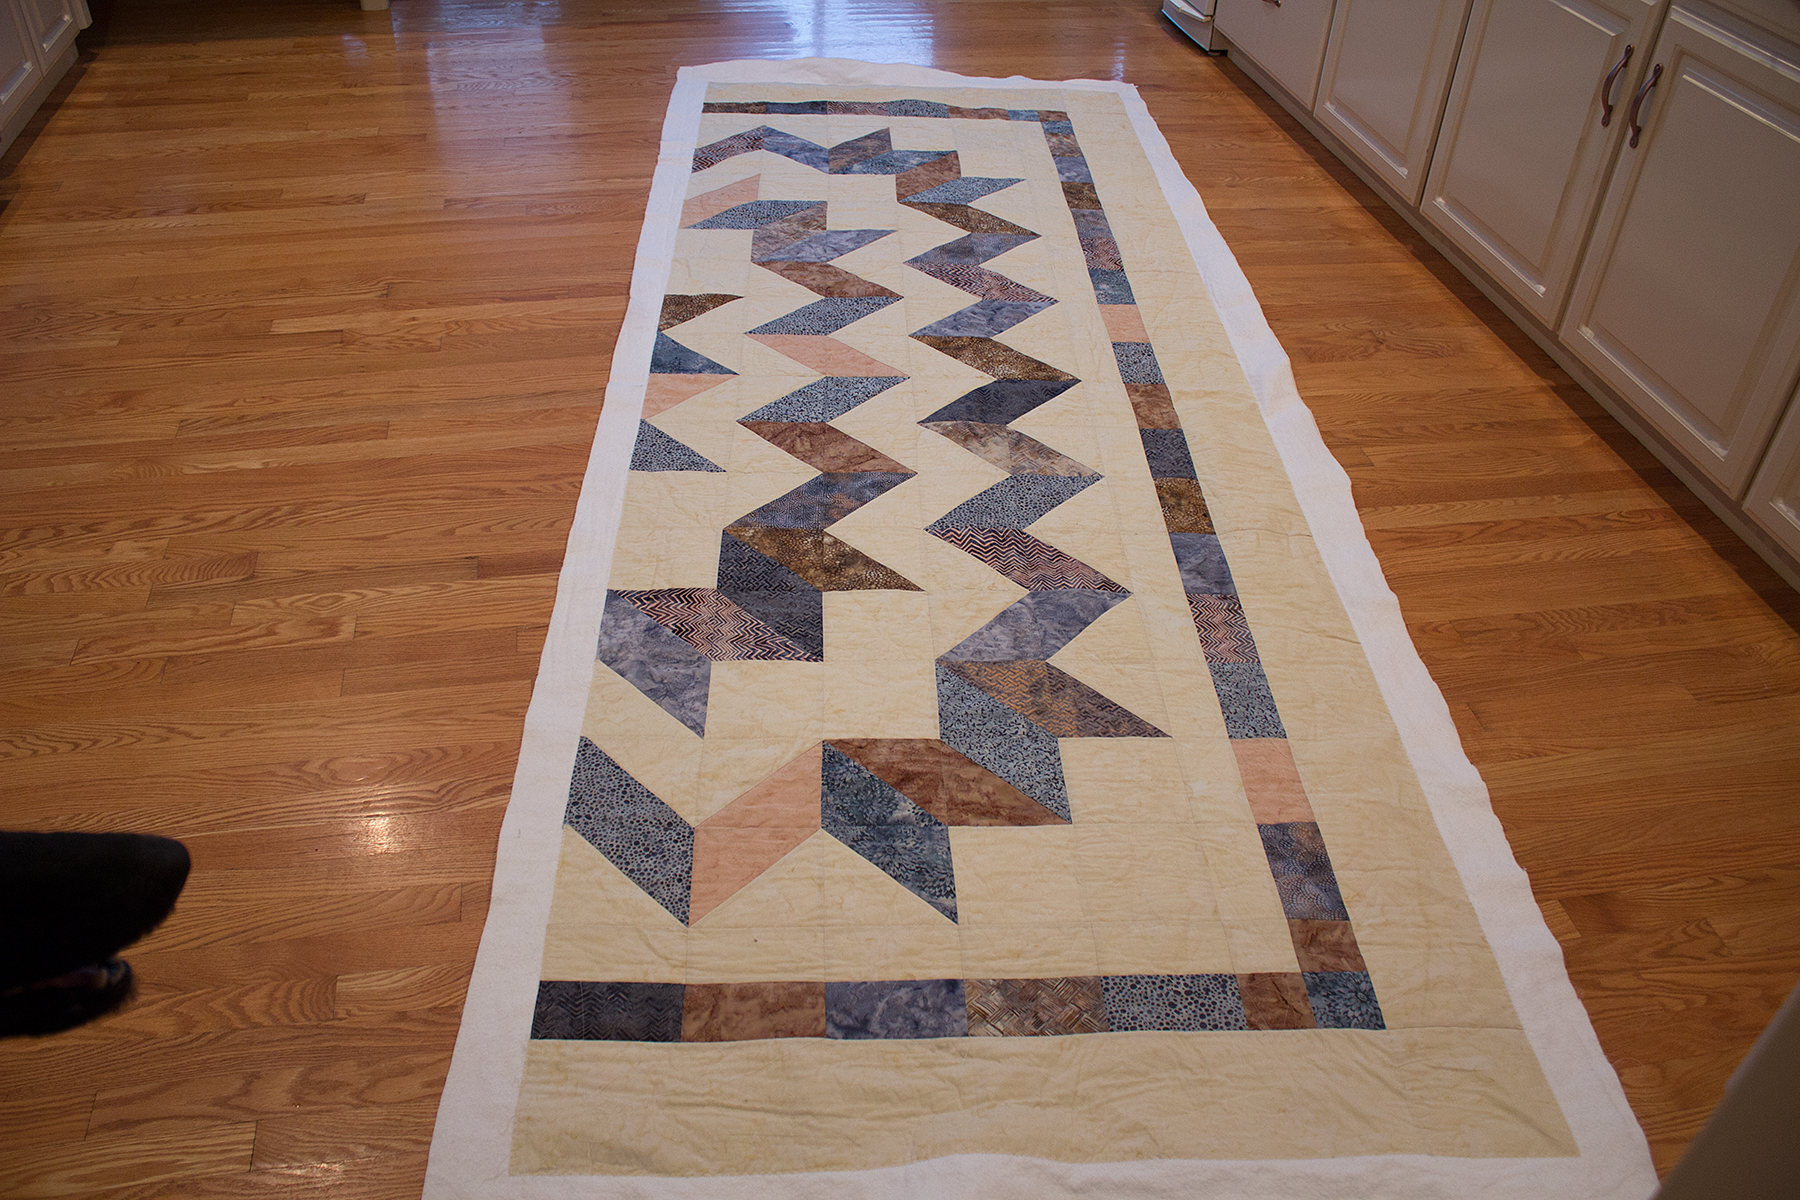
Now I can begin the quilting process for section 2 continuing to follow the same theme I used in section 1.