Tension and my Gammill Charm – A Break Through!!
In my continuing quest to conquer thread tension on my Gammill Charm aka Tasha, I stopped by Cut Up and Quilt to chat with Jade. They have two Gammill Statlers and Jade is their expert. Her observations/recommendations:
First, don’t thread your machine as instructed in the manual. Below are adjustments I made to my Charm based on her recommendations and how she threads the two Statlers.
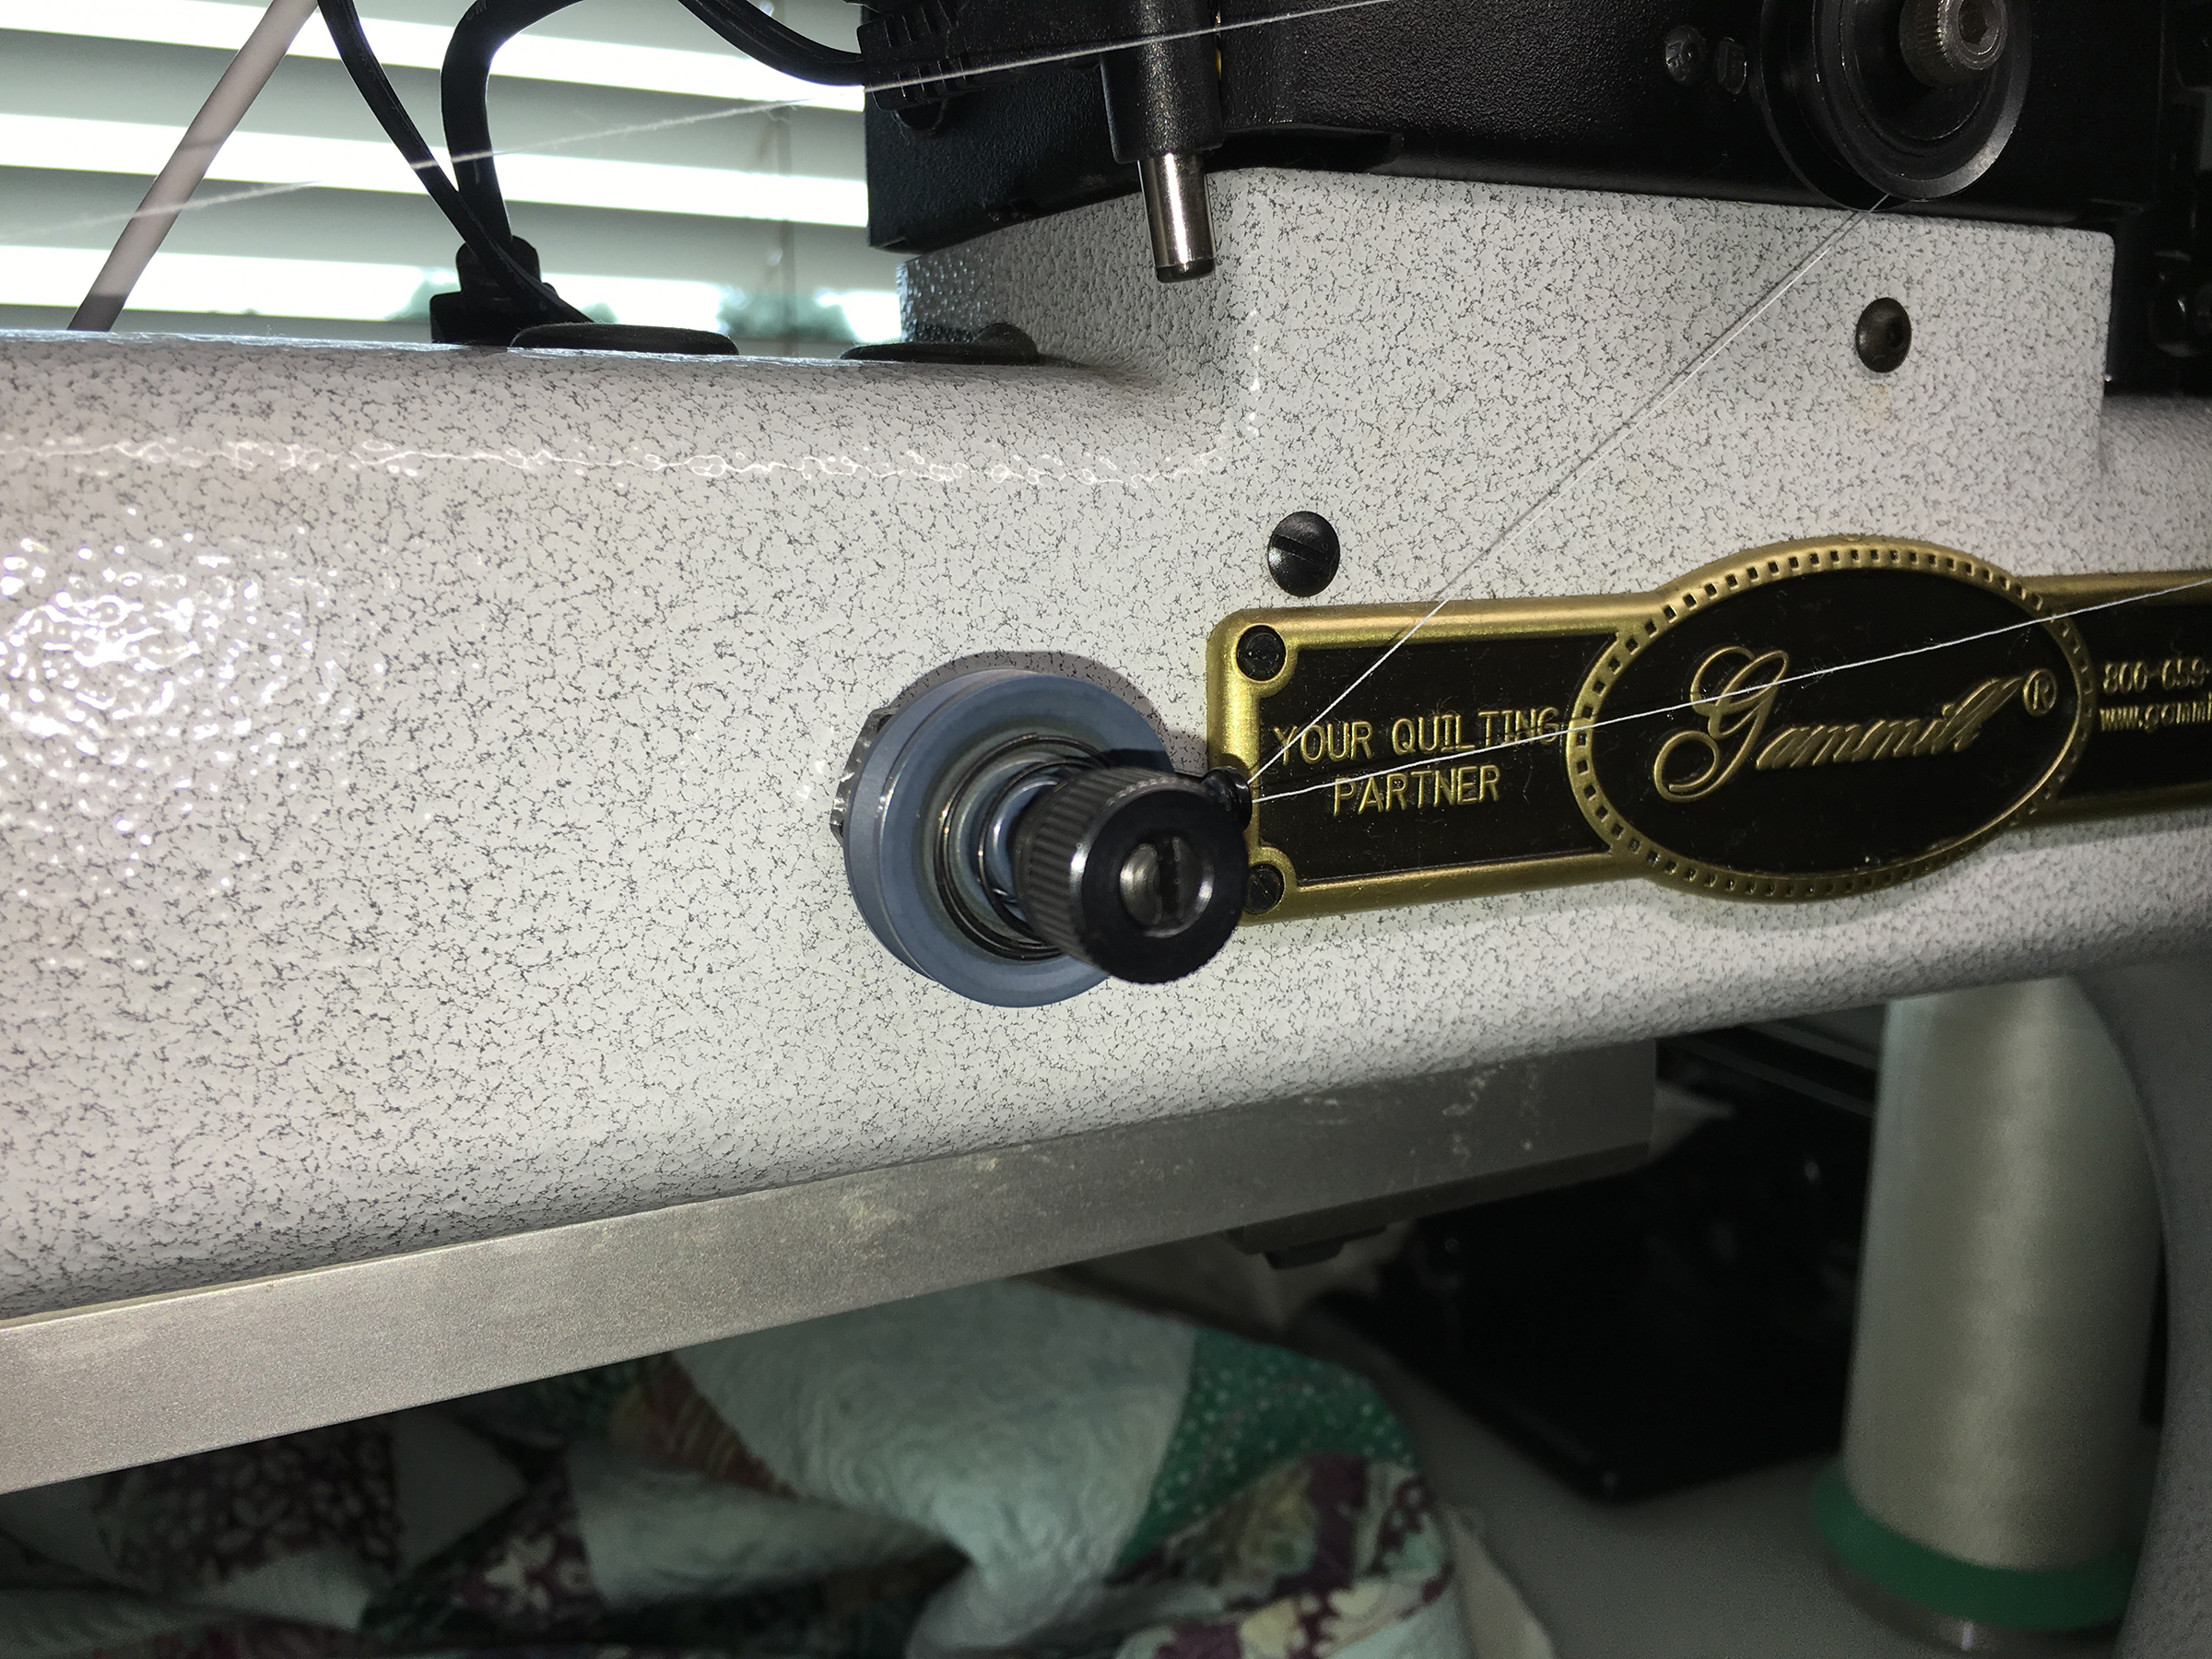
Pretension knob: thread clockwise around the pretension knob. Note there is NO twisting of the thread as it comes back through the eyelet.
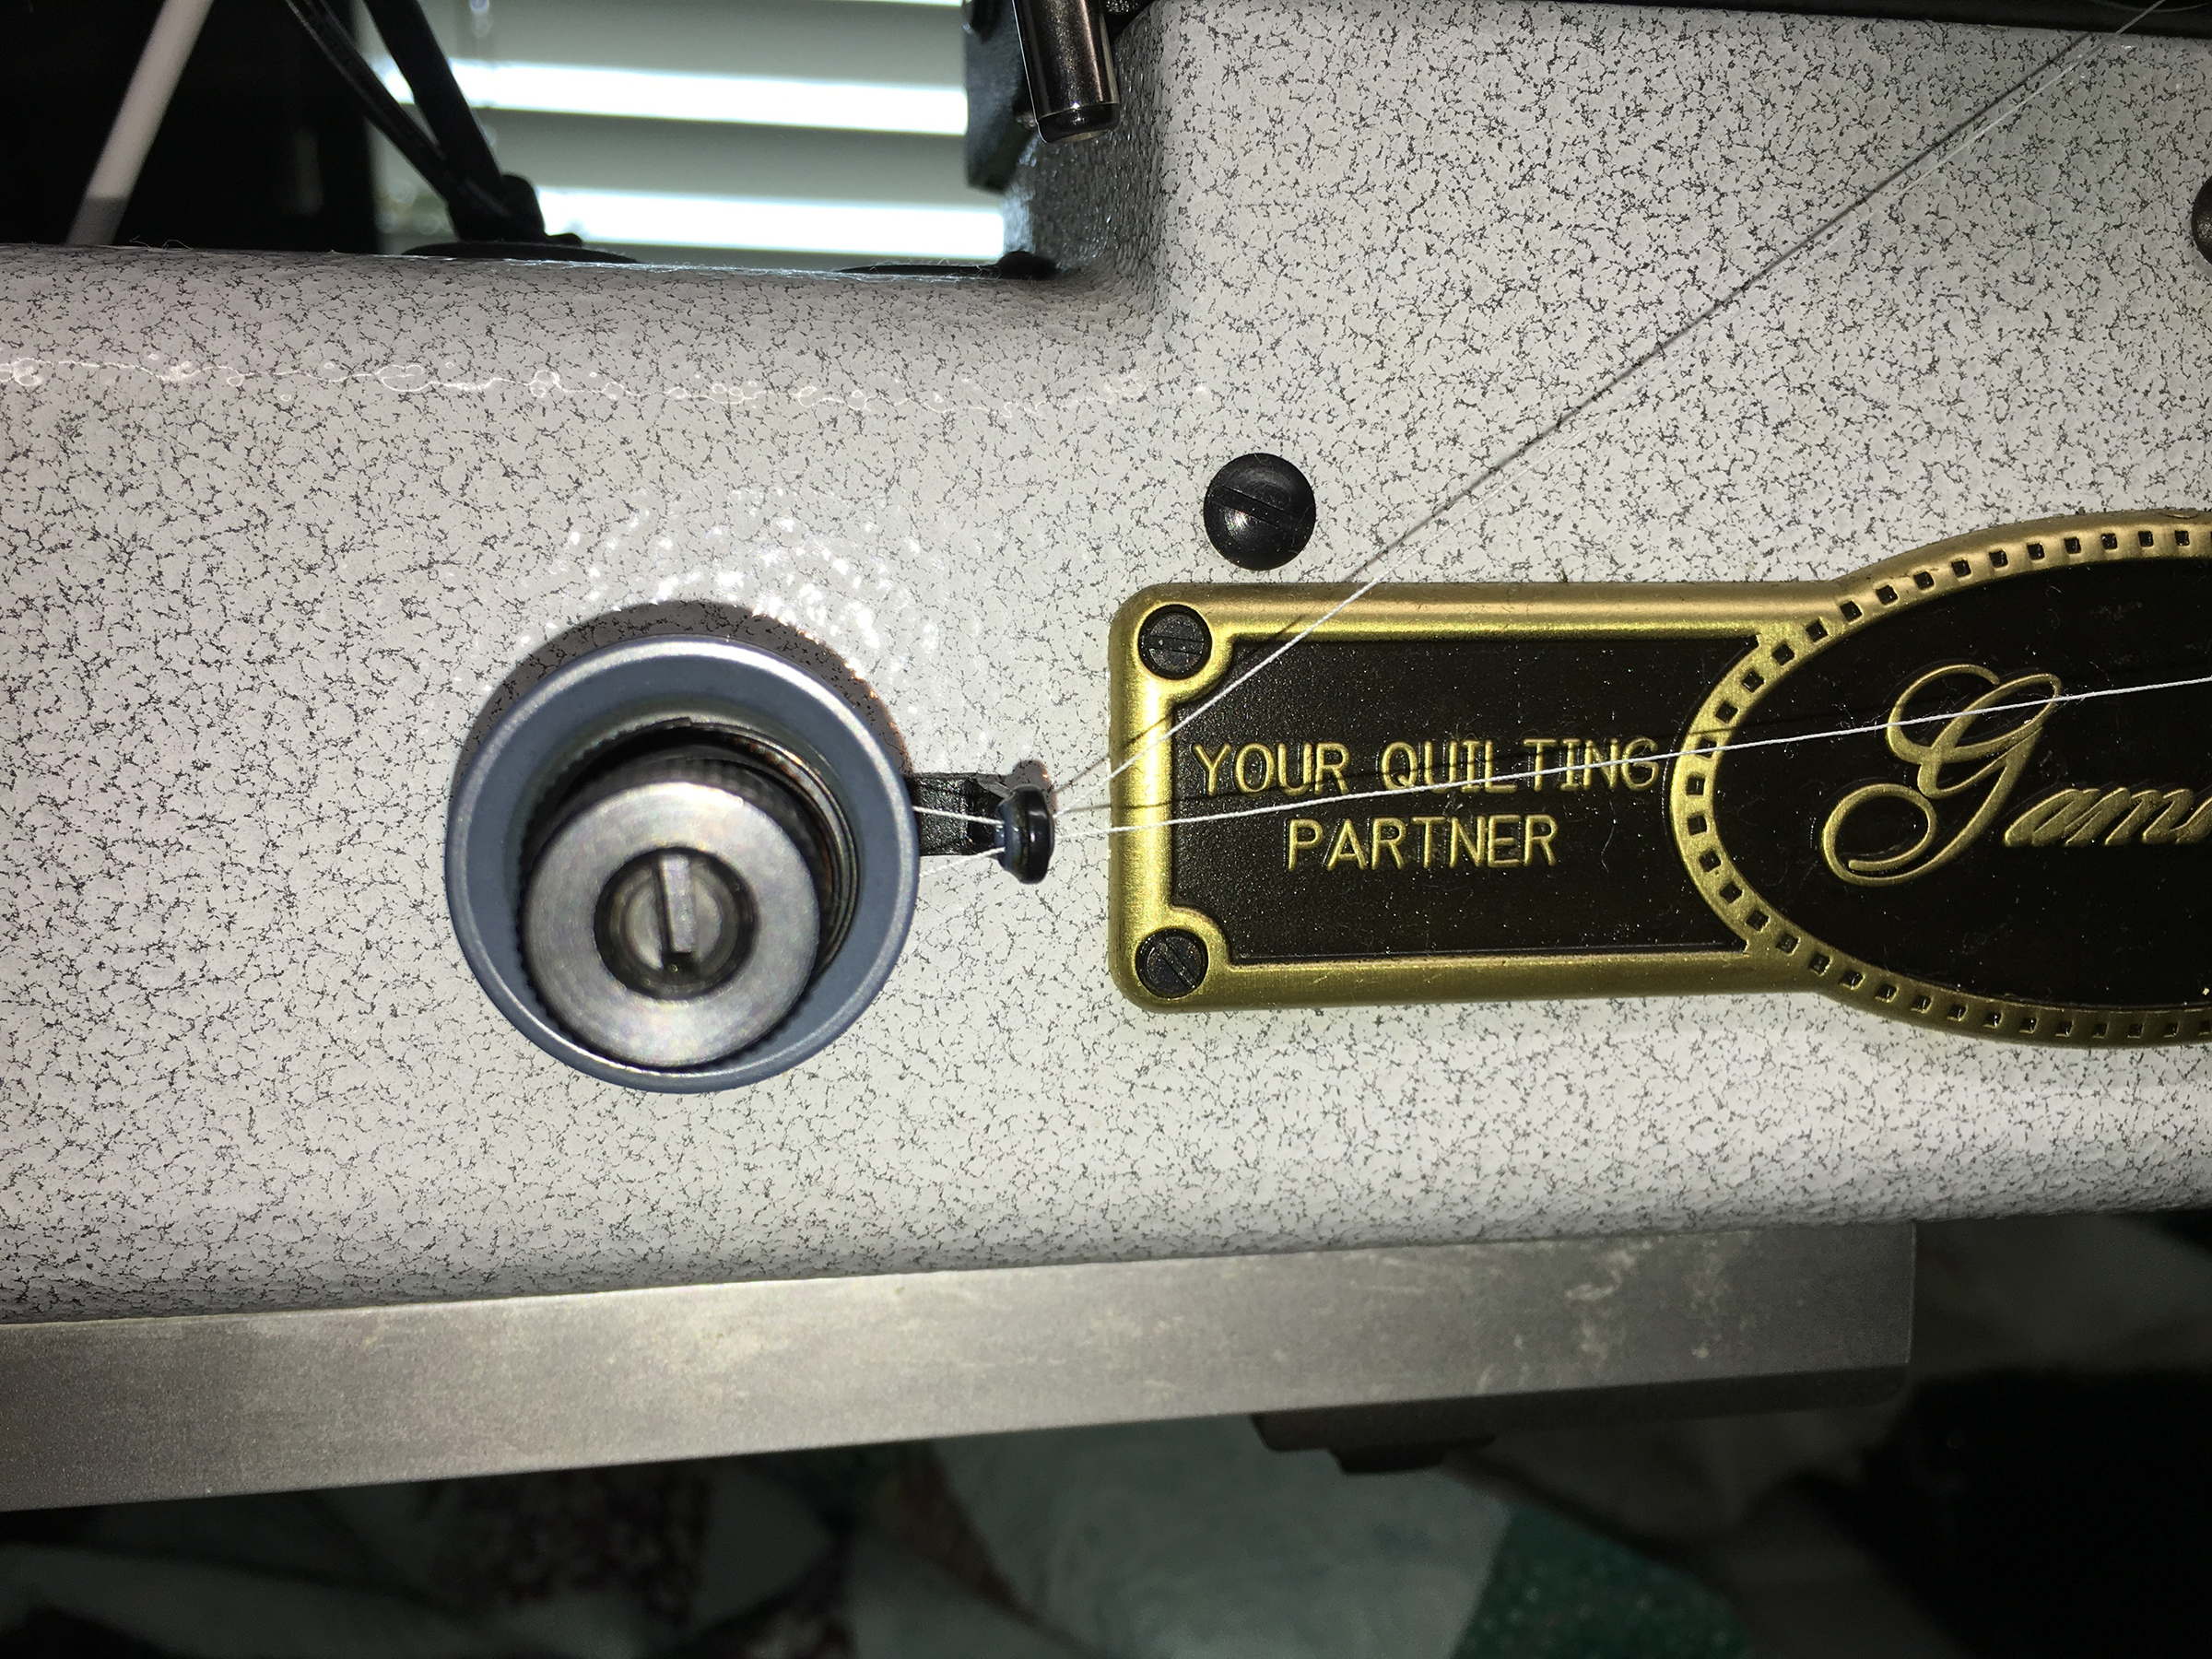
Thread break sensor: Bend around the sensor but do NOT do a complete circle.
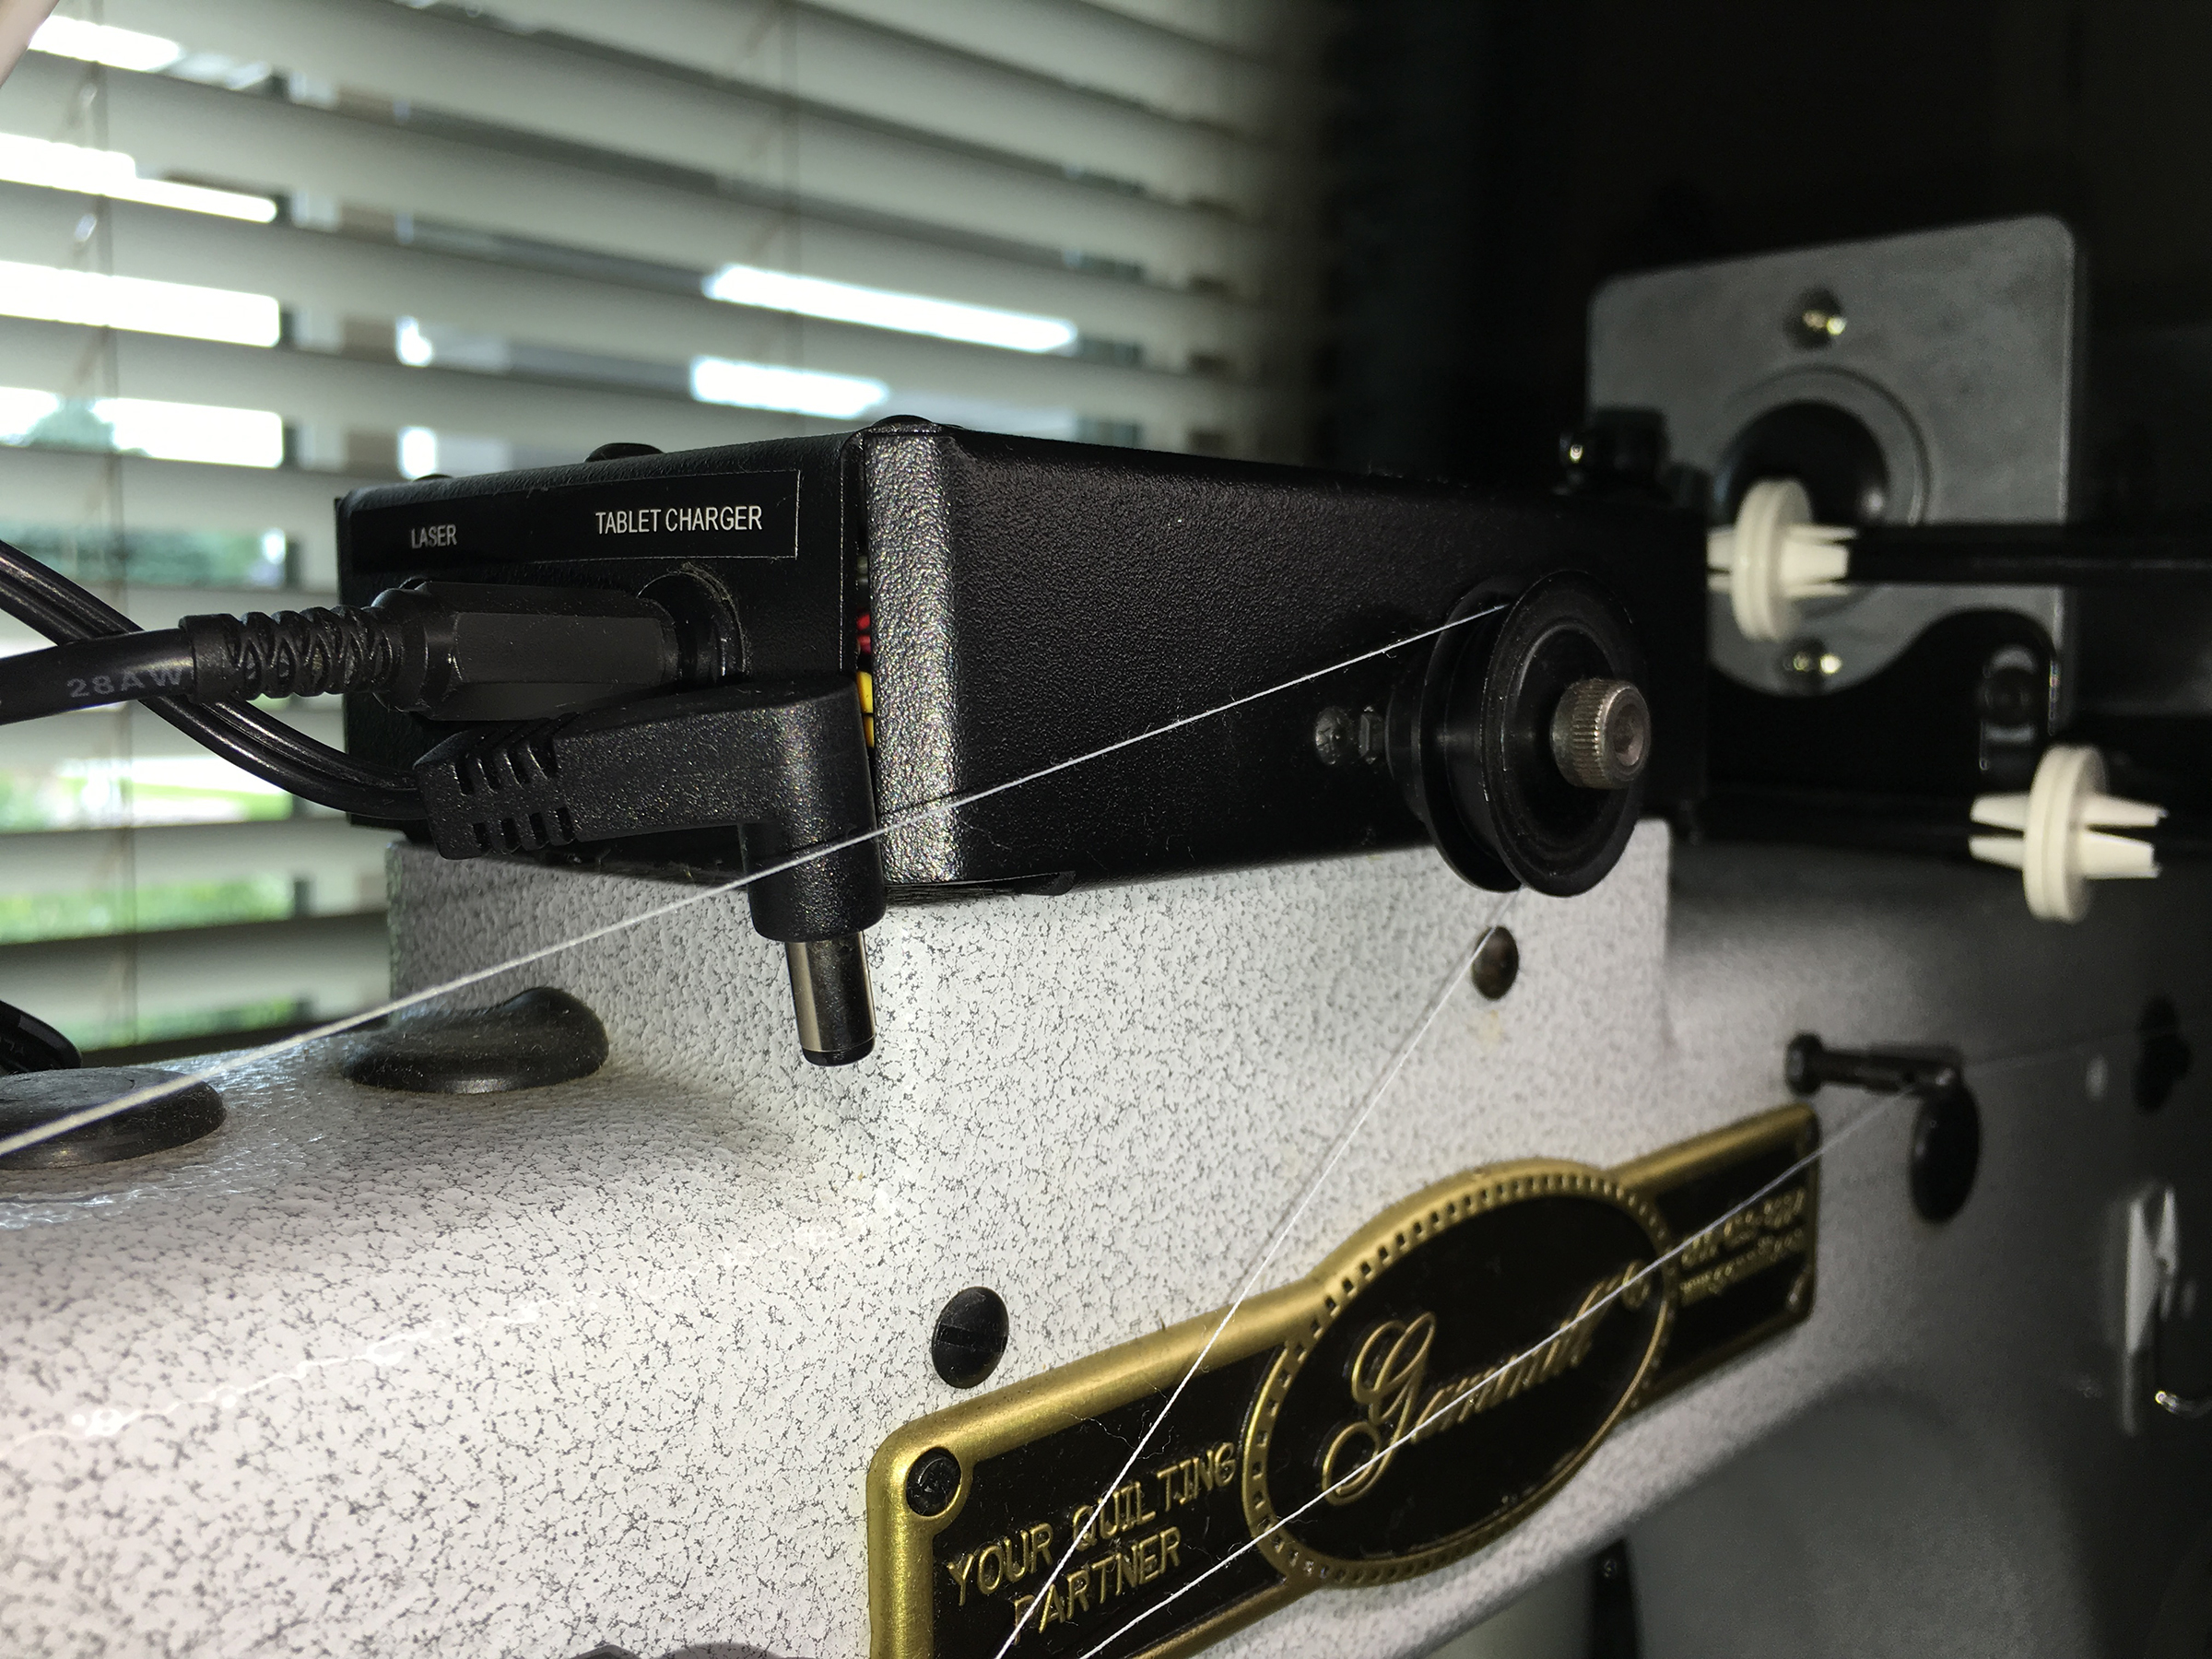
Eyelet: Thread as normal

Tension Knob: Wind around clockwise but do NOT complete a circle. Thread just far enough to catch the hook. Thread the rest of the way as normal.
Upper tension: pretty straight forward….adjust both tension and pretension knobs so that the screw is even with the knob when you run your finger across them. Then…….drum roll please…..DON’T TOUCH THEM TO MAKE TENSION ADJUSTMENTS!
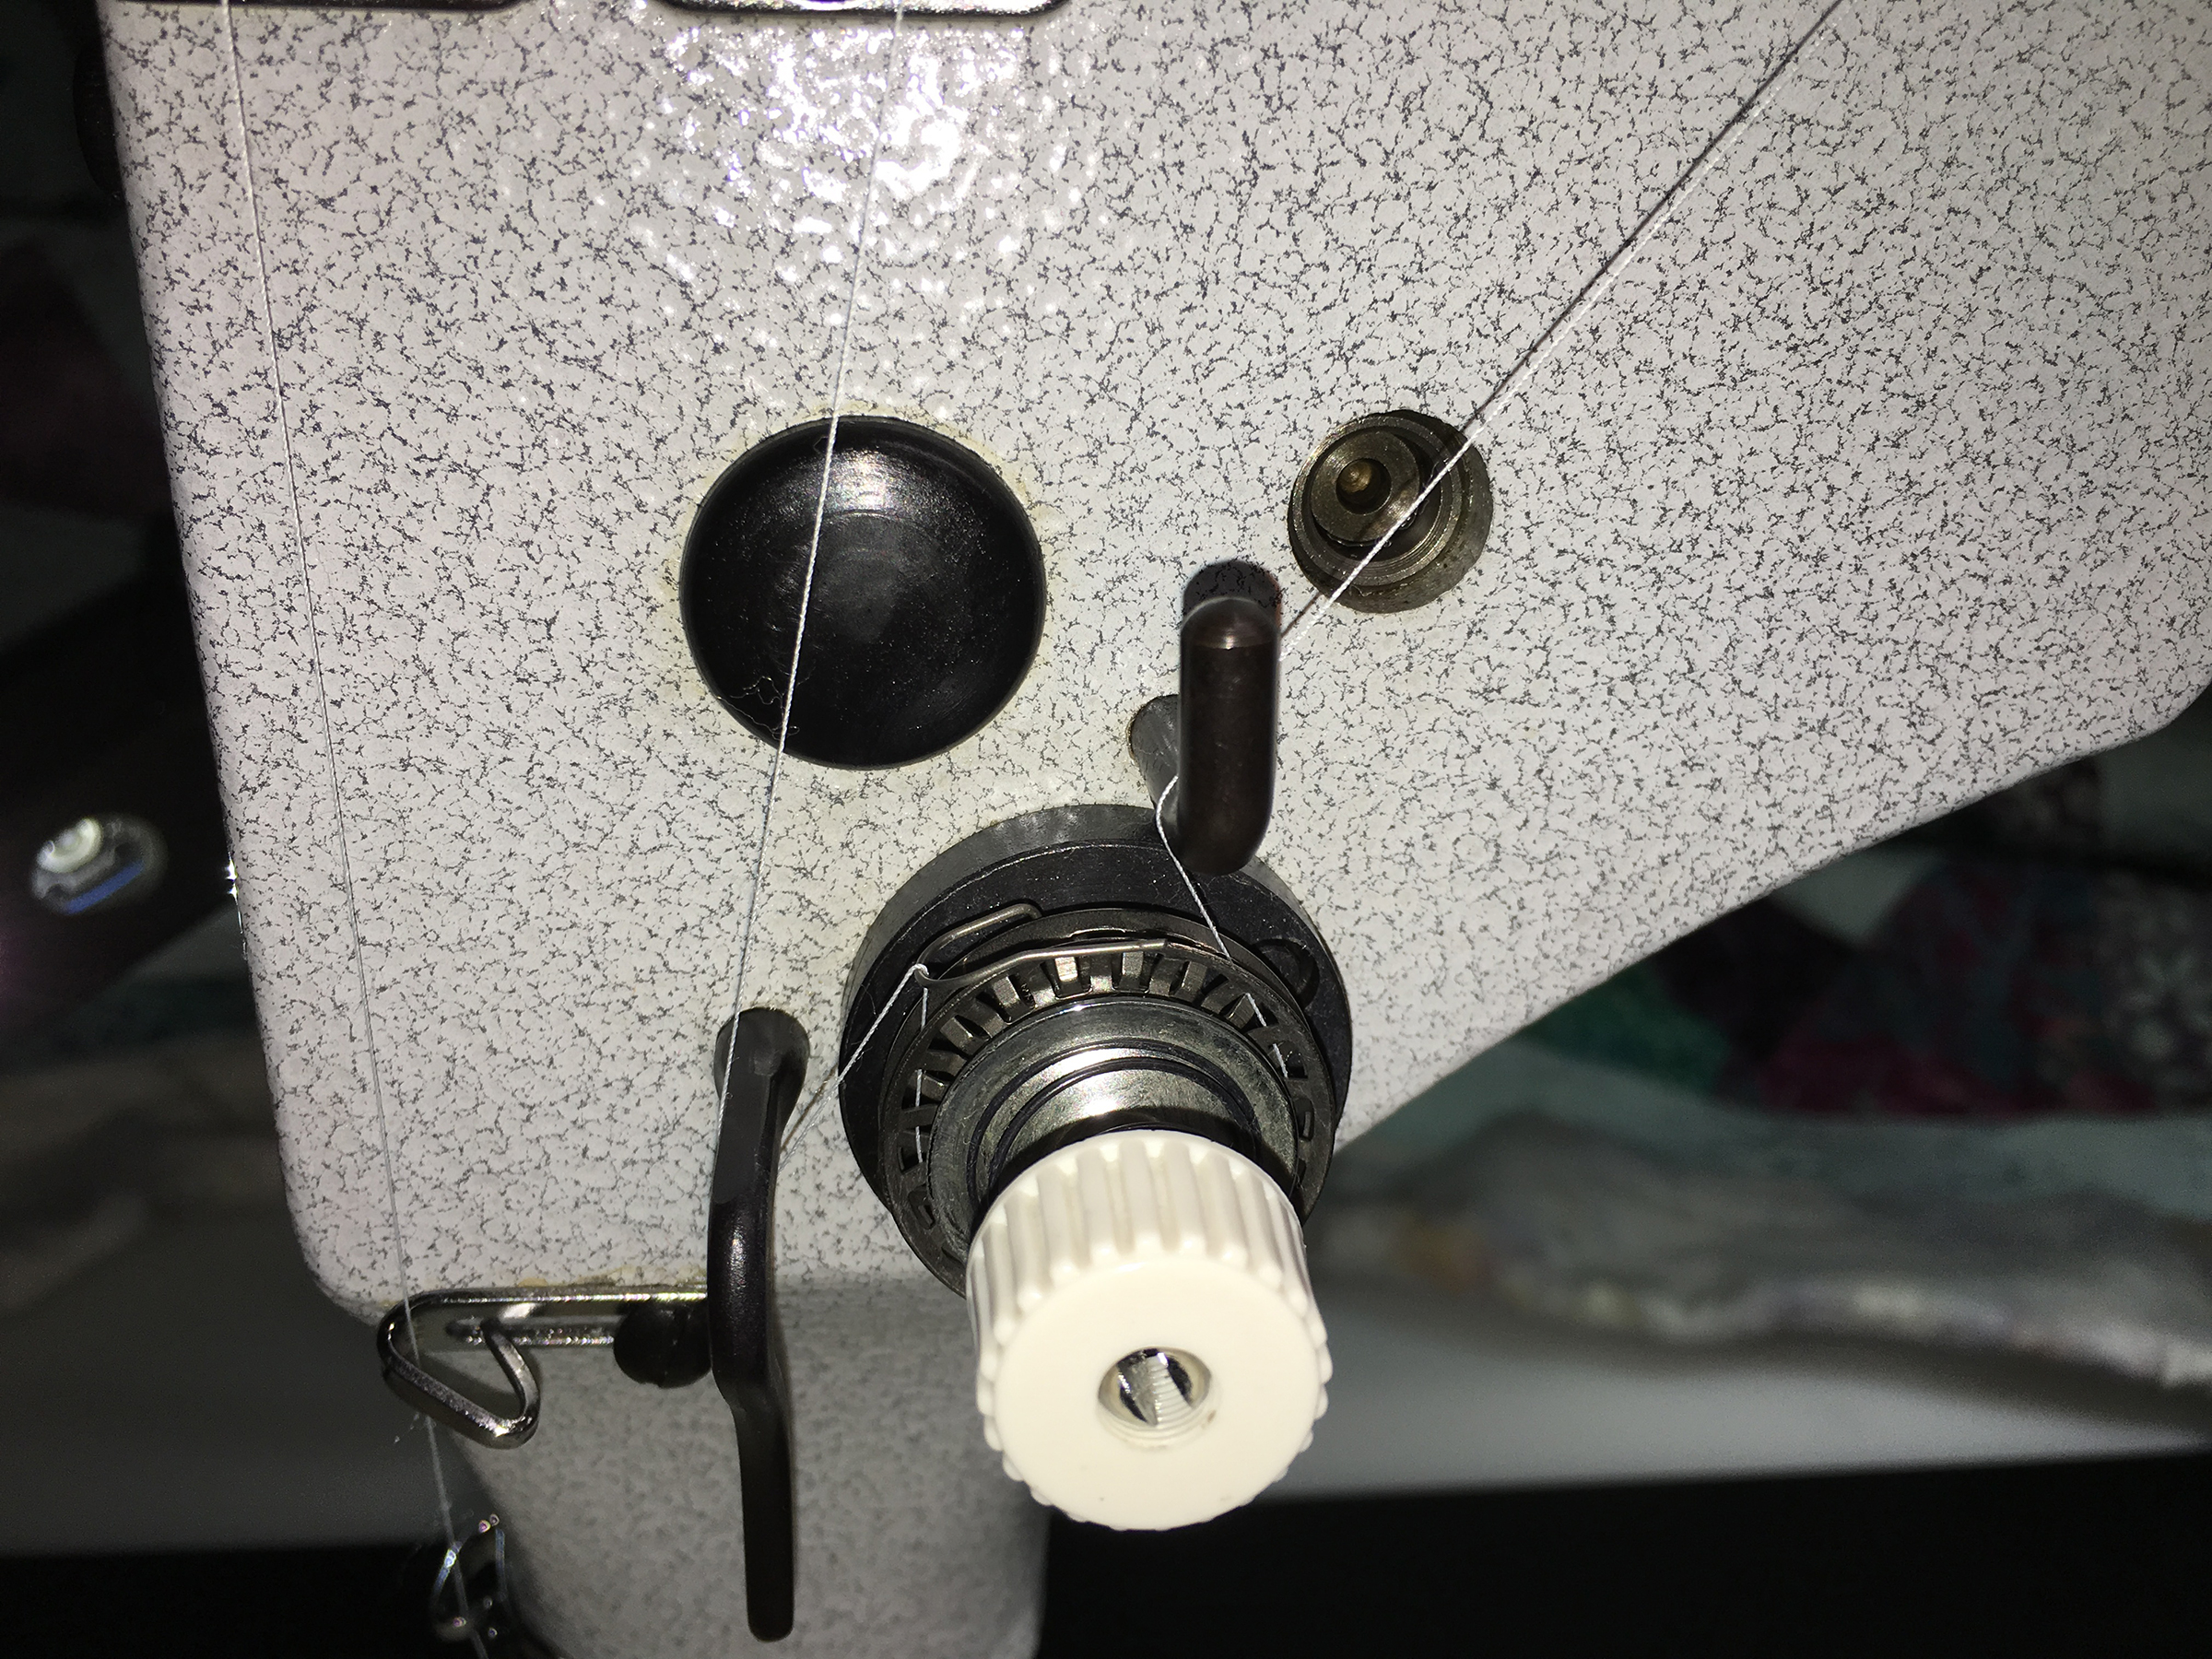
Make all your tension adjustments with your bobbin case. Period. Using a TOWA gauge set your initial tension to between 180 and 200. If you are using a 50 weight thread such as So Fine. This should be all you need to do. In my case, I was using So Fine (50 weight) on the top and Bottom Line (60 weight) on the bottom. I had to tweak the bobbin case a couple of times because of the different weights. It ended up closer to 200 in my case…but here’s the result:

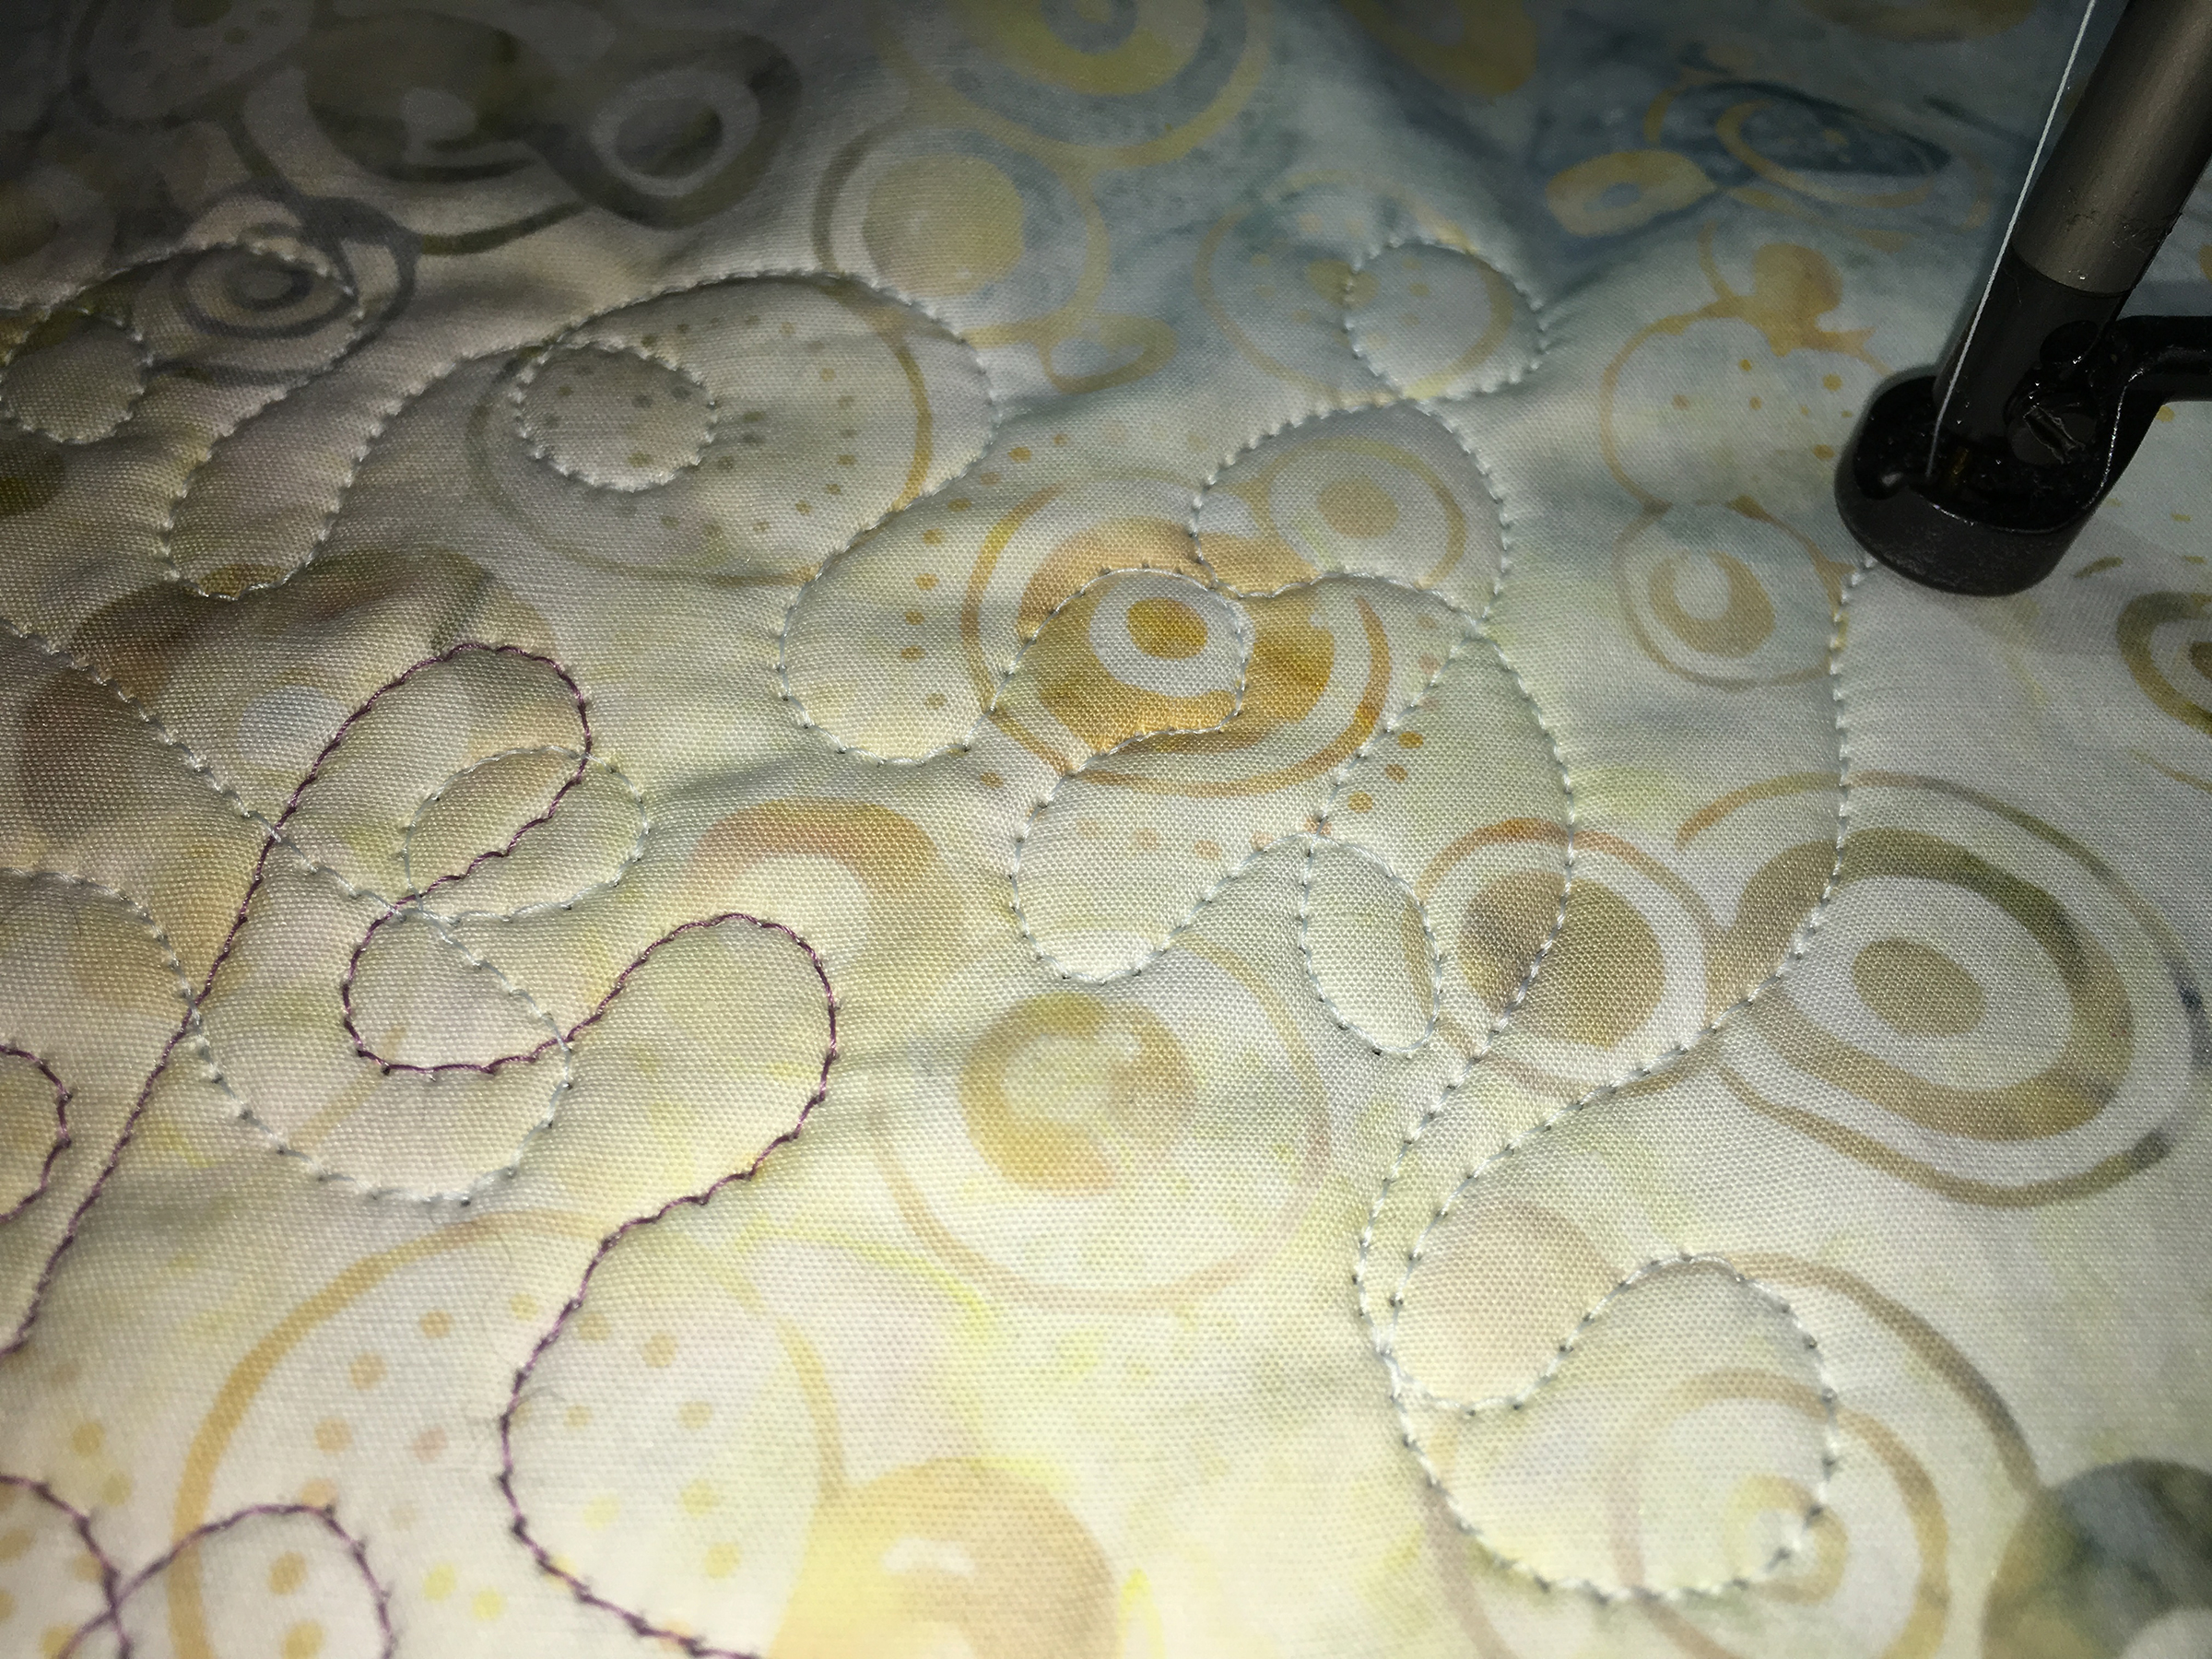
As you can see, the top thread is perfect. I can’t believe how nice it looks…been awhile. I was shocked at what a difference these tweaks in threading and tension made.

And here’s the bottom side. Not as pretty as the top. I probably need to loosen just a smidgen. But I consider this a huge success.
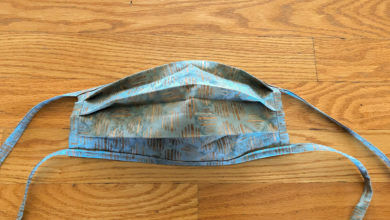
The fabric used was batik with Warm and Natural cotton batting.
I was so used to fussing with the top tension this is a real learning curve for me. And Jade is right. Tweaking just one is way better than messing with both. If I’m flat-lining on top, I need to tighten the bottom tension. If I’m flat-lining on the bottom, I need to loosen the bottom tension. That simple.
Awesome. Hope this helps those who have been wringing their hands, biting off their tongues, or pulling out hair. Honest, there is hope!


Oh…and Jade also mentioned to make sure the tension on the stand-alone bobbin winder is loose. You do not want the bobbin wound too tight.
Hi Linda,
Loved this post. I’ve noticed I always loosen tension much more than recommended, so most of this makes sense to me. I posted a link to this post on “CharmersAcrossThePond”. I hope you don’t mind. Wish I could reblog the whole think. You did an awesome job.
Thanks…don’t mind at all. I love my Charm but tension has been an ongoing battle for me. Happy to share. I’ve only done a few doodles with this new threading/tension technique. My next project will be the real test. My dream is to have “consistent” tension success…ha.
OMG! I was sooooo glad to have TRIPPED across your posting on the Charm! I have had mine for 3 yrs now (only getting to use it 6 months a year since we spend 1/2 a year at our summer home). The dealer I bought my Charm from, no longer carries them! Thank you for your posting it was very helpful and I am printing it off to keep near my Charm.
Hi Shelley,
This was a huge breakthrough for me! I now have consistent tension throughout a project. I was getting very tired of my love-hate relationship with Charm tension. I now thoroughly love Tasha! Adoption permanent 😀
I just a bought a very gently used Charm. I have used my Gammill Statler for 11 years now. Can’t seem to get this running properly. Does the needle set so you thread left to right??? I called Gammill and the tech told me that it goes straight-just like the big machines-but it just won’t sew that way. Can’t find anything online showing proper way to set the needle. Any help greatly appreciated. No manuals really came with machine
Hi Lisa,
The Charm is like your Statler turned sideways. The needle is set exactly the same way you set it in your Statler. As you sit, you are facing the right side of the machine. The front is facing to the left. So, yes, you thread left to right. The groove of the needle should be facing to the left (Statler’s front).
The only manuals I received were the quick start and the troubleshooting guides. They are both still available under manuals on the Gammil site under previous models.
Could it be a timing issue?