The Jane Stickle Quilt – Block F9
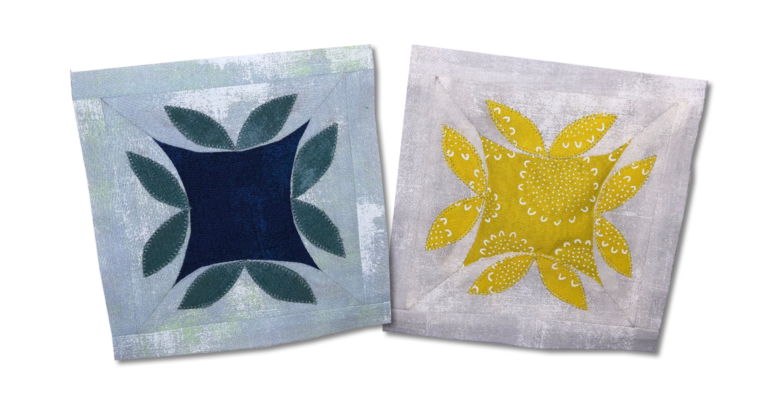

As I studied Block F9, I realized I had several choices for creating it. I could appliqué the center and melons to the background fabric. But as I studied Jane’s it was clear that was not how she handled the center section. The block appears to be curve pieced, my second option. But there is also a third option…
I decided to reverse appliqué for Block F9. The first step was to attach the four sides to each other at the corners.

Then I pressed under the inside seam allowance, cut a 5-inch square for the center and reverse appliquéd my sides square to the center square. Next I flipped the block over and trimmed away the excess center fabric to a ¼-inch seam allowance.

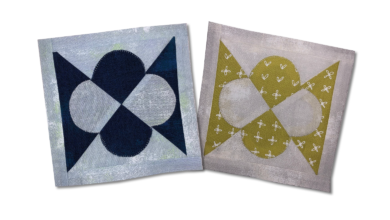
Finally, I appliquéd the eight leaves to the block as shown. The templates included in the pattern will work for whichever option you choose for this block.
PDF pattern: Jane Stickle - F9
Note: Unit A and Unit B in the pattern are for the sashing. I chose to make 5-inch blocks like the original rather than sash 4½-inch blocks. If you prefer to add your sashing when your blocks are all finished, just eliminate the A and B units from my pattern. The center sections will then be 4½ inches finished in size and you can add your sashing later.