Carpenter Star – Section 3 Challenges

Goodness, it’s been almost two months since I’ve been free to work on this baby. I thought today I’d cover some of the challenges involved using the quilt-as-you-go method on a king-size quilt.
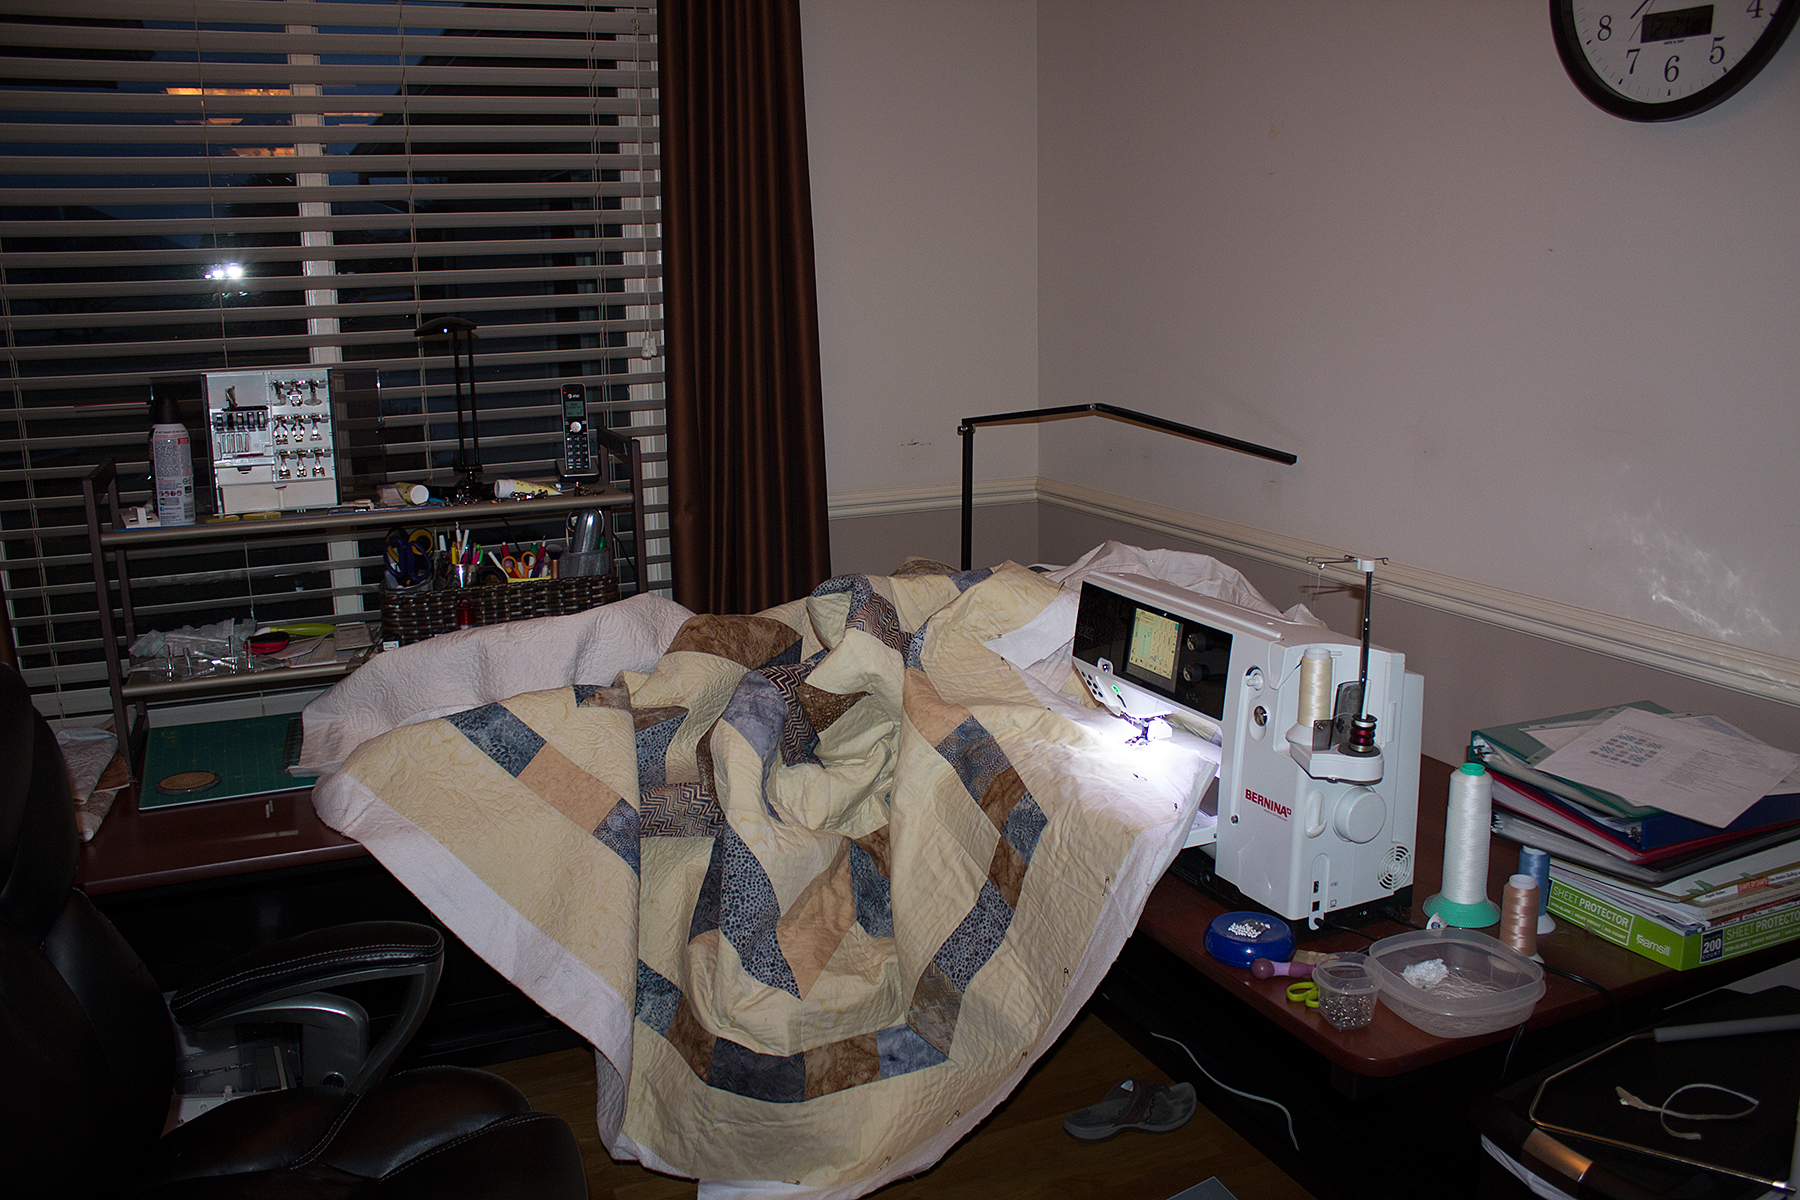
I’m a strong advocate for stitching in the ditch before any free motion quilting begins. It reduces layer shifting to the size of a block and really cuts down the “pucker” factor. I think it’s particularly important with the quilt-as-you-go method. I’m a very heavy-handed quilter and I’ve learner that the more I quilt, the more the quilt shrinks. Stitching in the ditch doesn’t eliminate the shrinkage but it does help reduce it. Unfortunately, stitching in the ditch becomes somewhat difficult with a quilt of this size, even though I’ve divided it in thirds. I’m fortunate to own a Bernina 820 (bury me with it please) and it has a whopping 12-inch throat.
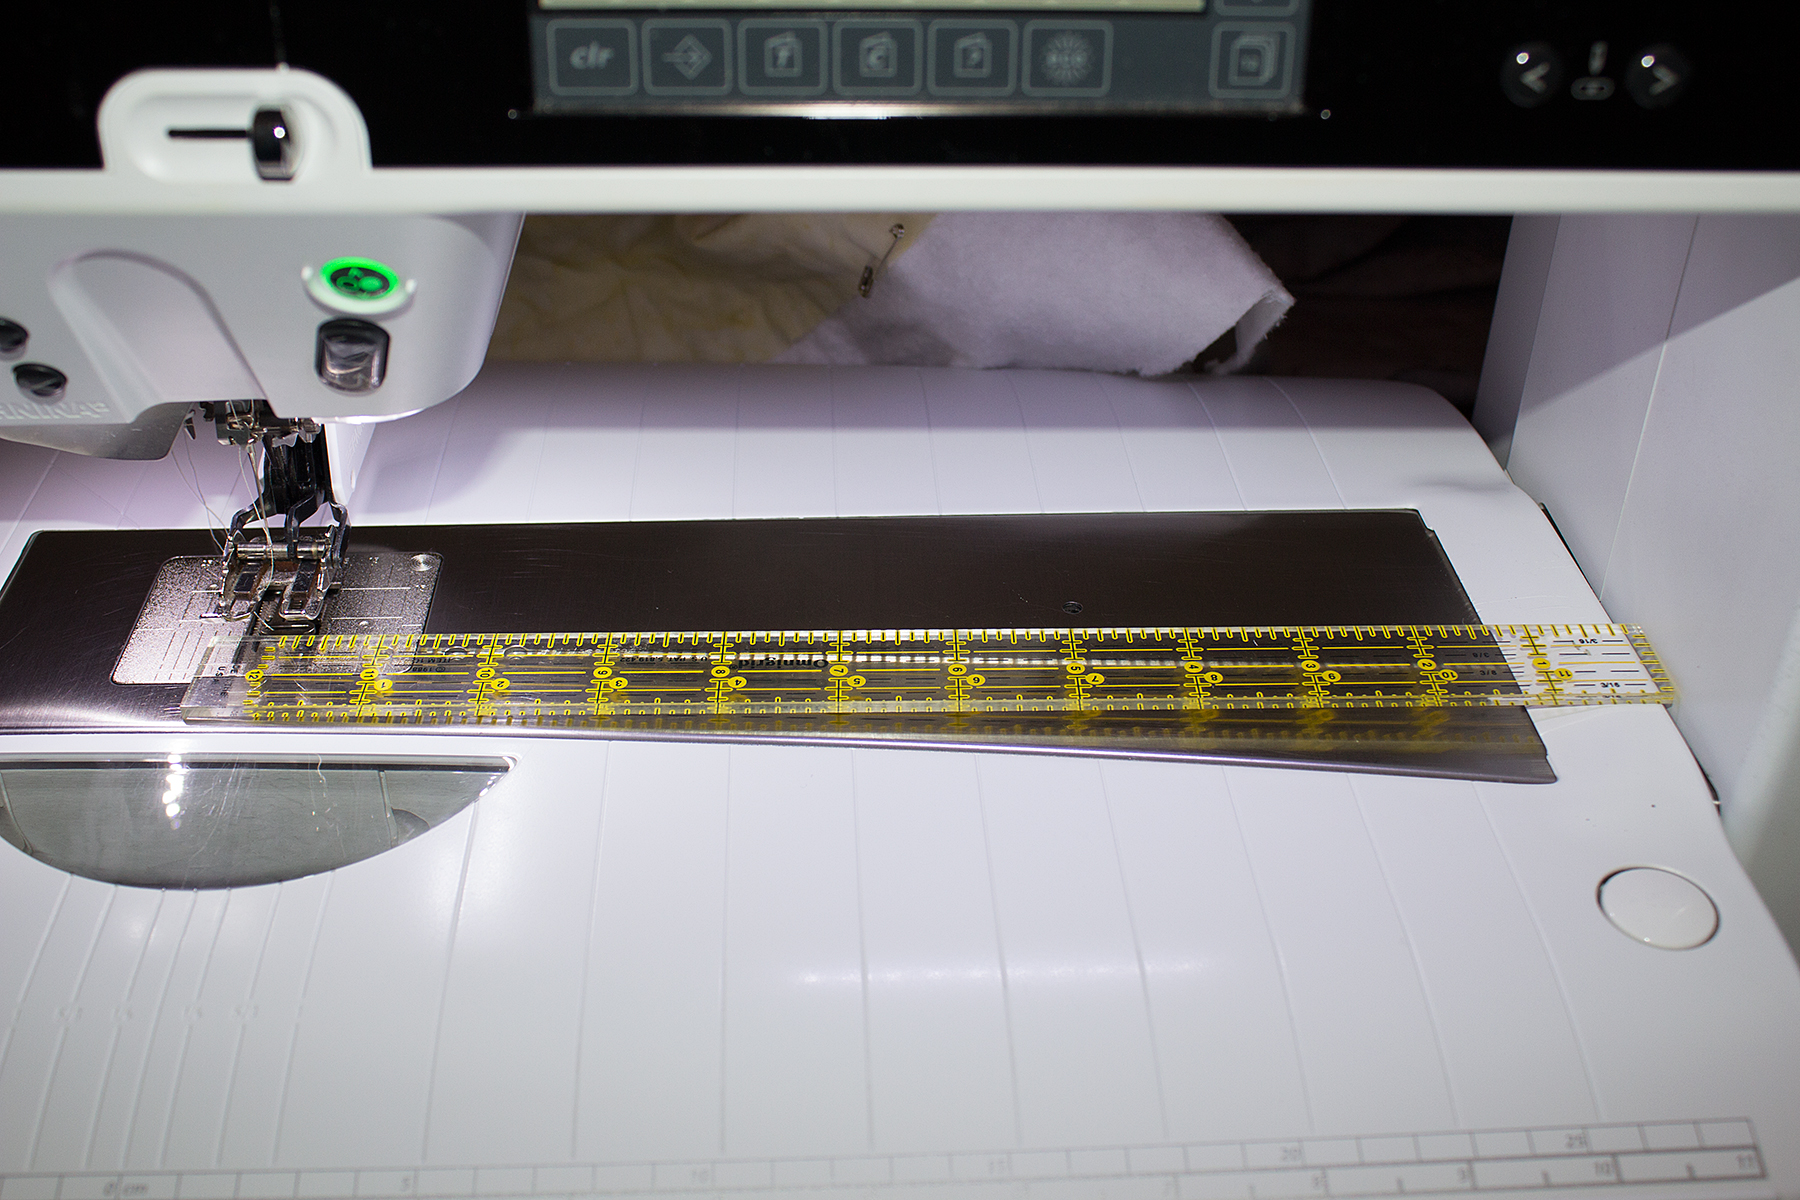
Most domestic machines run in the 7 to 9 inch range. By dividing the quilt into thirds, the free motion portion of quilting is much easier and doable even on the smaller throat machines. But with stitch in the ditch, there is no getting around the 120 inch length when trying to ditch stitch the side seams (say that fast three times). You’ve got to be able to shove at least 60 inches (the halfway mark) through the throat to use your walking foot for the ditch process. The only other option is to free motion the ditch seams once you’ve exceeded your throat capacity.
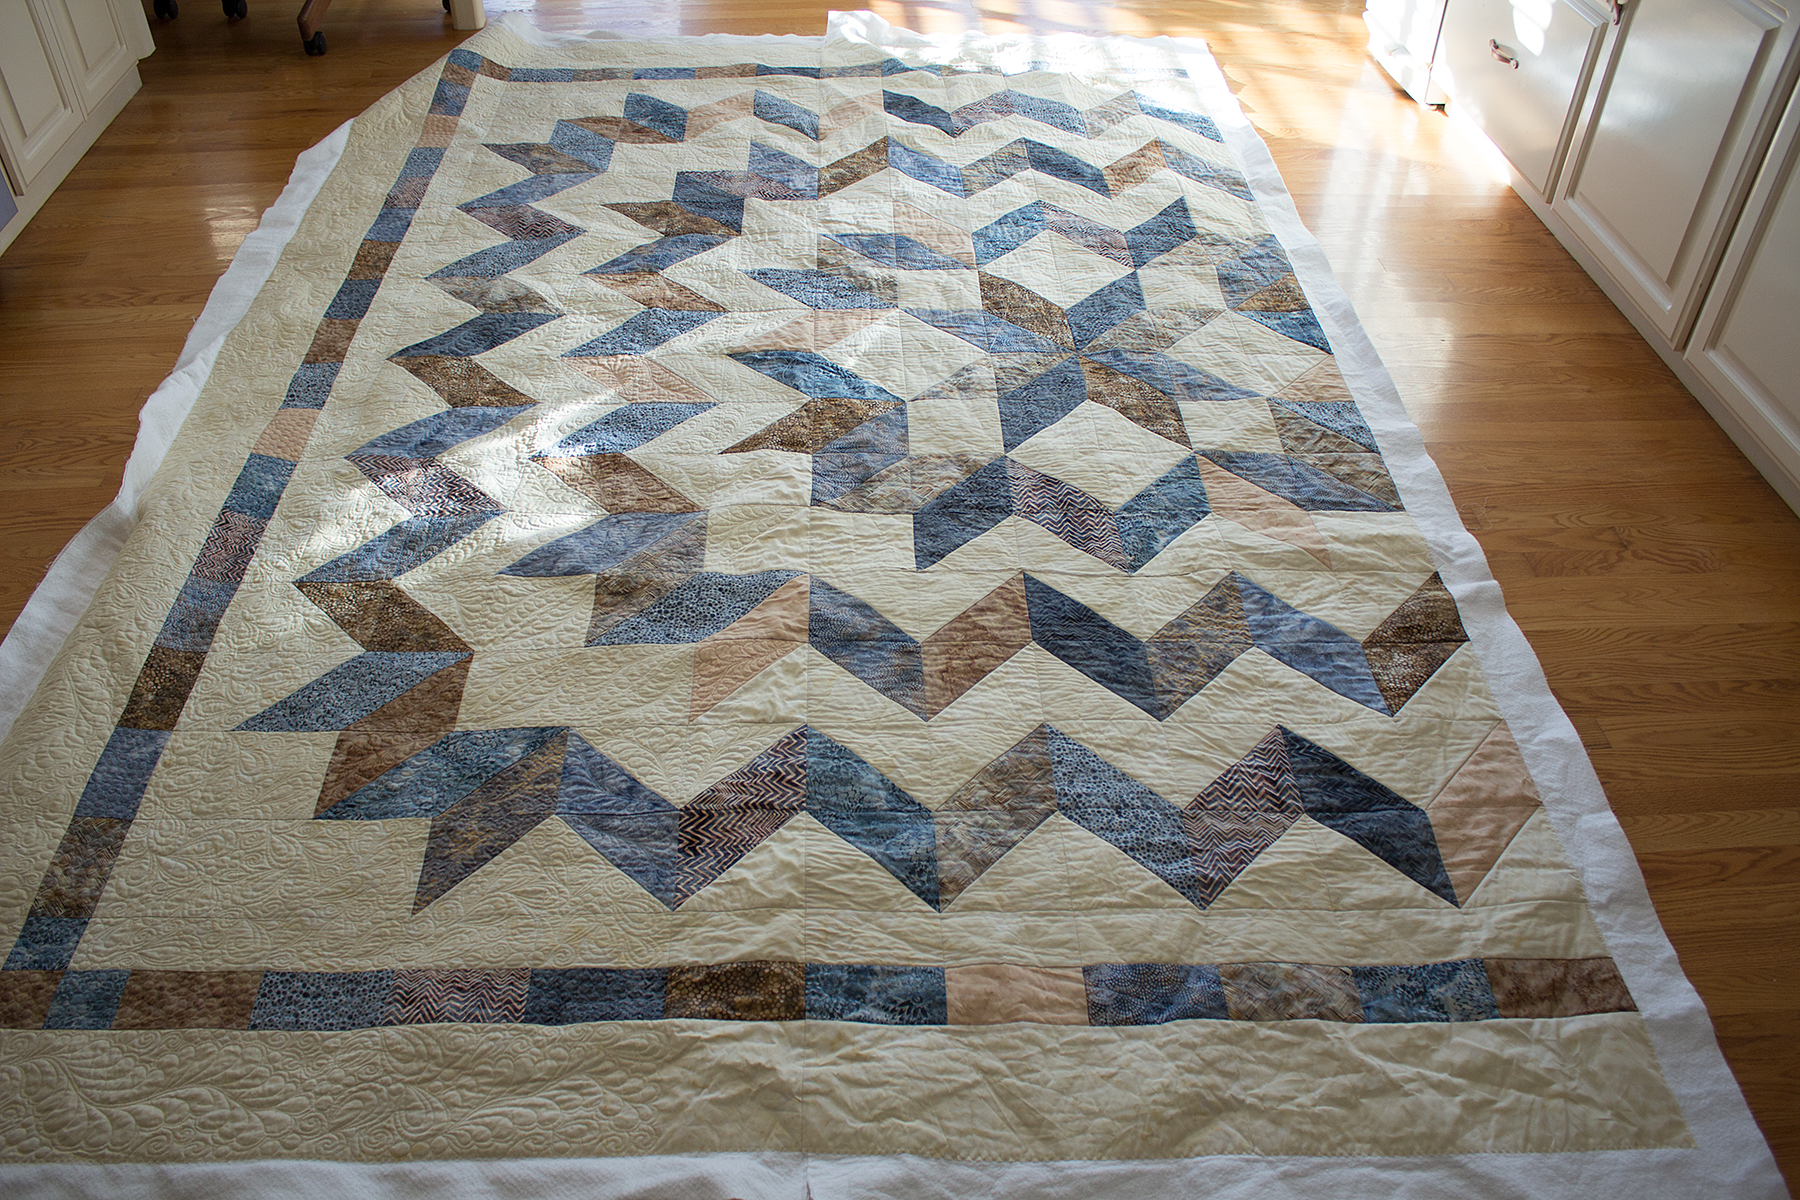
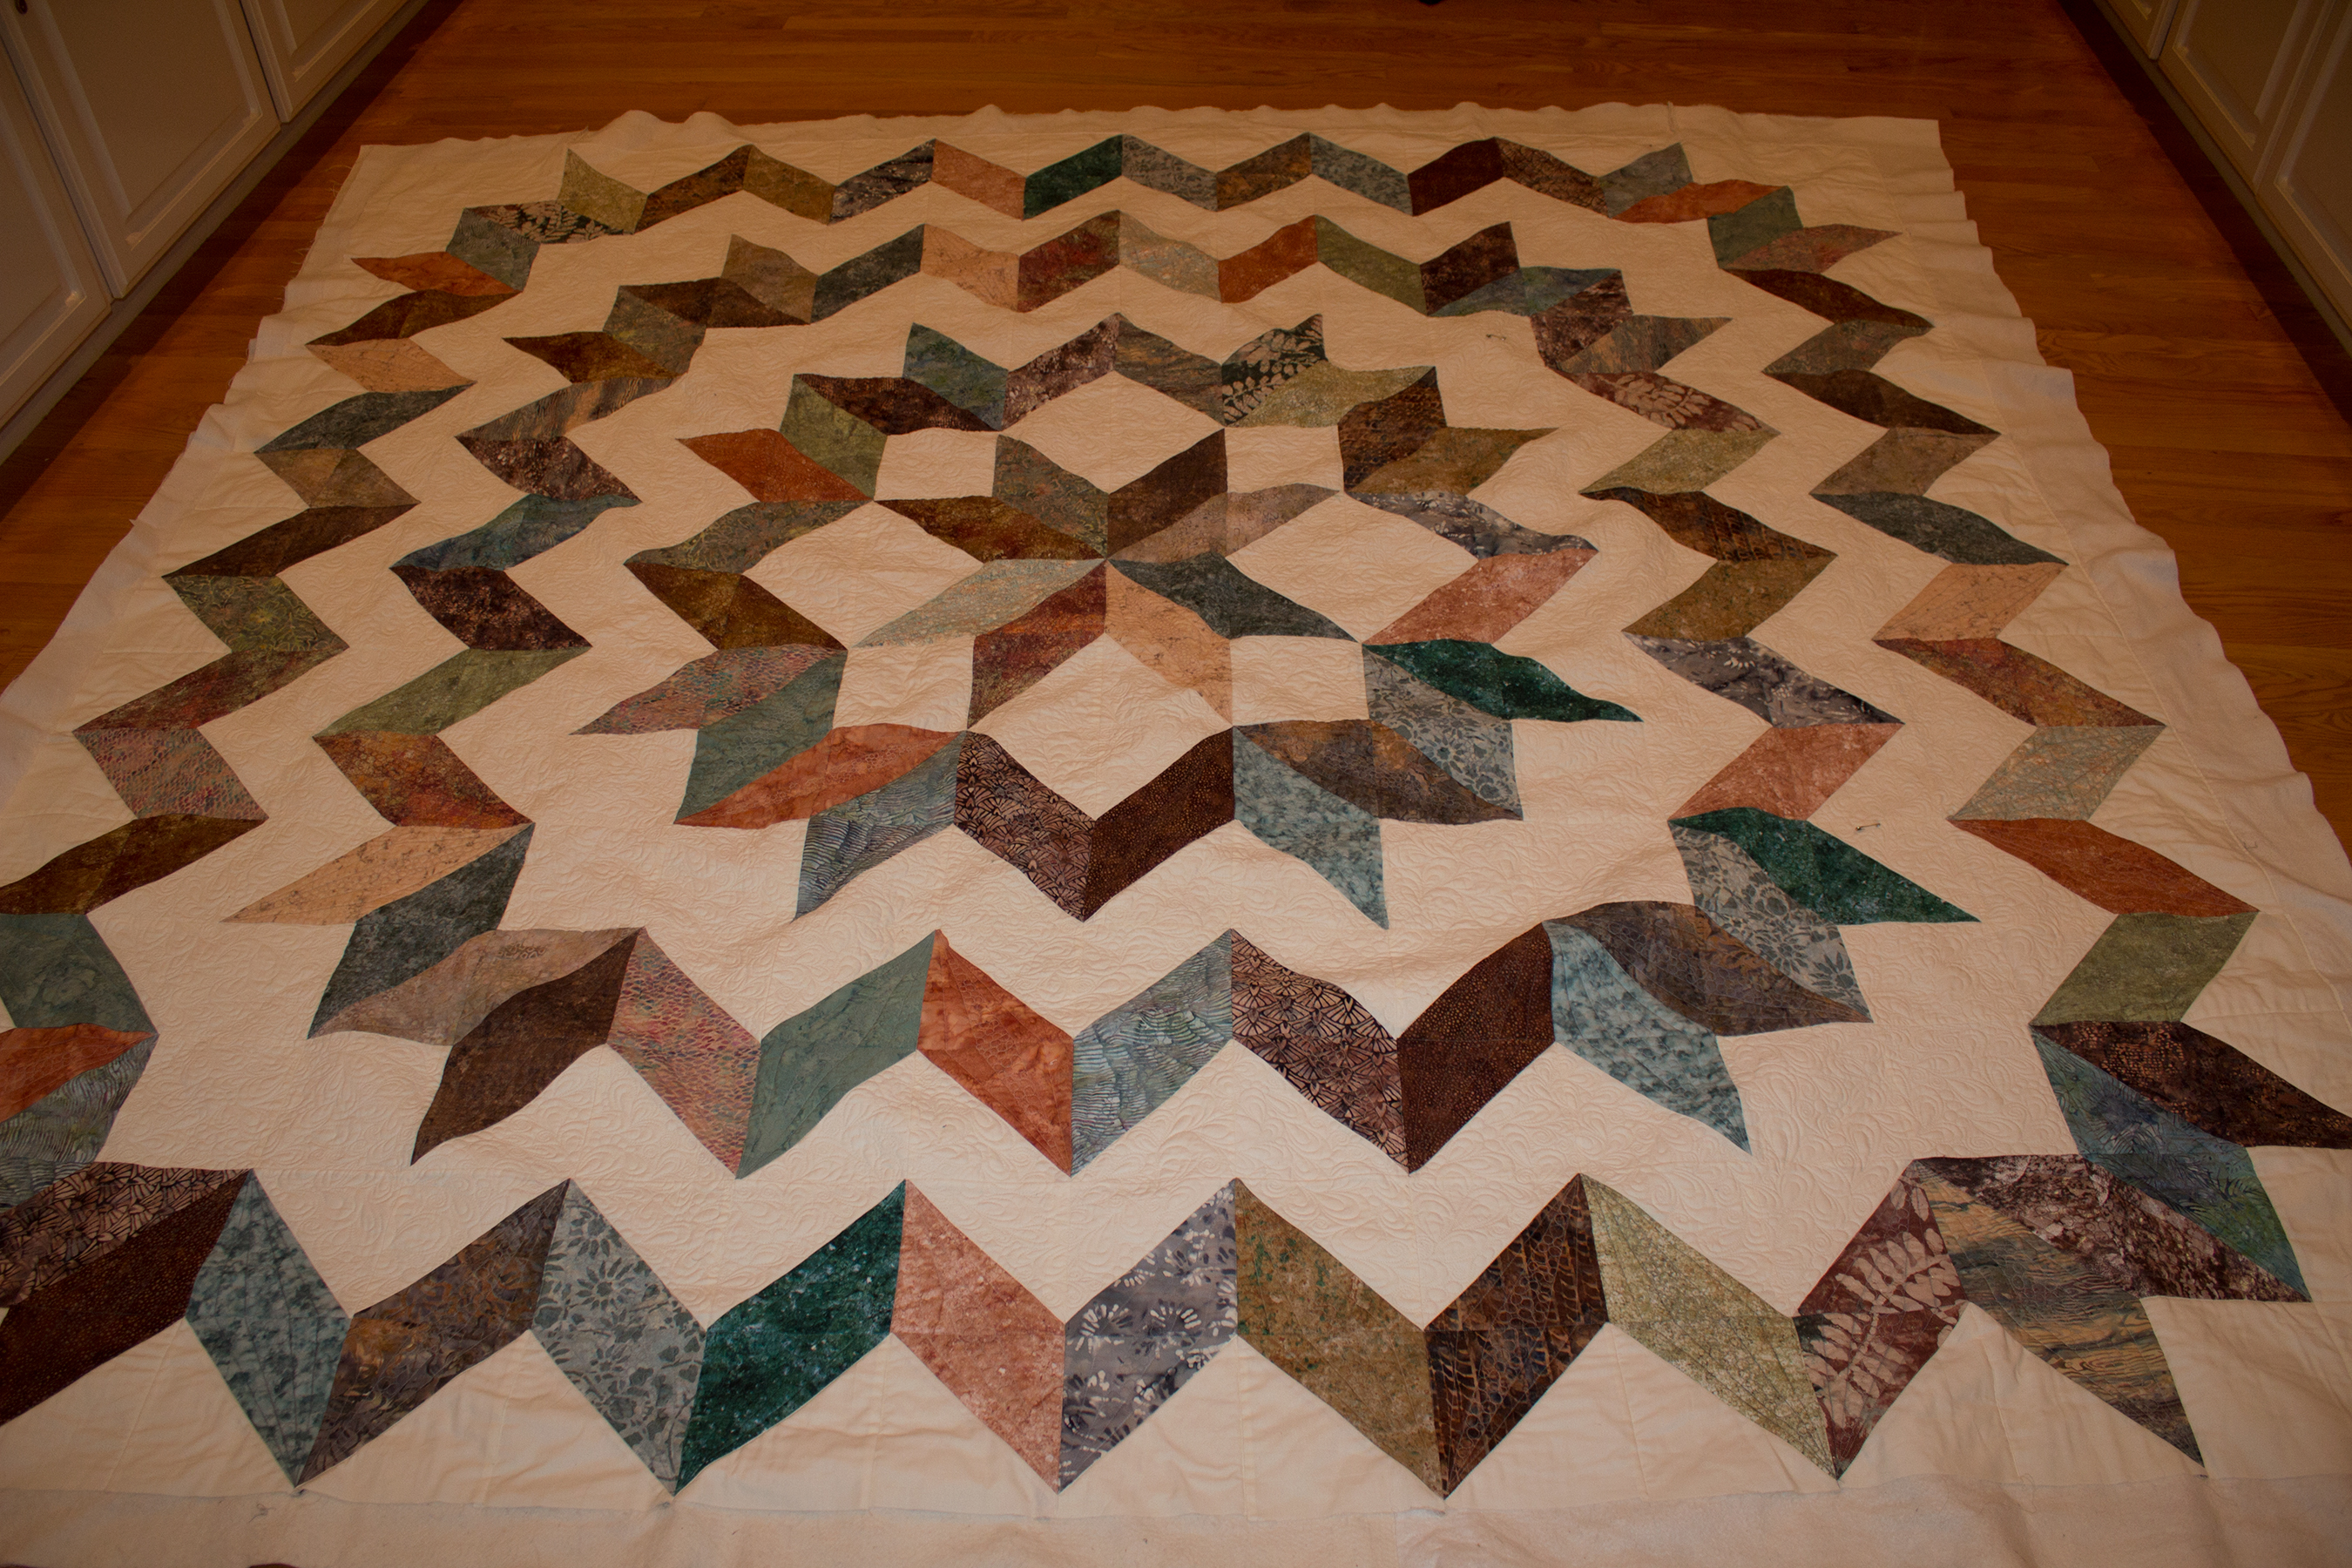
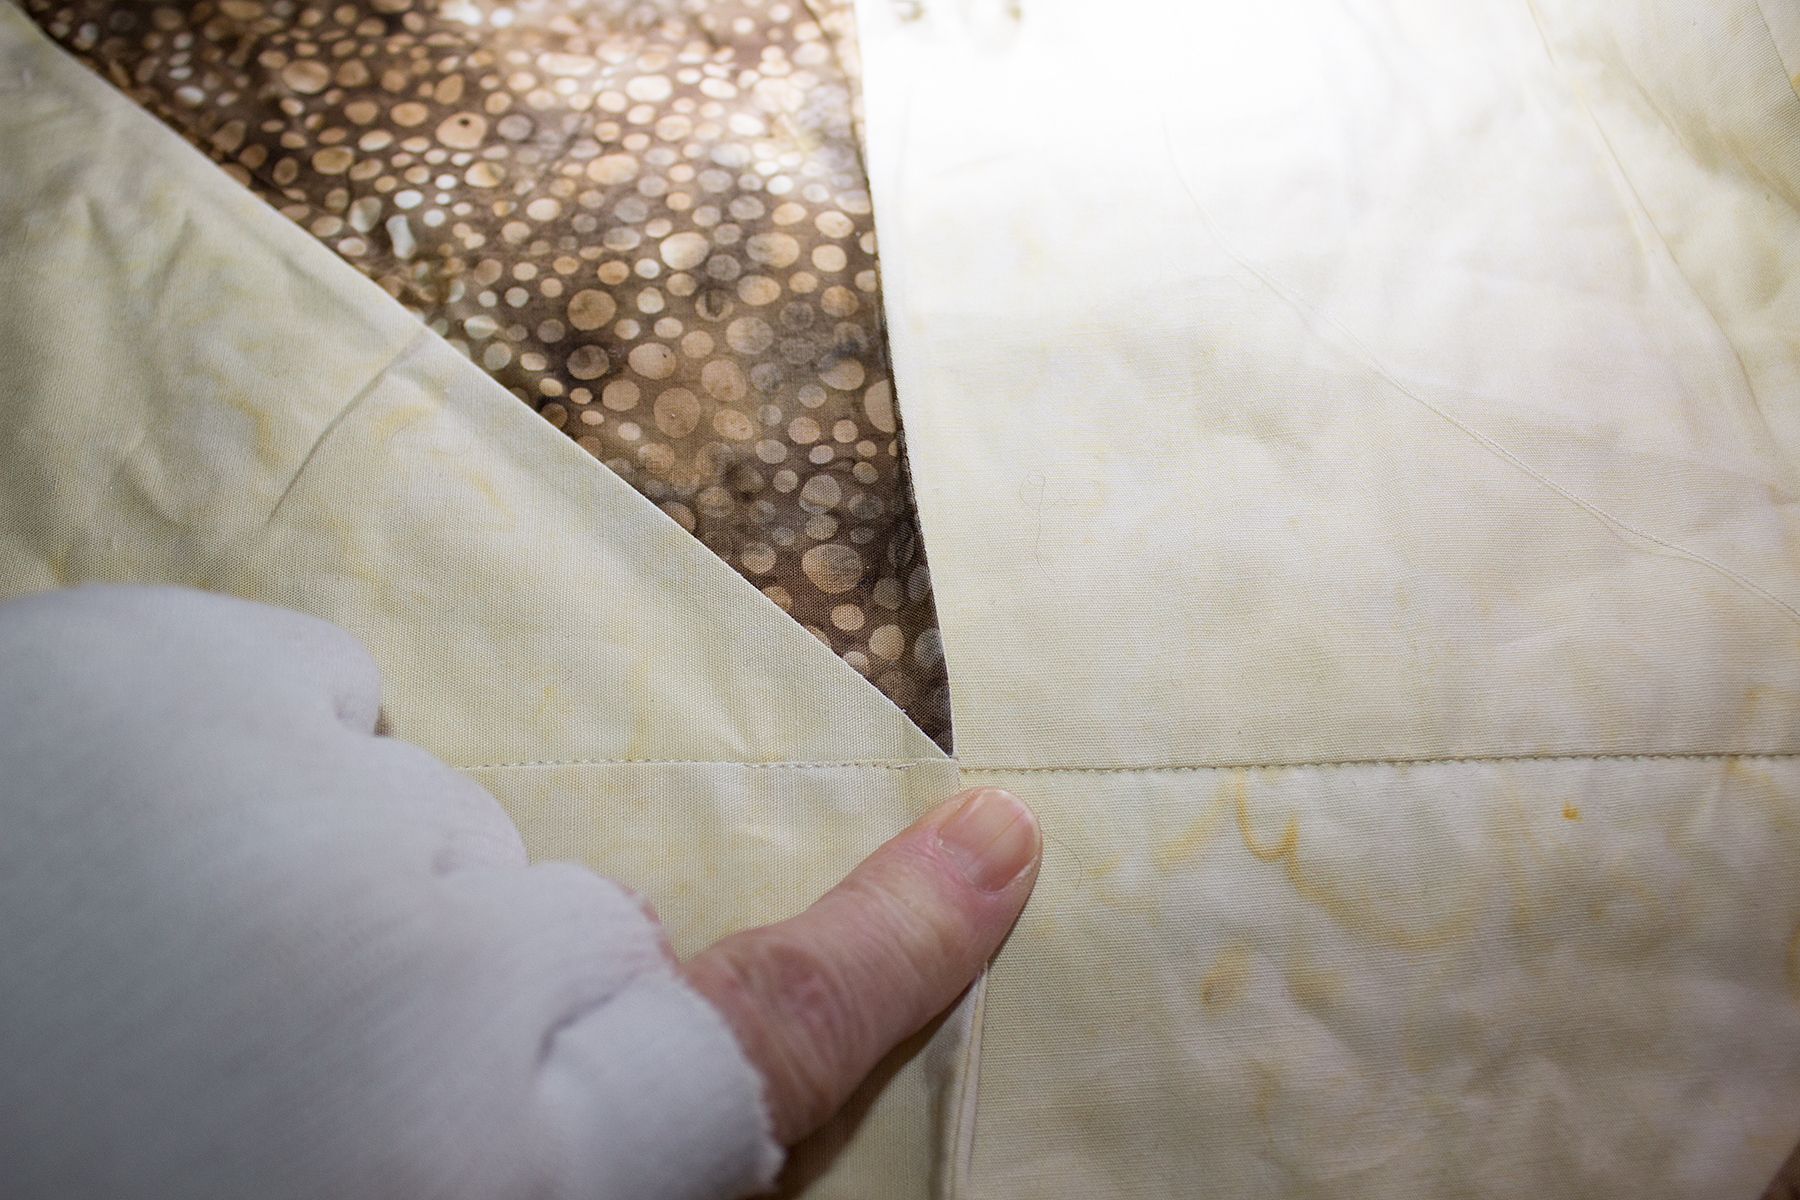
Another challenge, the shrink factor mentioned above, comes into play when joining the sections together. There will be puckers as you match seams. I was pleasantly surprised that I only had two biggies when adding the third section to the mix (the same number I had when joining the first two sections). By the third section, I’m gravitating towards the “close enough is good enough” phase but I still try to get as close as I can. How do I deal with those puckers? Let’s take a look at my dilemma.

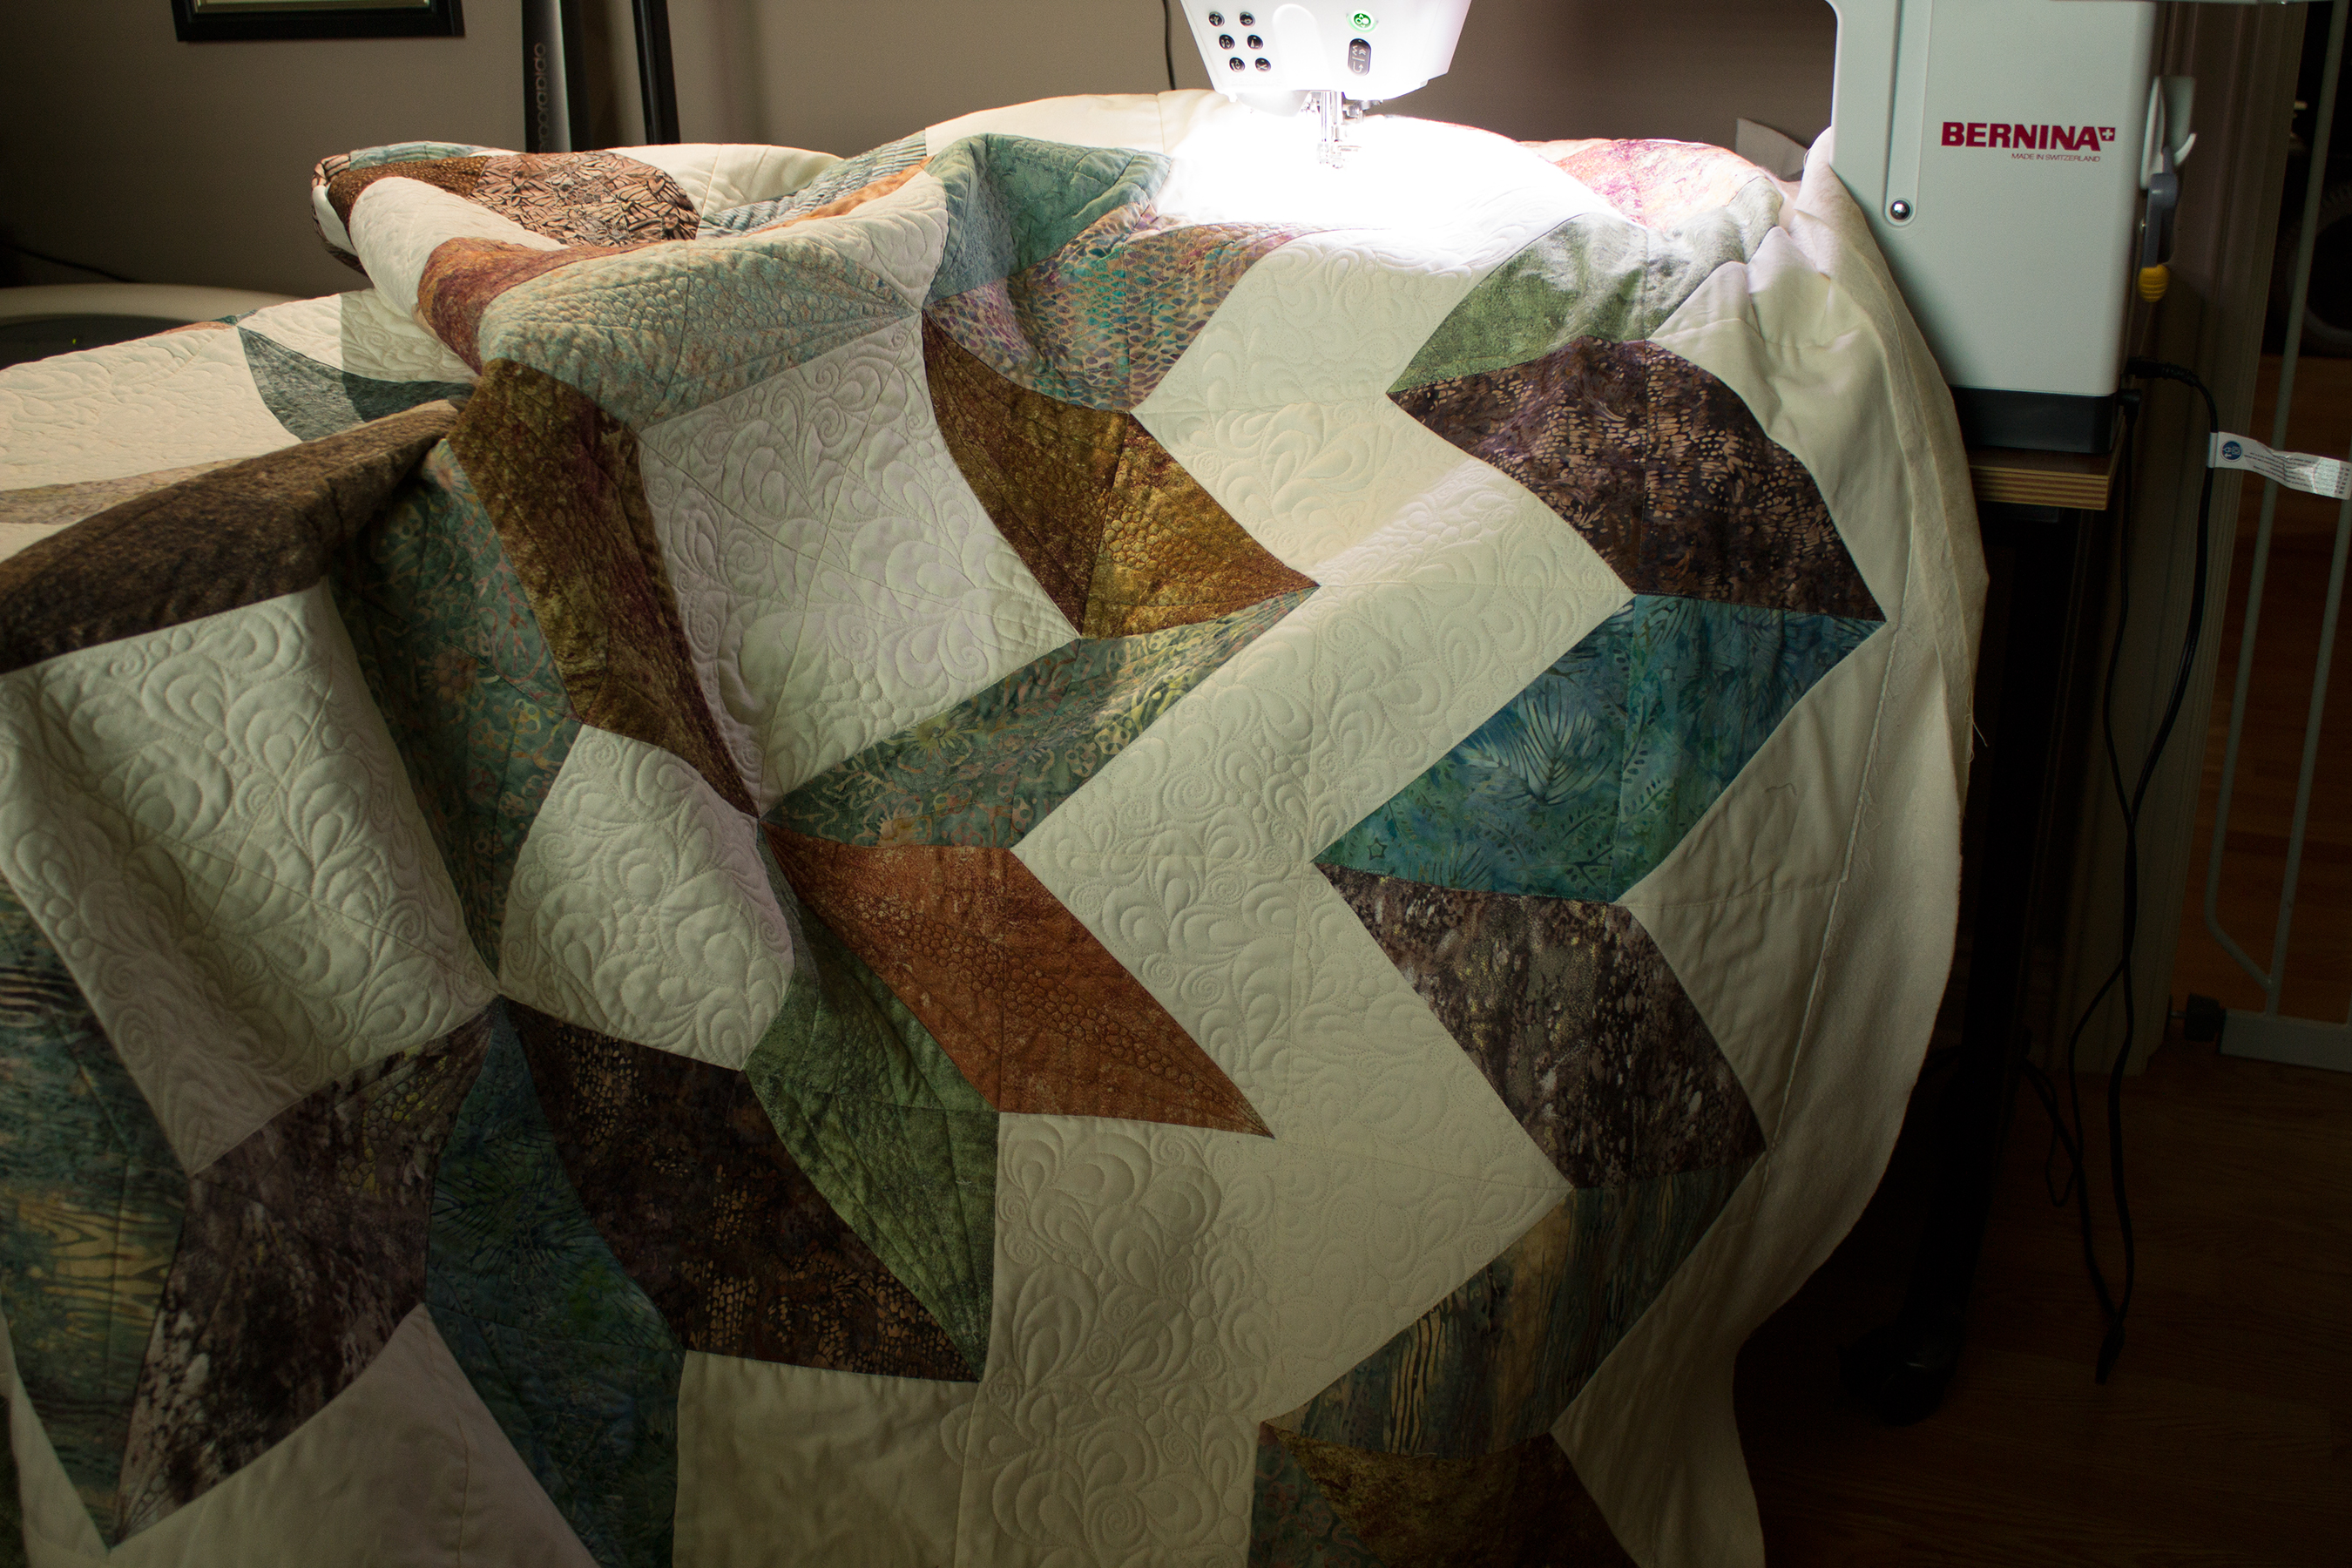
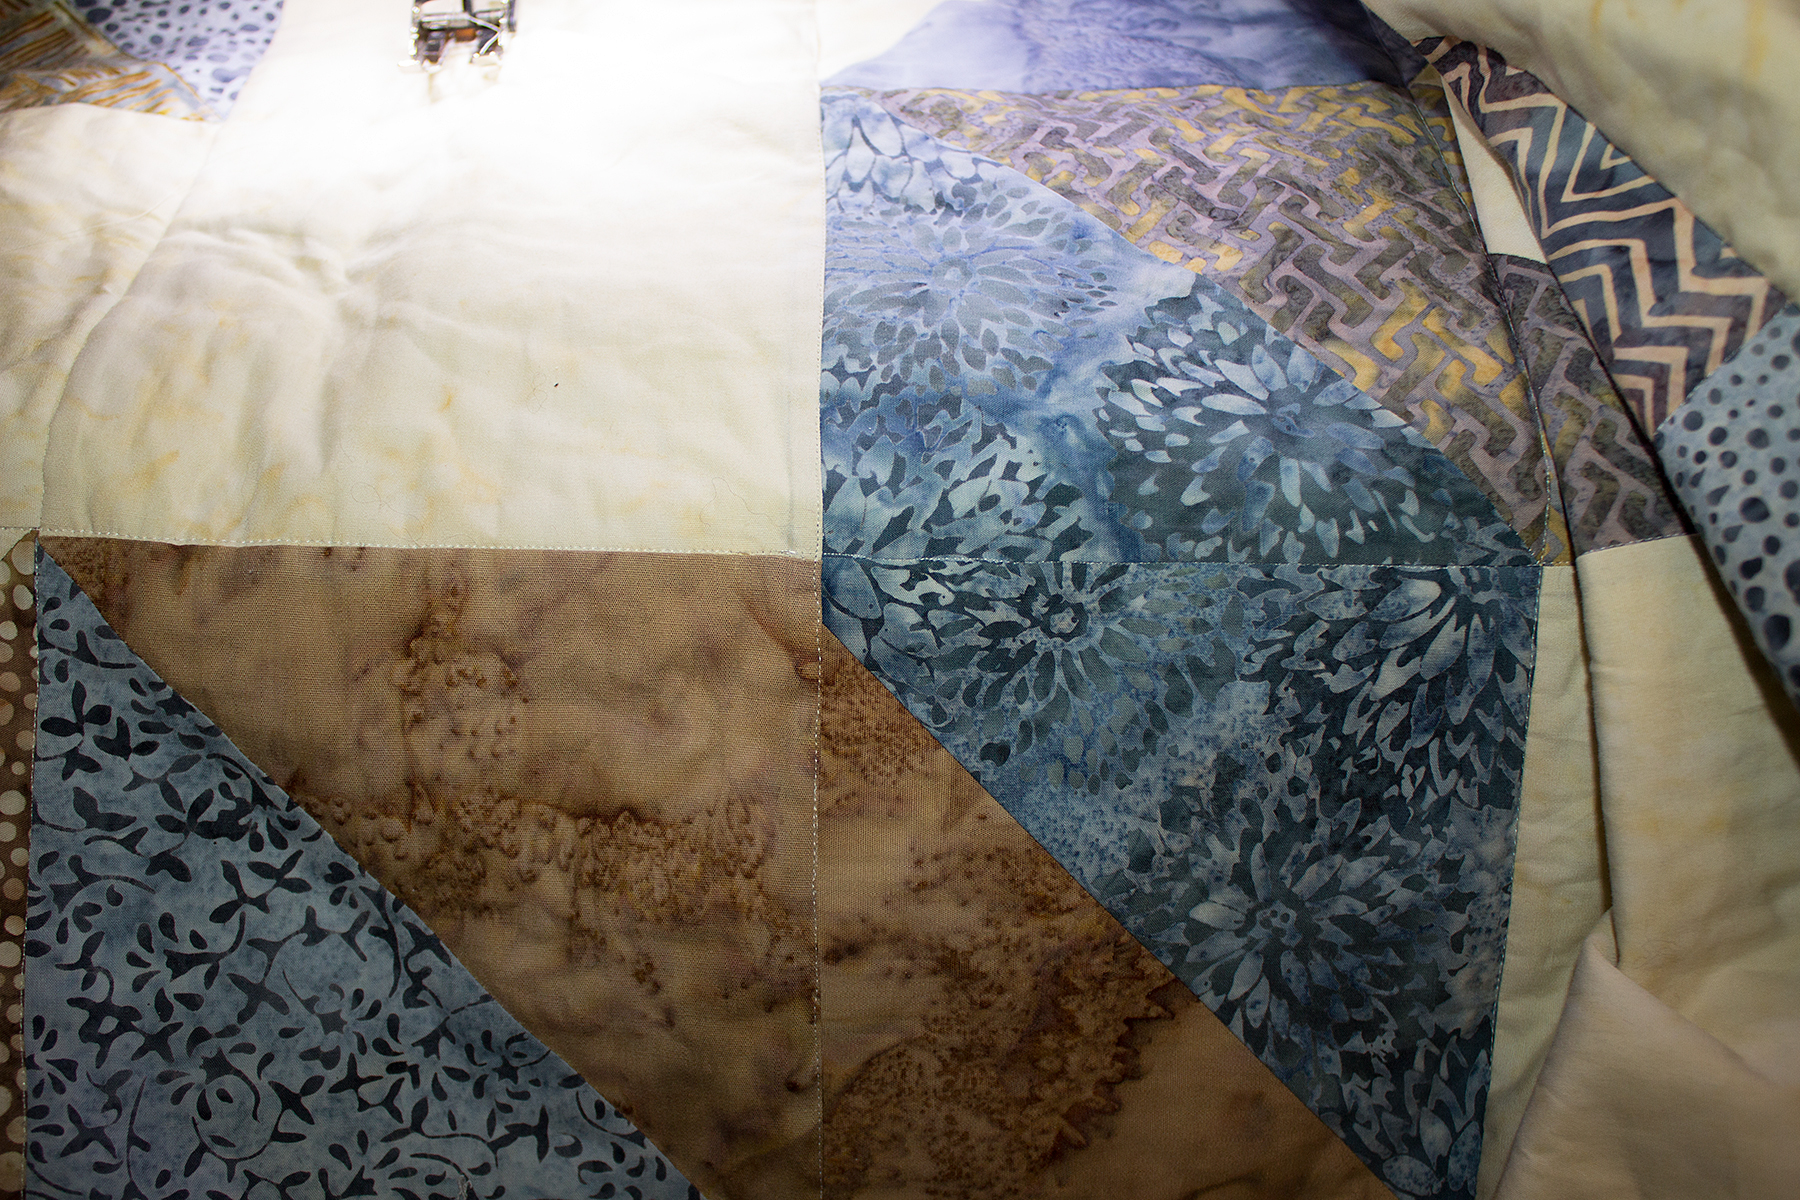
The first thing I do, which occurs during the spray basting process, is move the pucker to a seam line. You can see here I have about 1/4 inch of excess fabric on each side of the seam. Now I need to decide which way to fold it and stitch it in place to hide it. I flip left and right to determine which will affect the look the least. This baby went on for three blocks before I was able to flatten it.
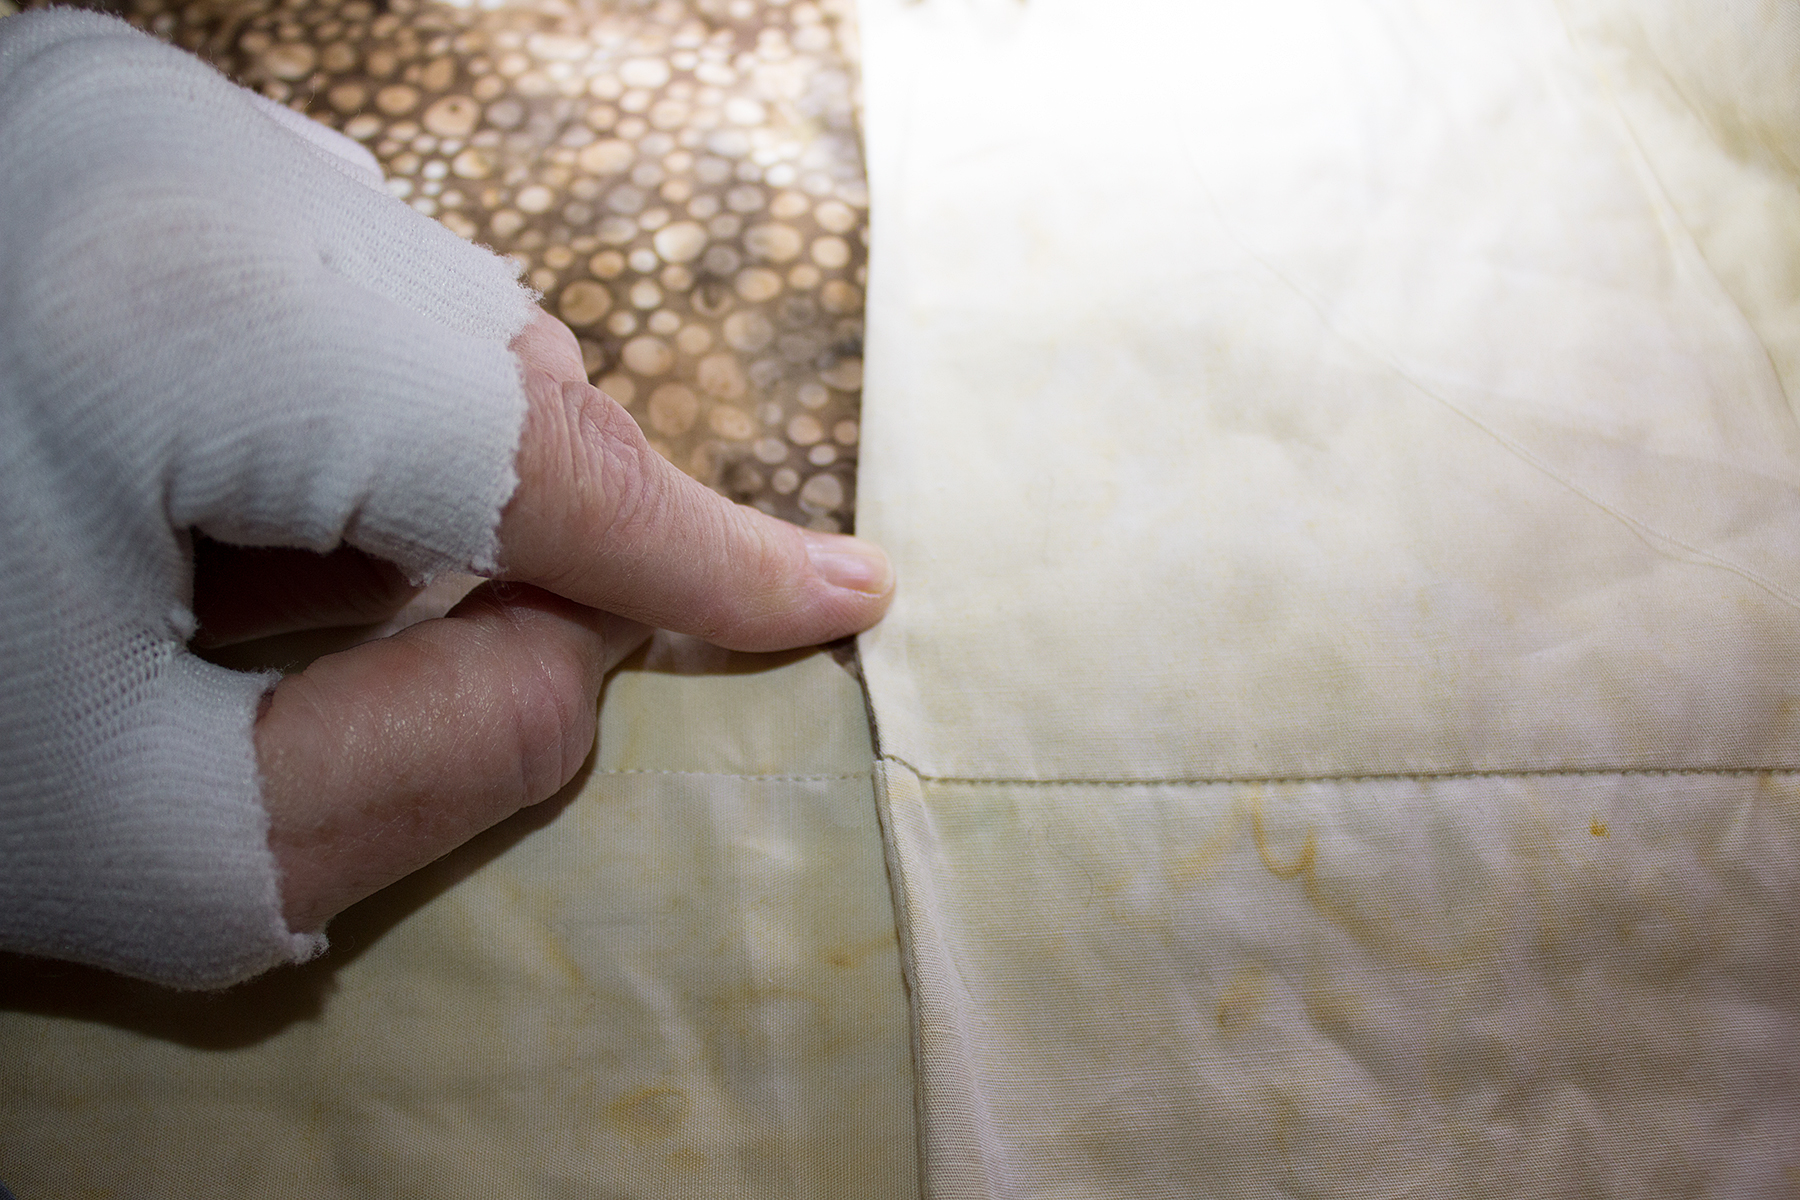
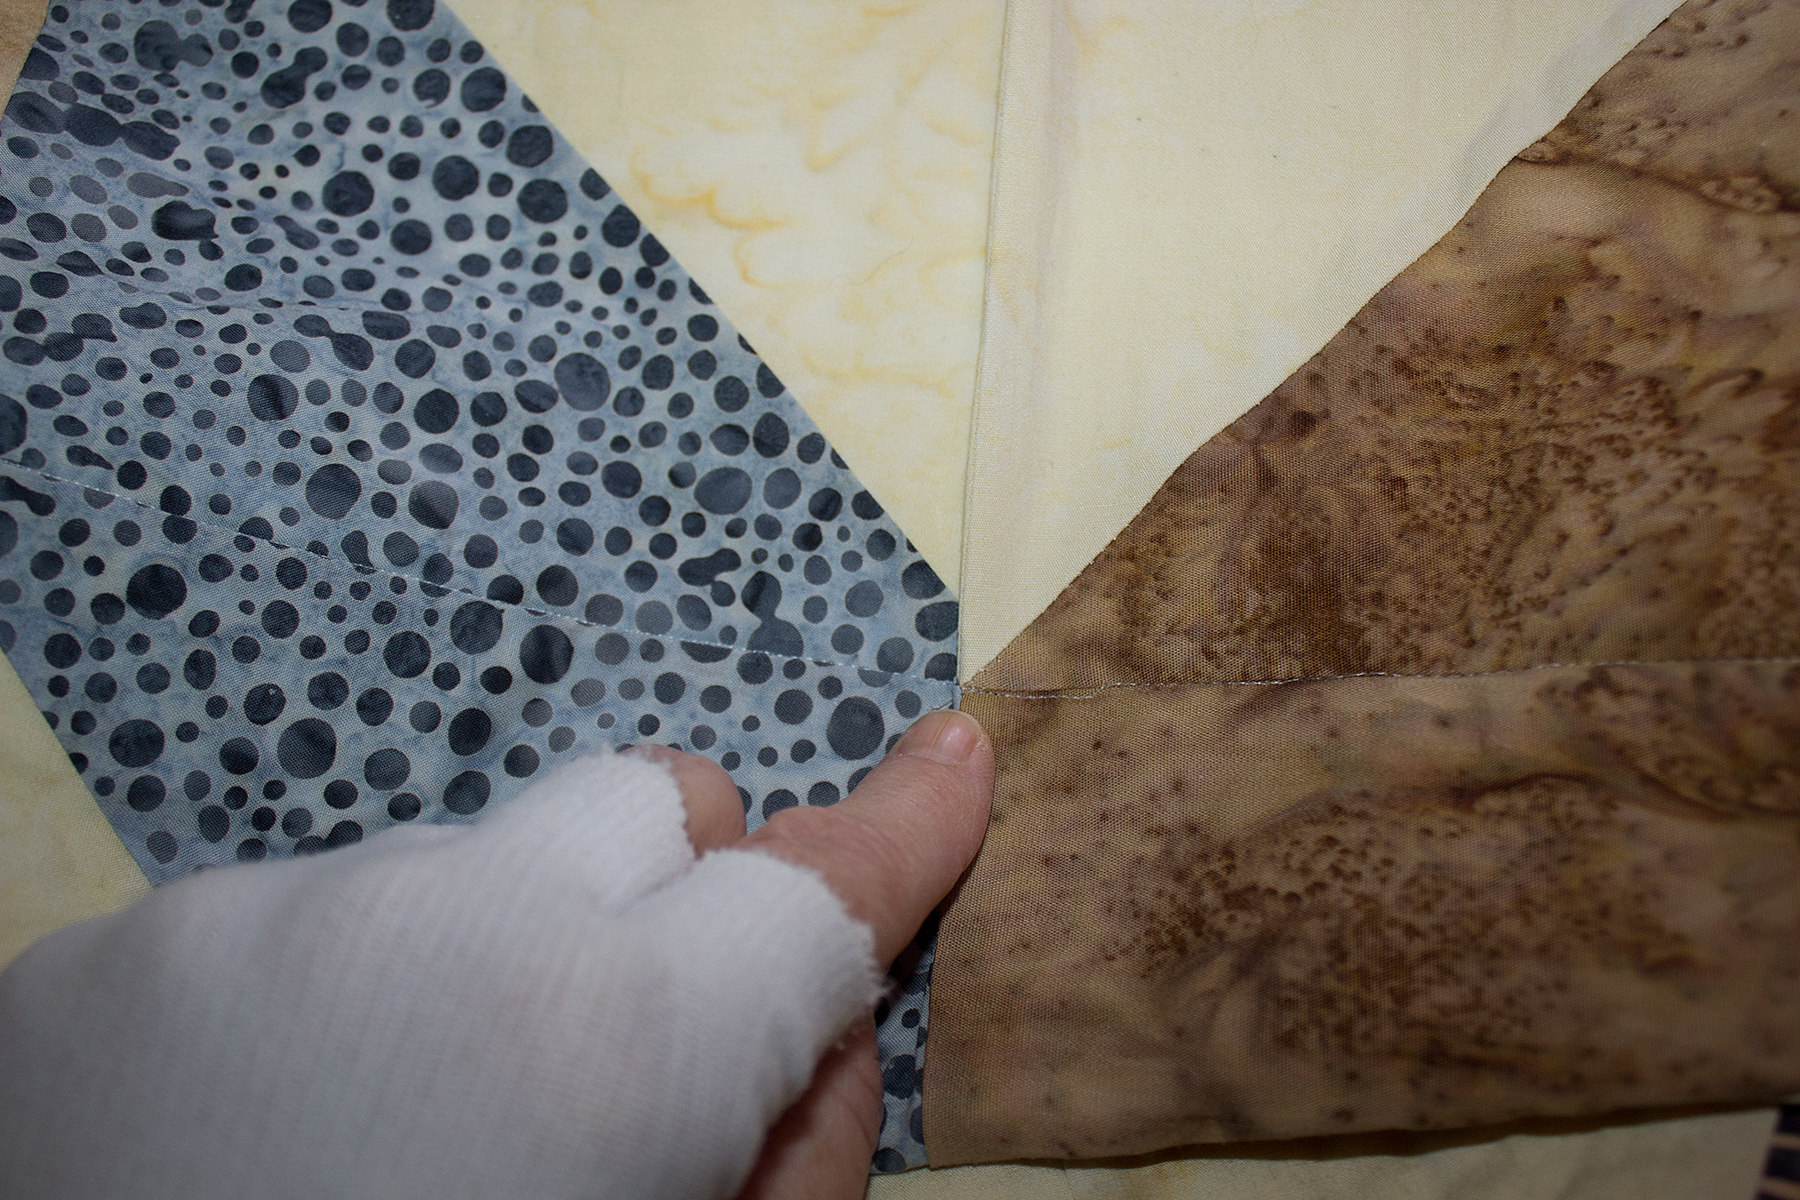
In this case, I decided to flip it to the right. As I’m stitching in the ditch for this row, I hold it down and basically top stitch along the edge to hide the pucker. Voila!
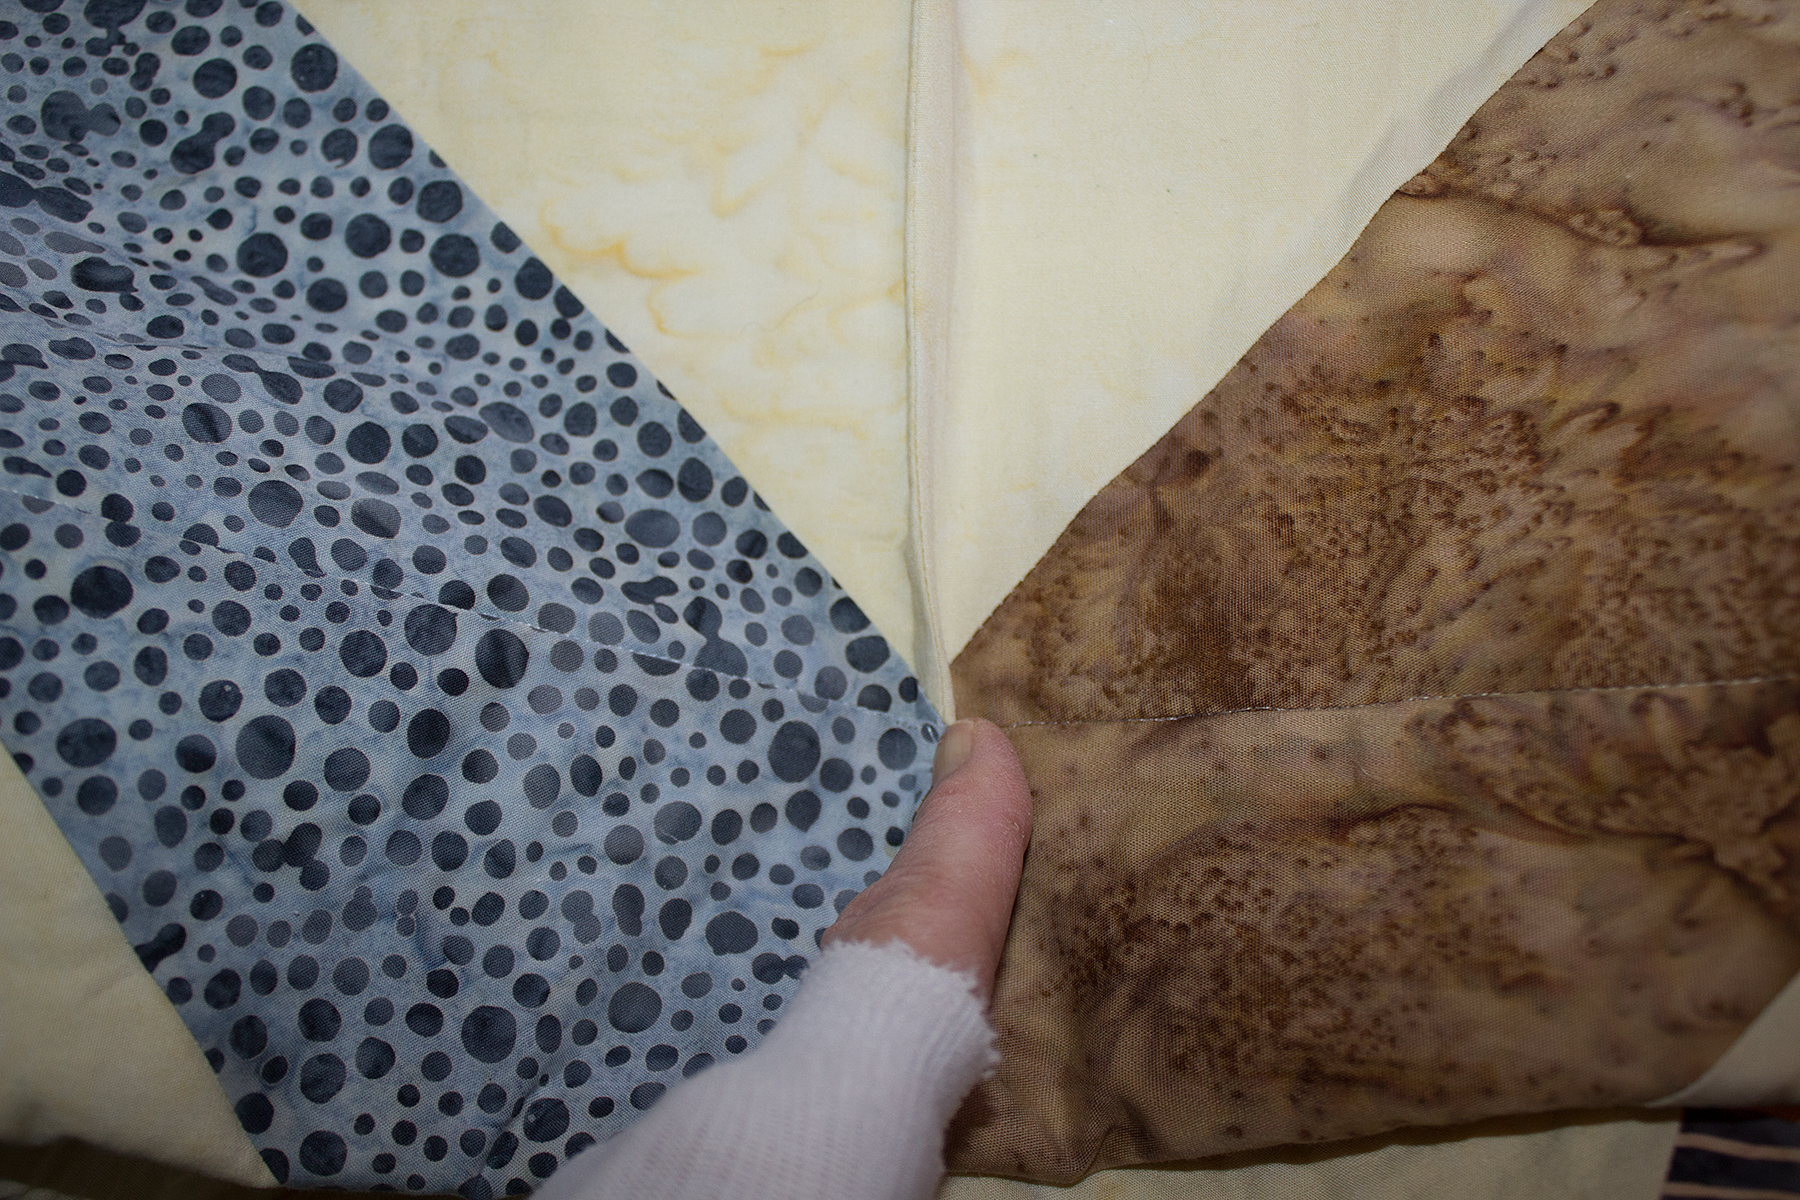
The joining at that particular intersection is not pretty but I felt that was better than cutting the brown point off in the above block. Hiding puckers in the seams is much less noticeable than in the middle of a block. You’ll notice it’s there but most likely no one else will. I honestly have to really study my quilt after the free motion portion was done to relocate the hidden puckers in the first two sections. And here’s the other pucker I had to fix. As you can see I lost the point in the corner. I know it’s there and now you do but most won’t notice after the quilting is done. It would certainly jump out in the middle of a block. I’m a spray baster so I normally don’t run into this when I quilt. But if you are a pin baster and you find puckers occurring as you quilt, this is a great way to camouflage them.
 And the last challenge with quilting a king-size quilt, is the weight. You must support the quilt adequately. I accomplish this with my quilt tables. My Bernina sits on a 72-inch long adjustable height table and another 60-inch long adjustable height table at a right angle to the first. Lots of space to the left to support the quilt and take a load off my lap and shoulders.