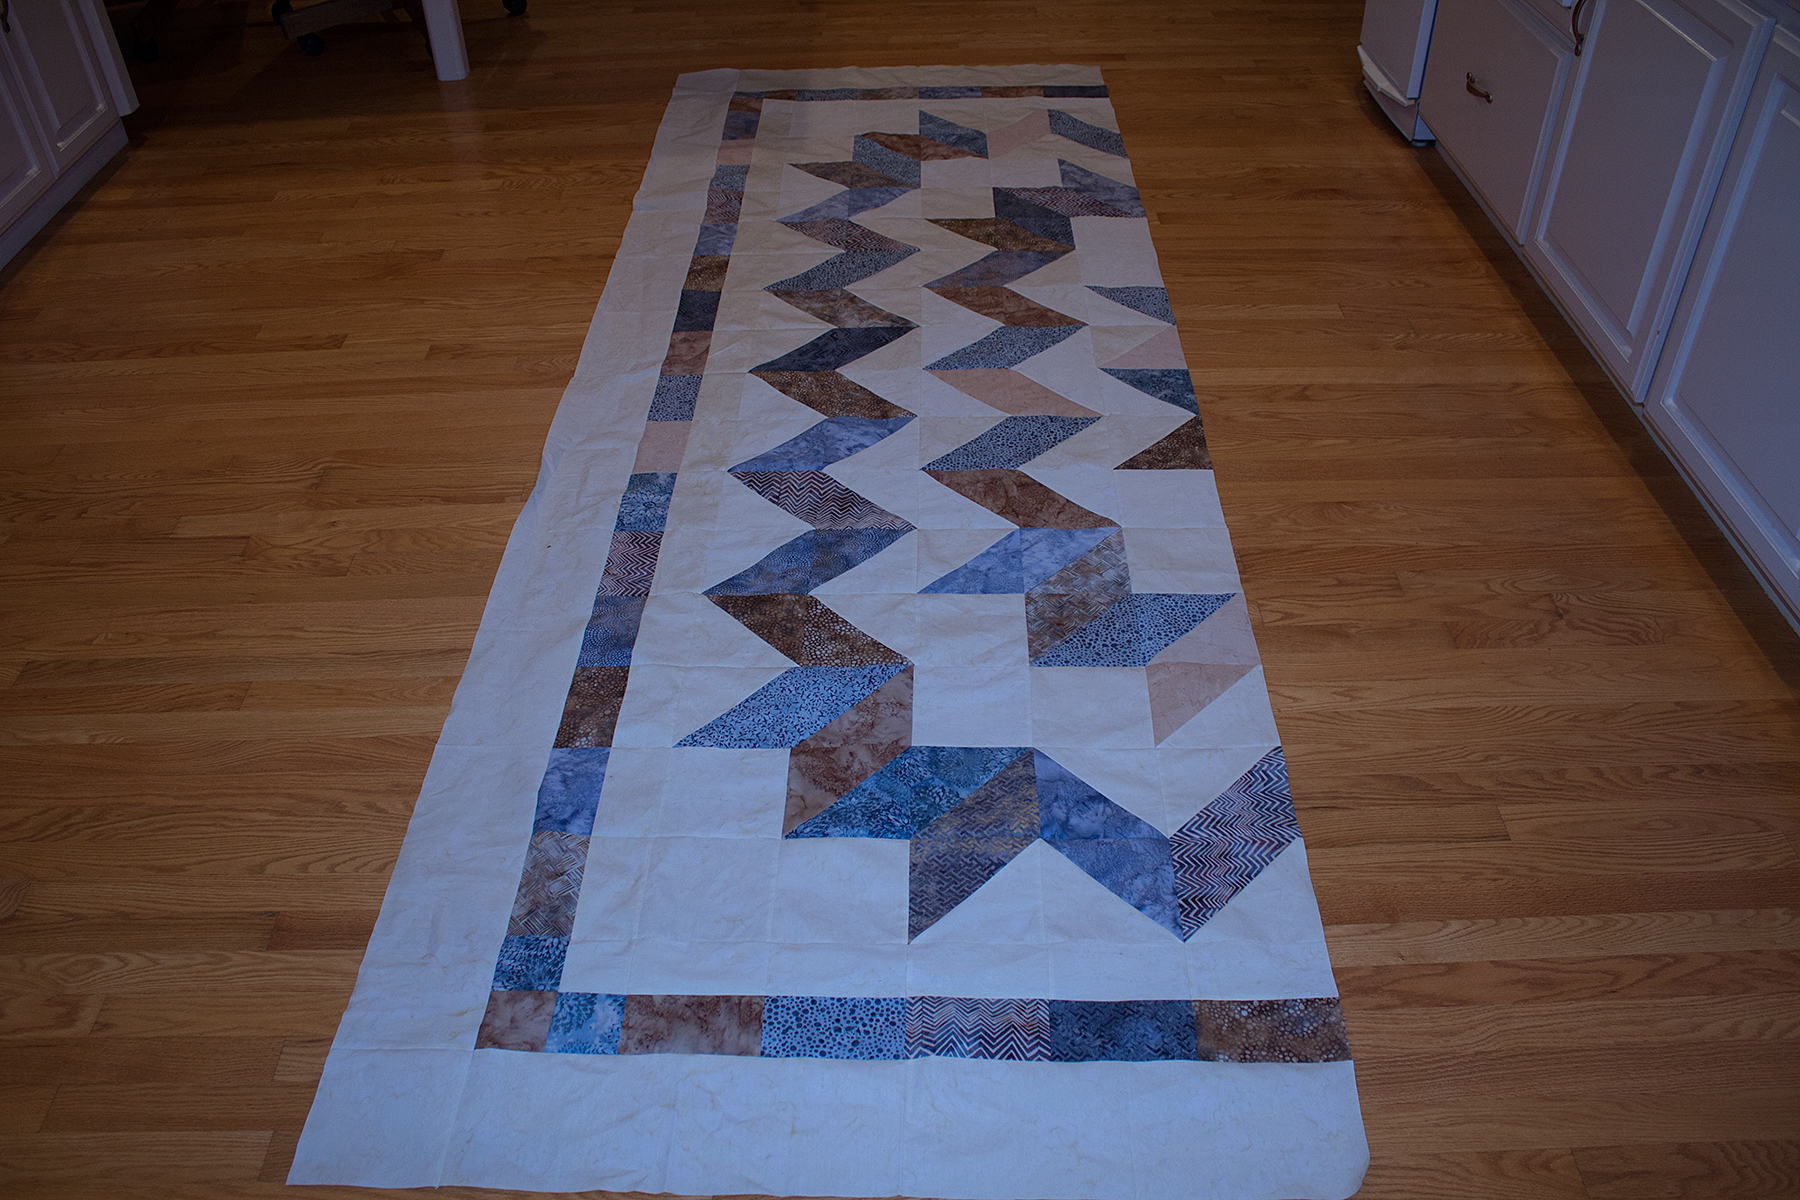
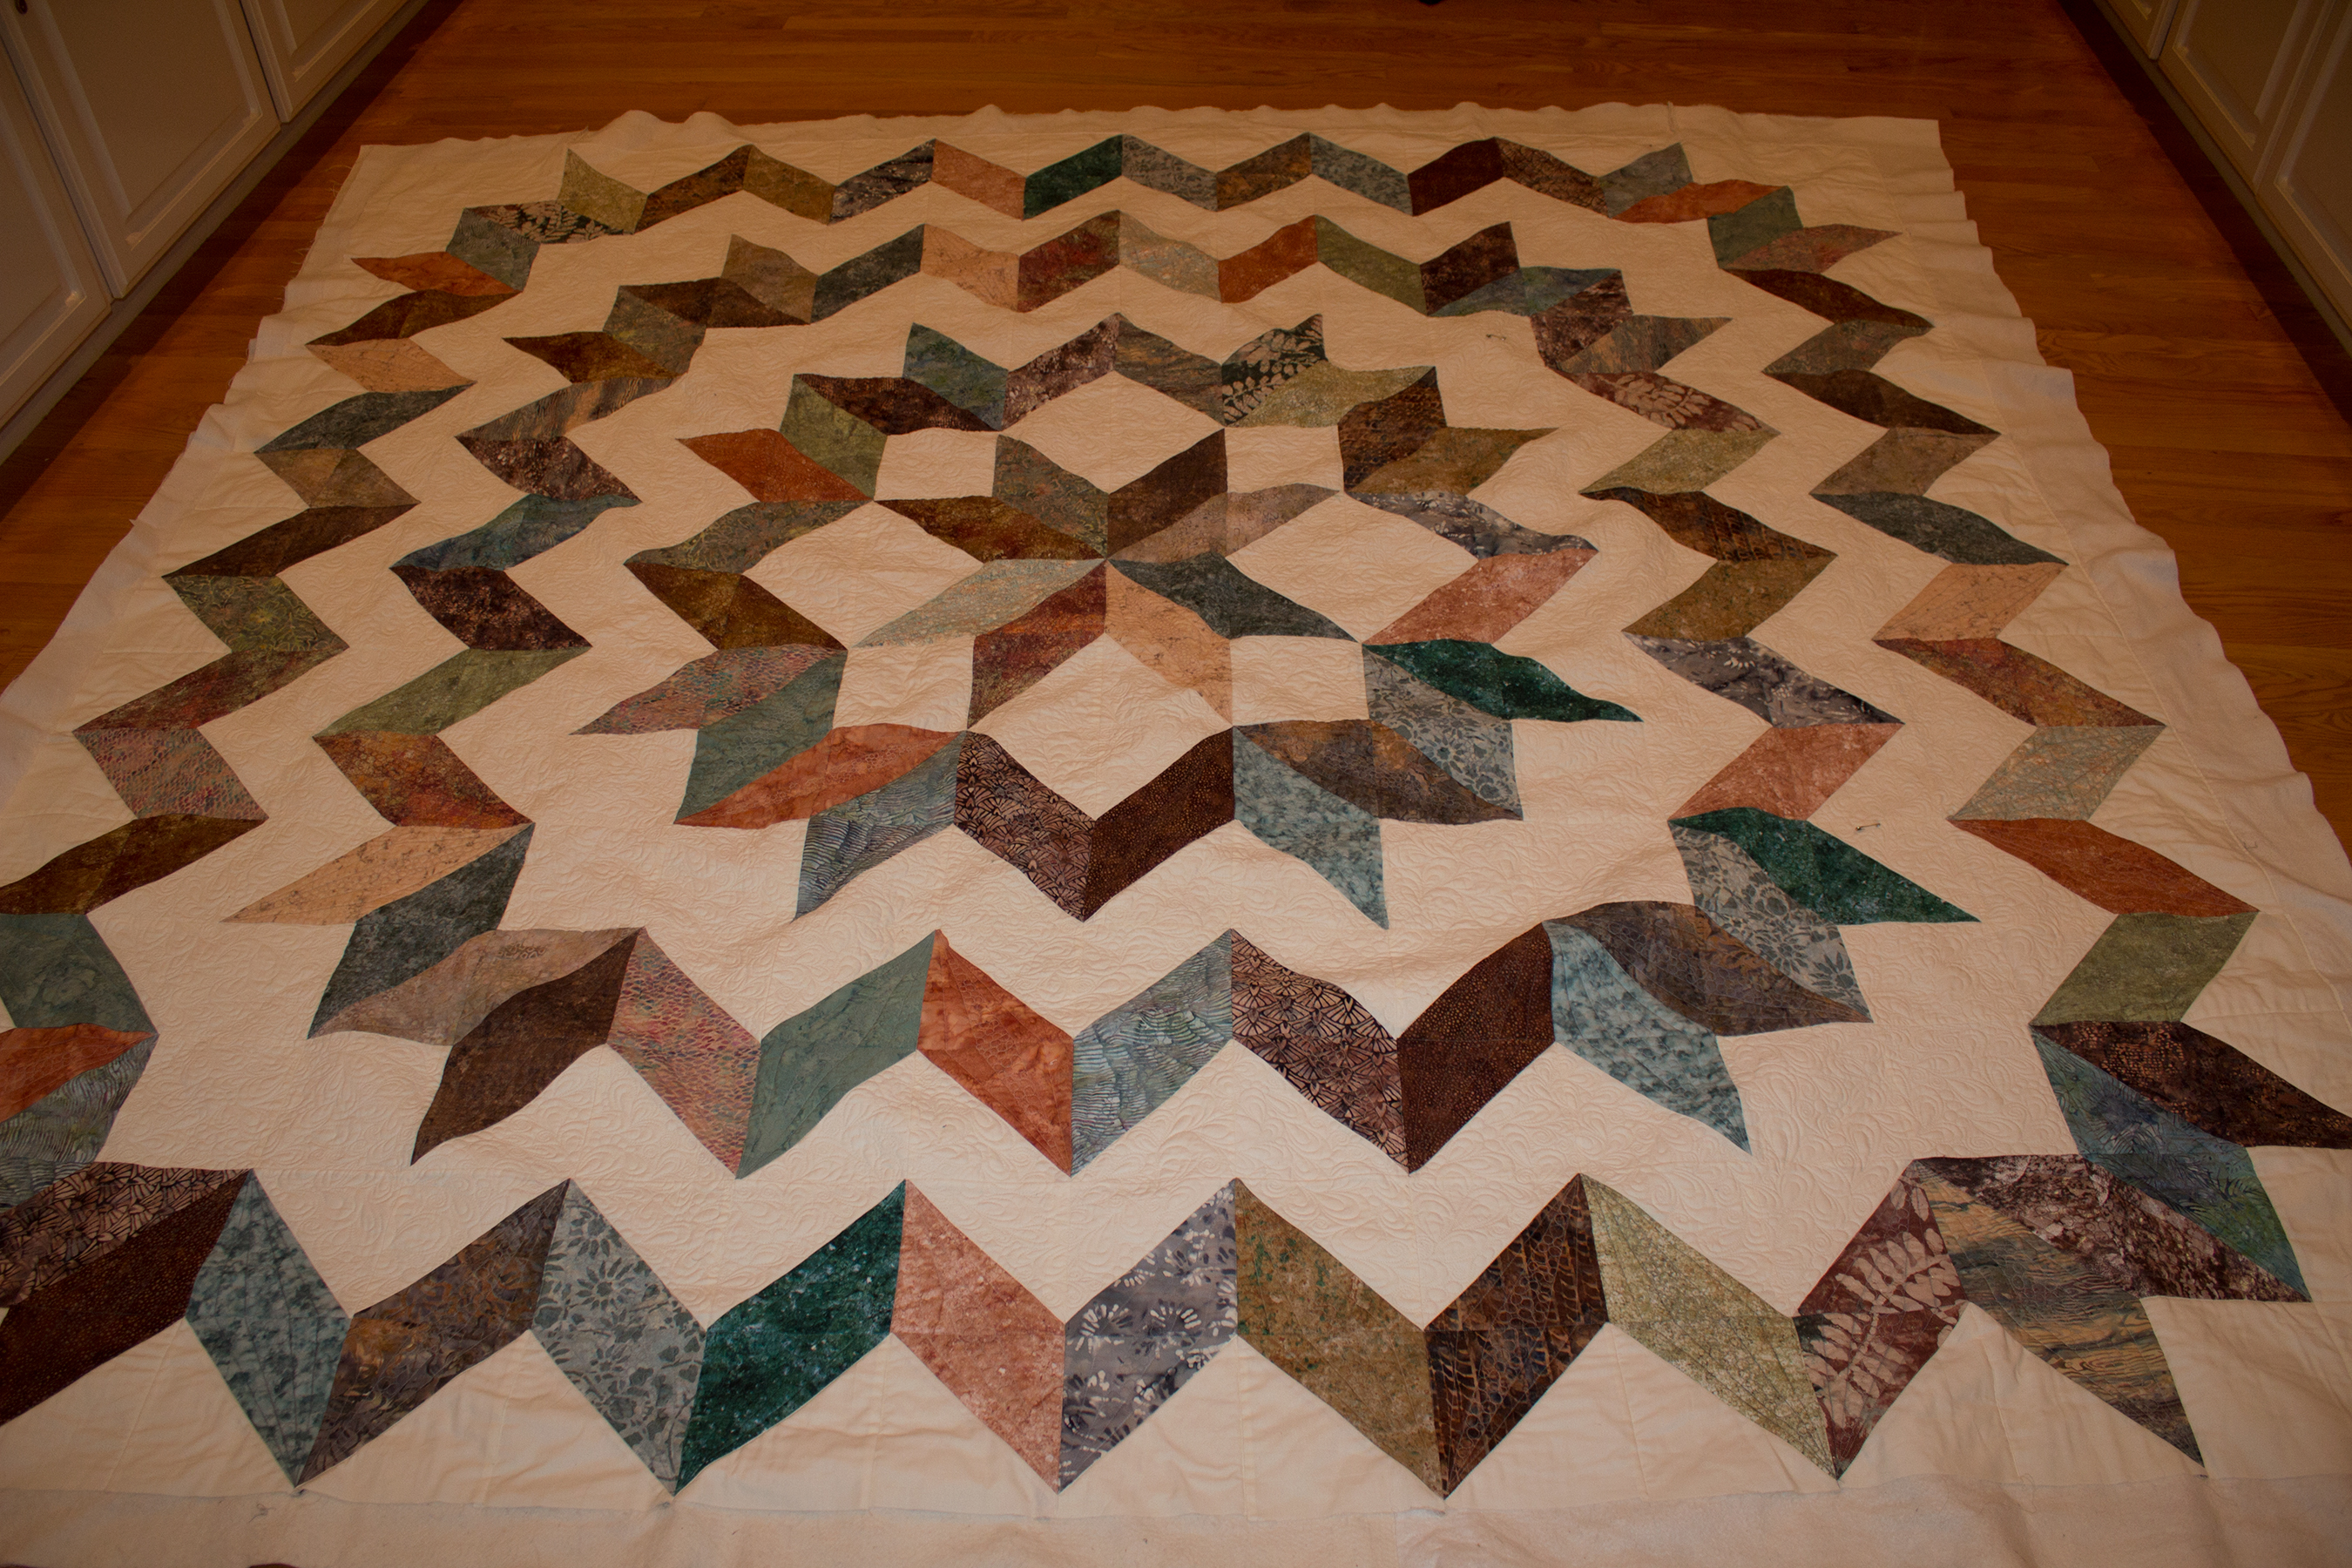
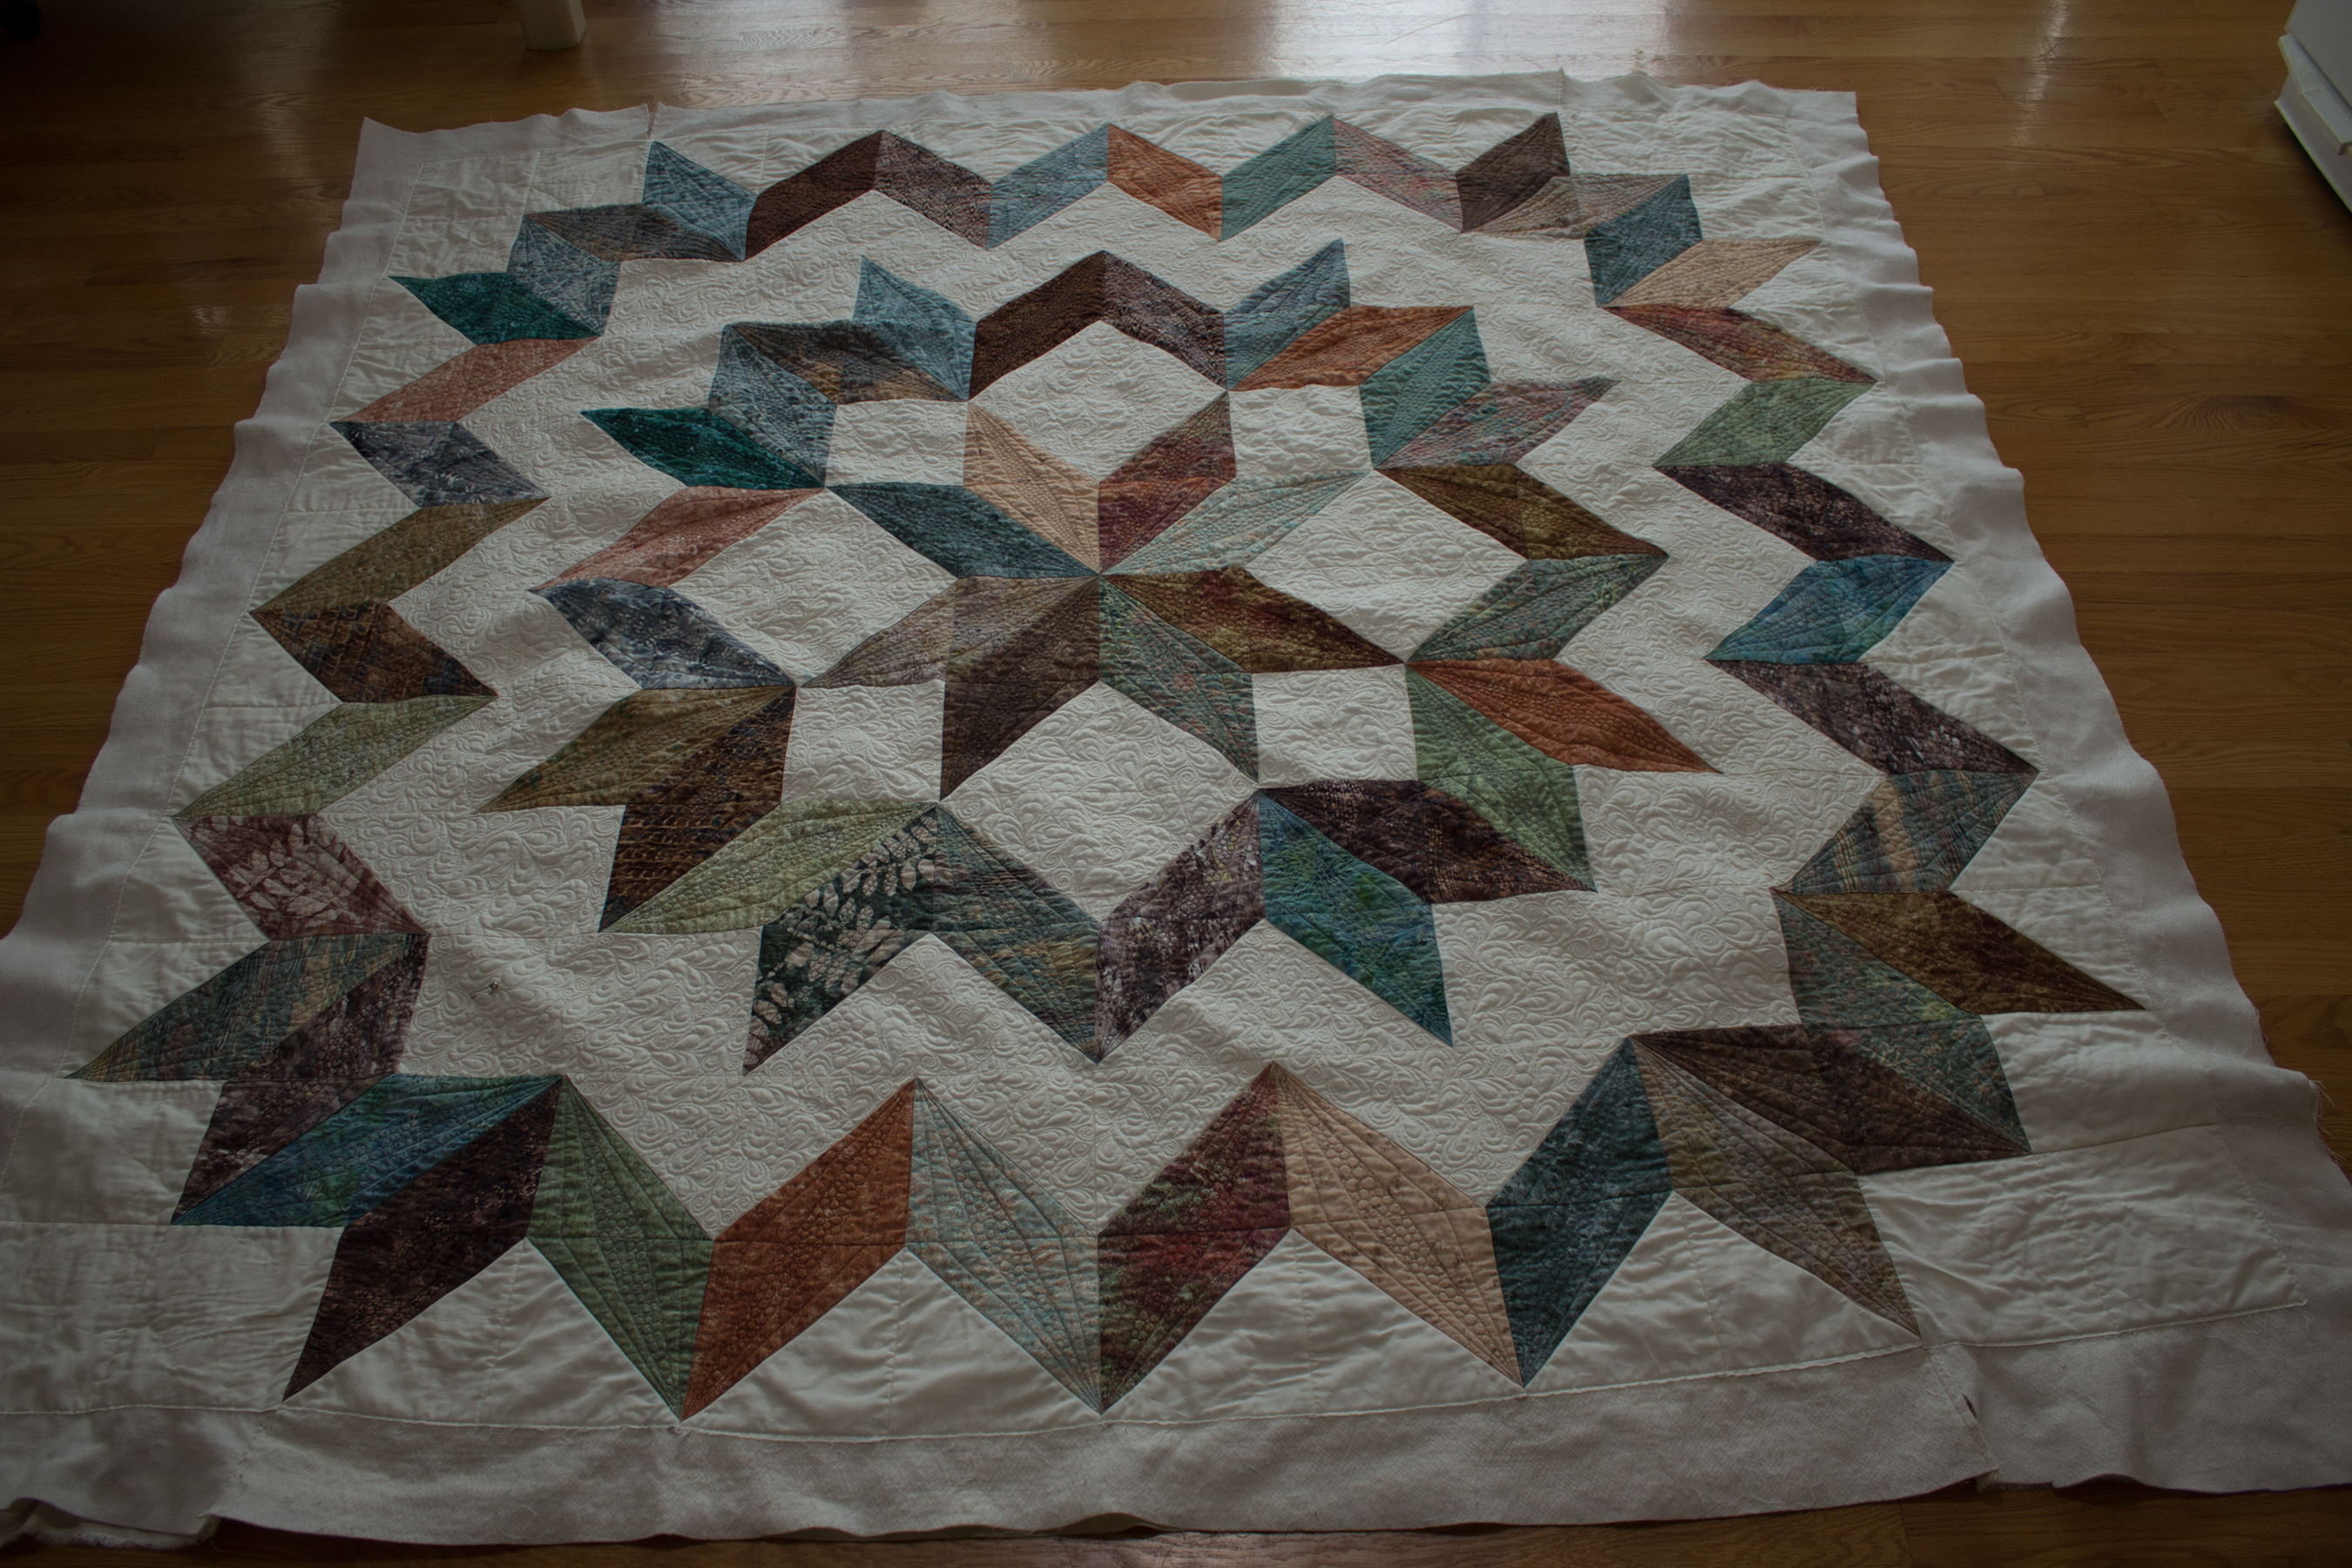
Carpenter Star – Anatomy of Spray Basting
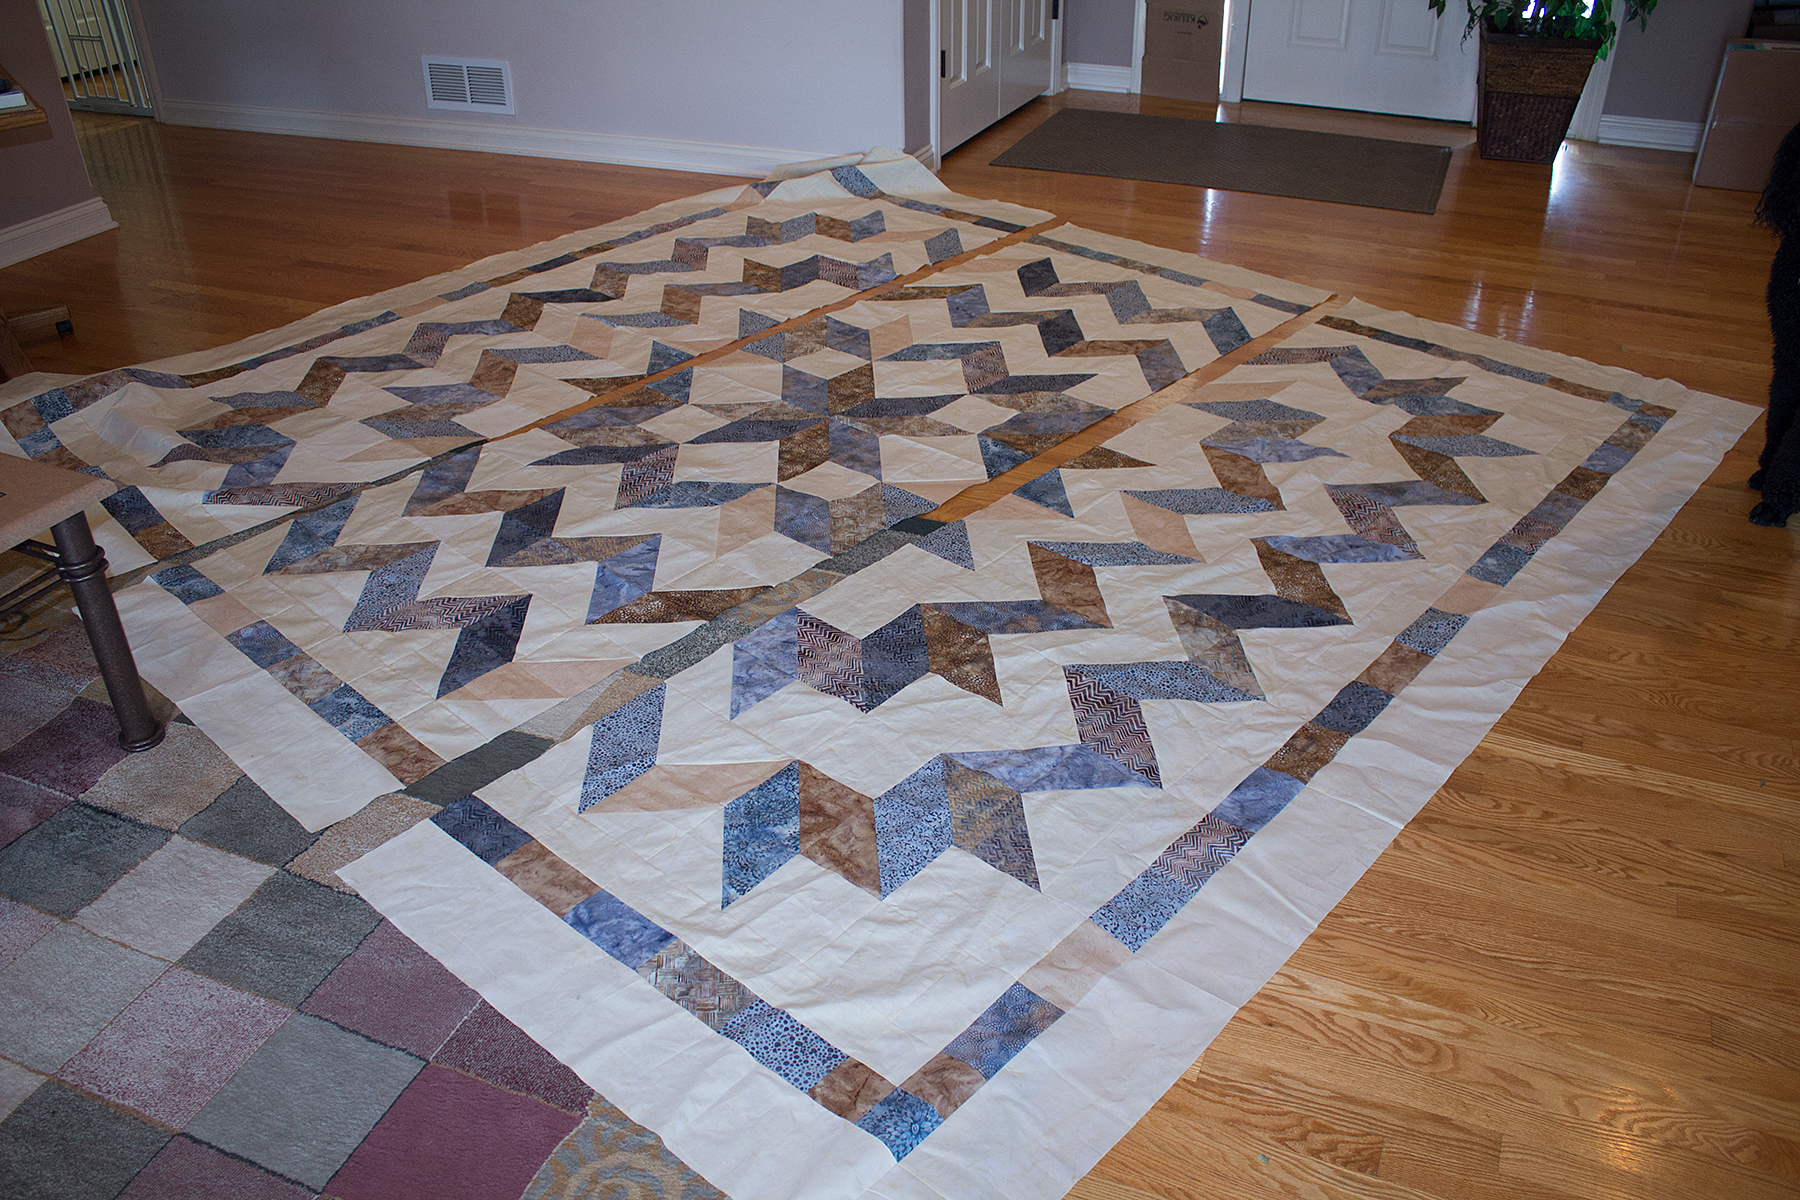
I’ve finished piecing the three sections and completed making my backing for each section. Now it’s time to spray baste section 1 for quilting.
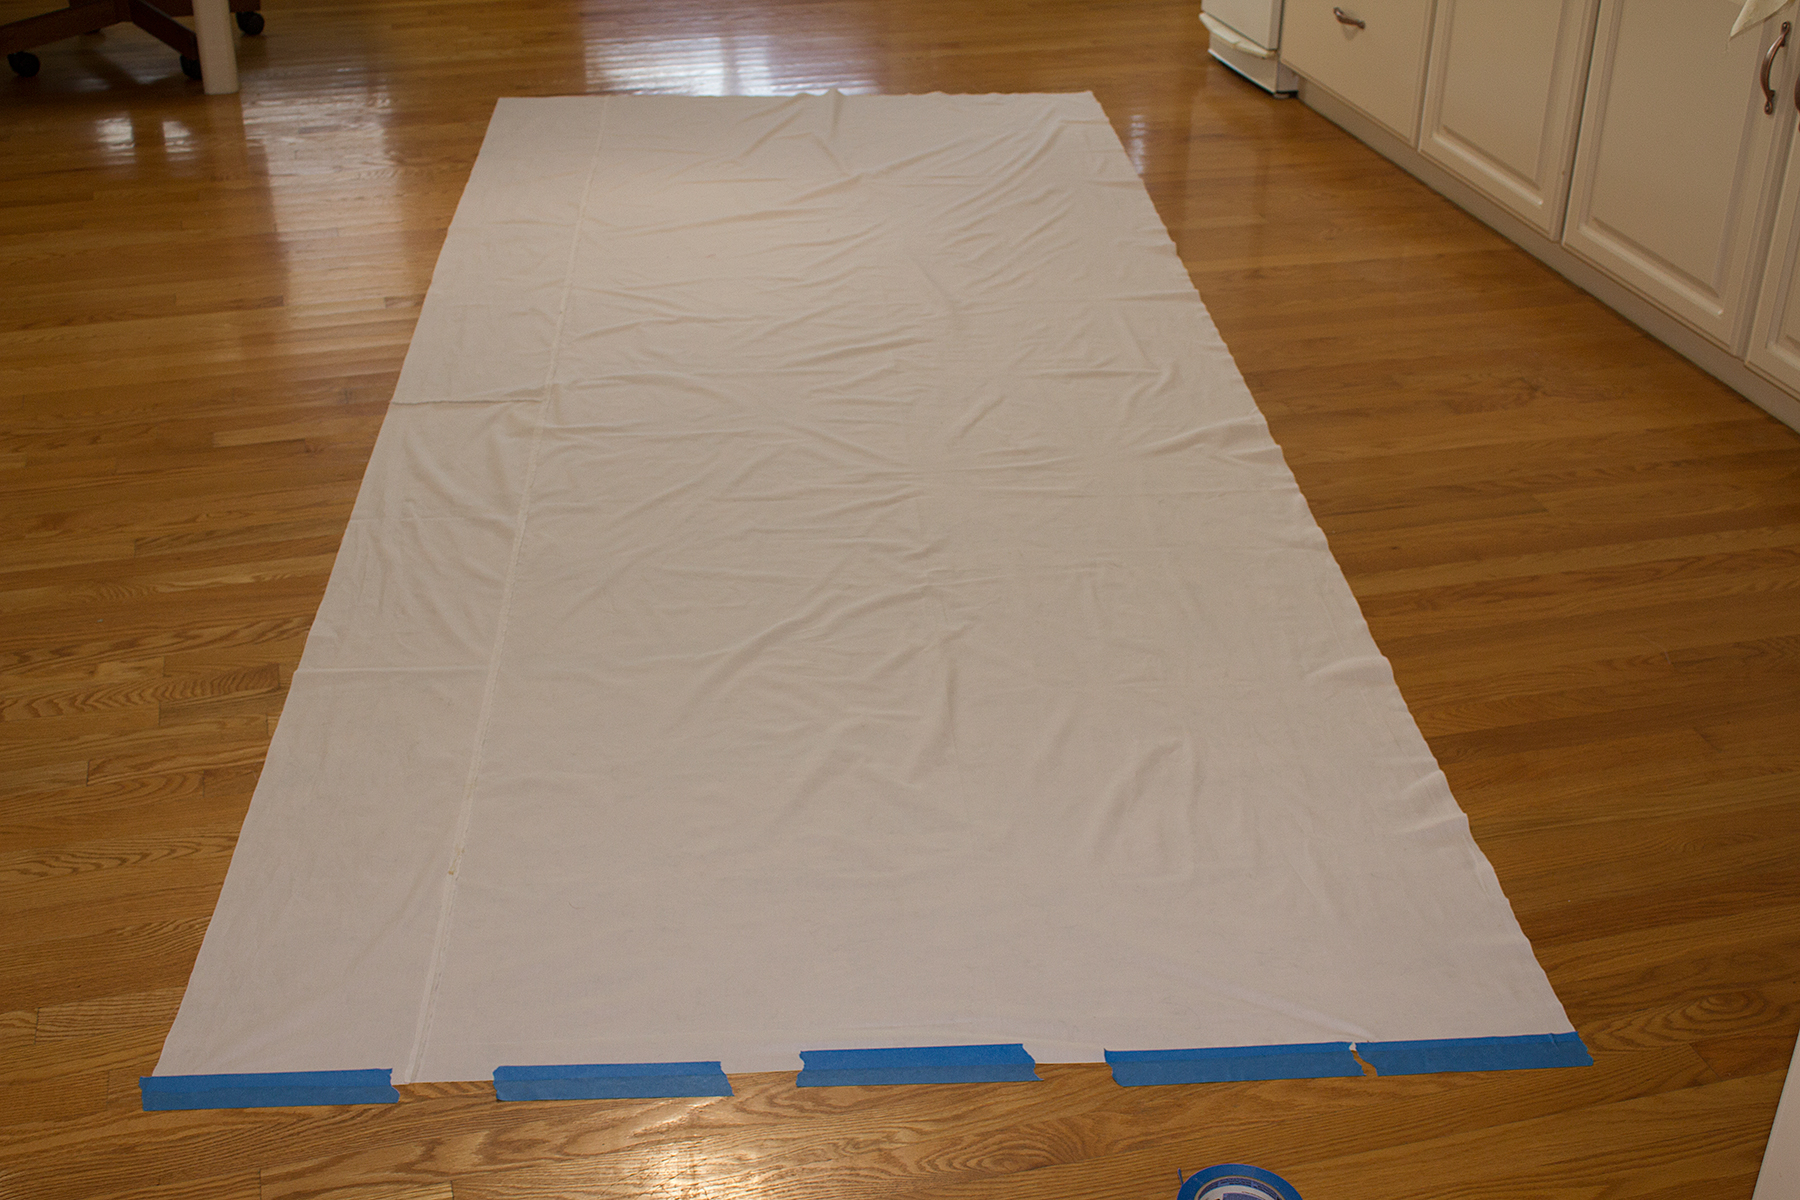
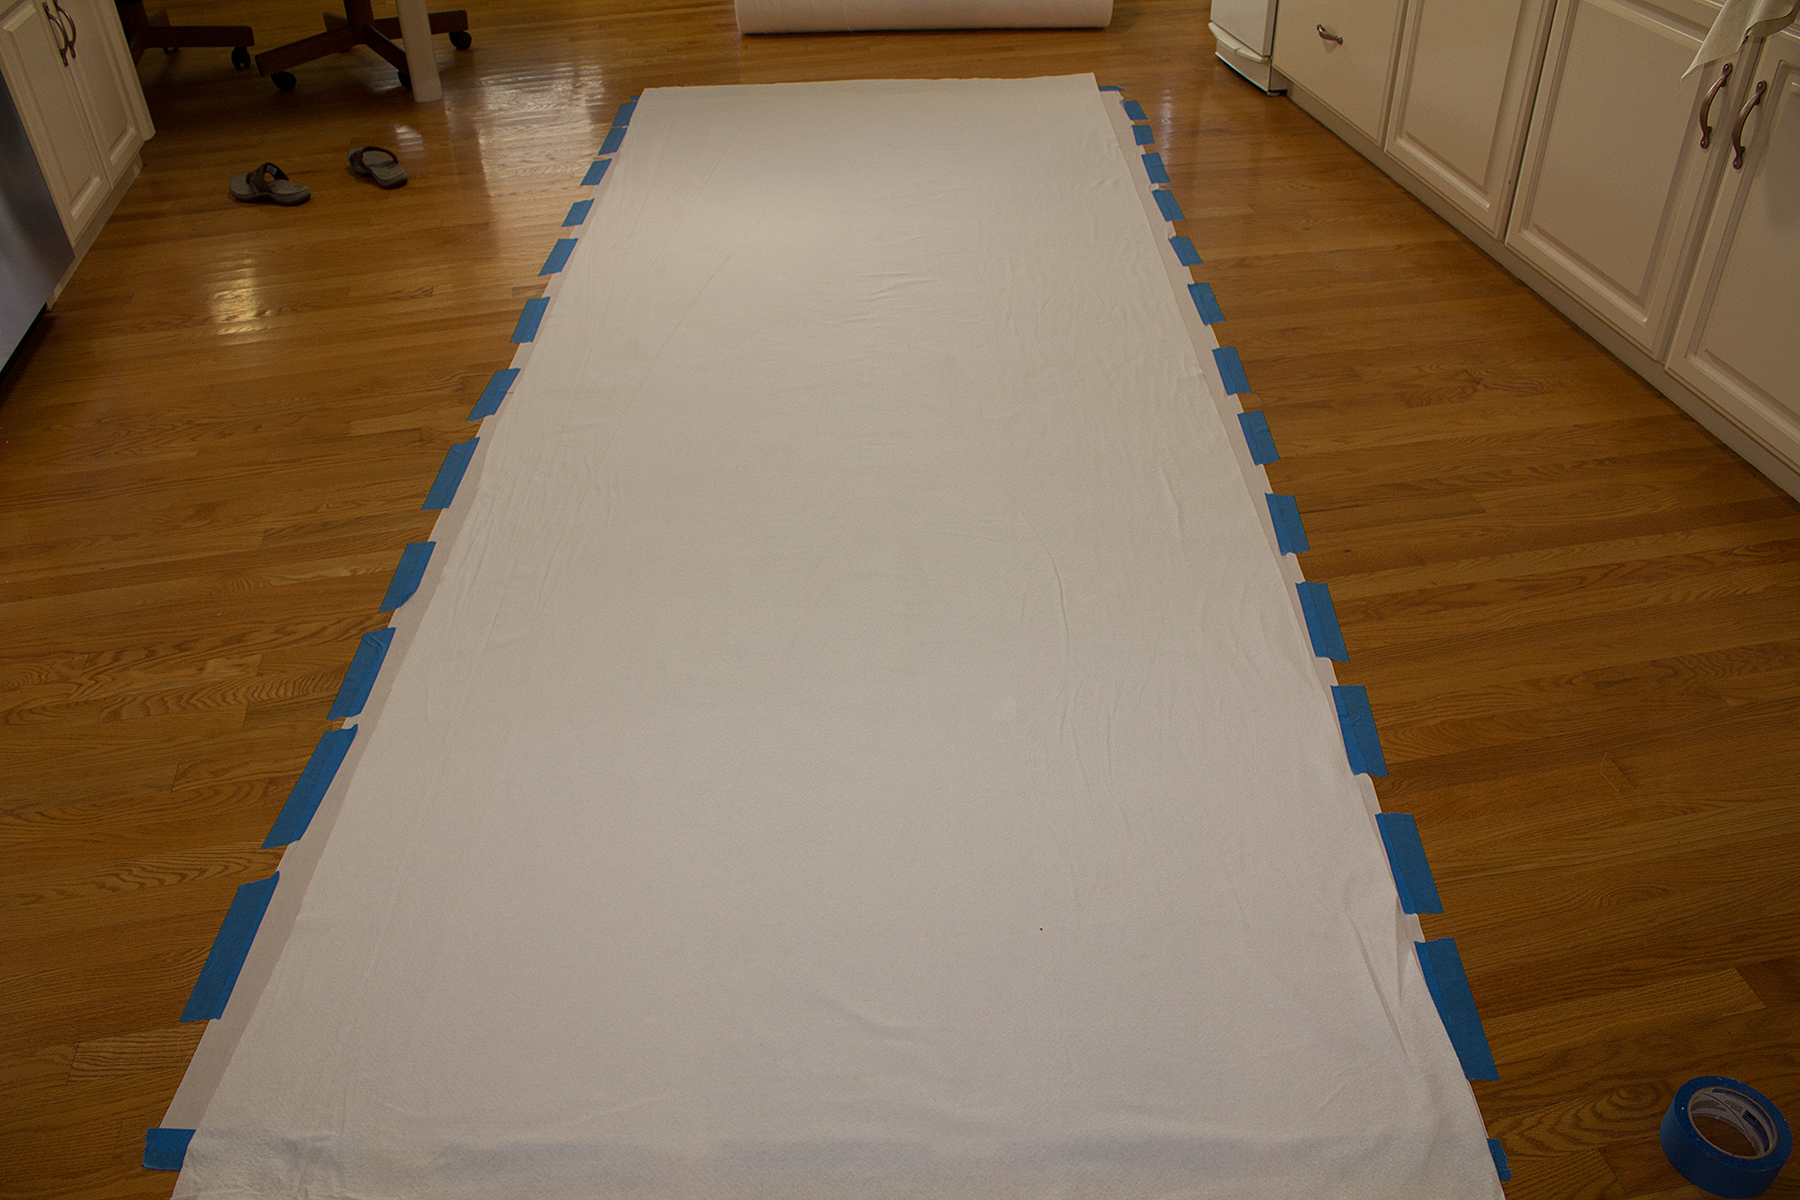
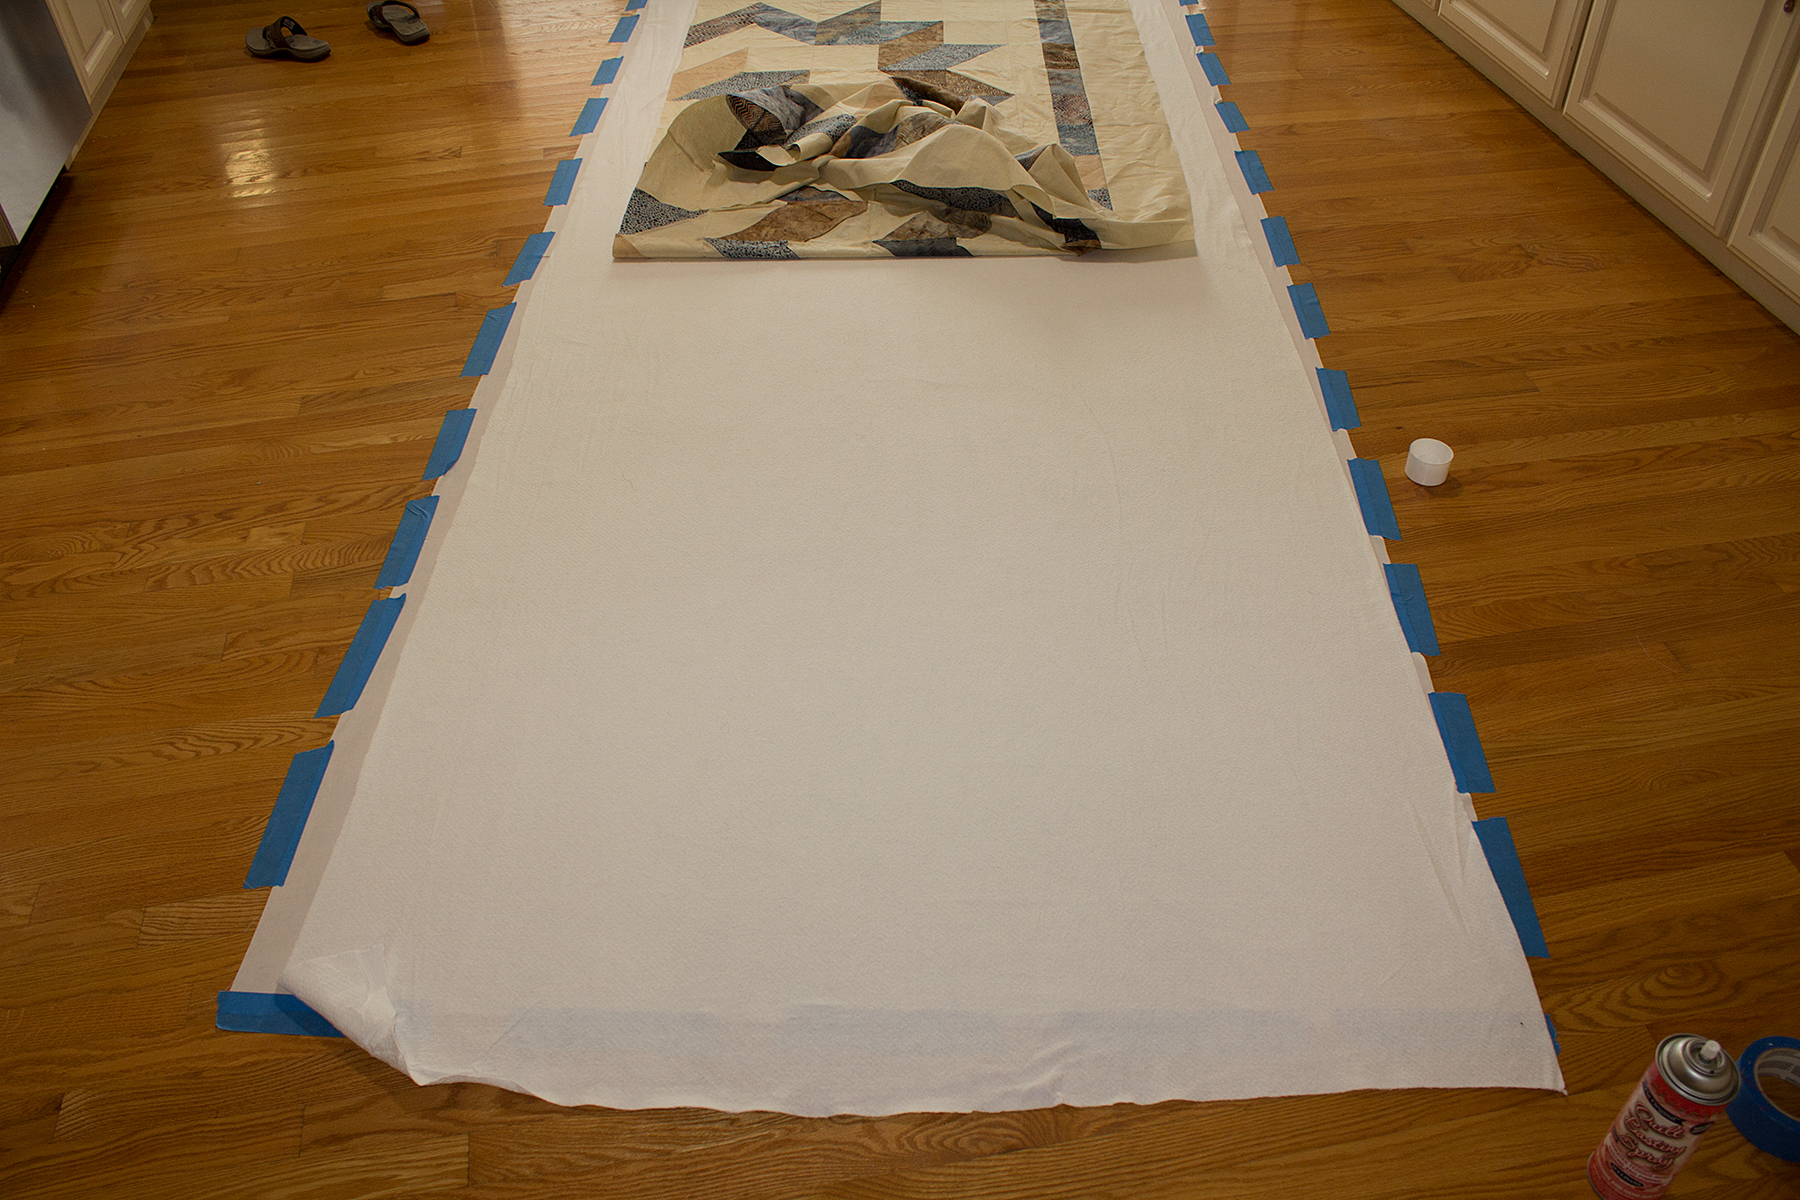
I am fortunate to have enough floor space for a quilt of this size and I take advantage of it. First, I lay the backing on the floor wrong side up. Using painter’s tape, I tape one end of the backing to the floor. Note: buy good quality tape! I made the mistake of buying a cheap no-name brand of masking tape in the grocery store. It was just about impossible to get a decent piece off it without tearing teeny tiny little strips. Threw that baby out and now use only 3M painter’s tape.
Next I gently stretch the fabric to remove wrinkles and tape the other end.
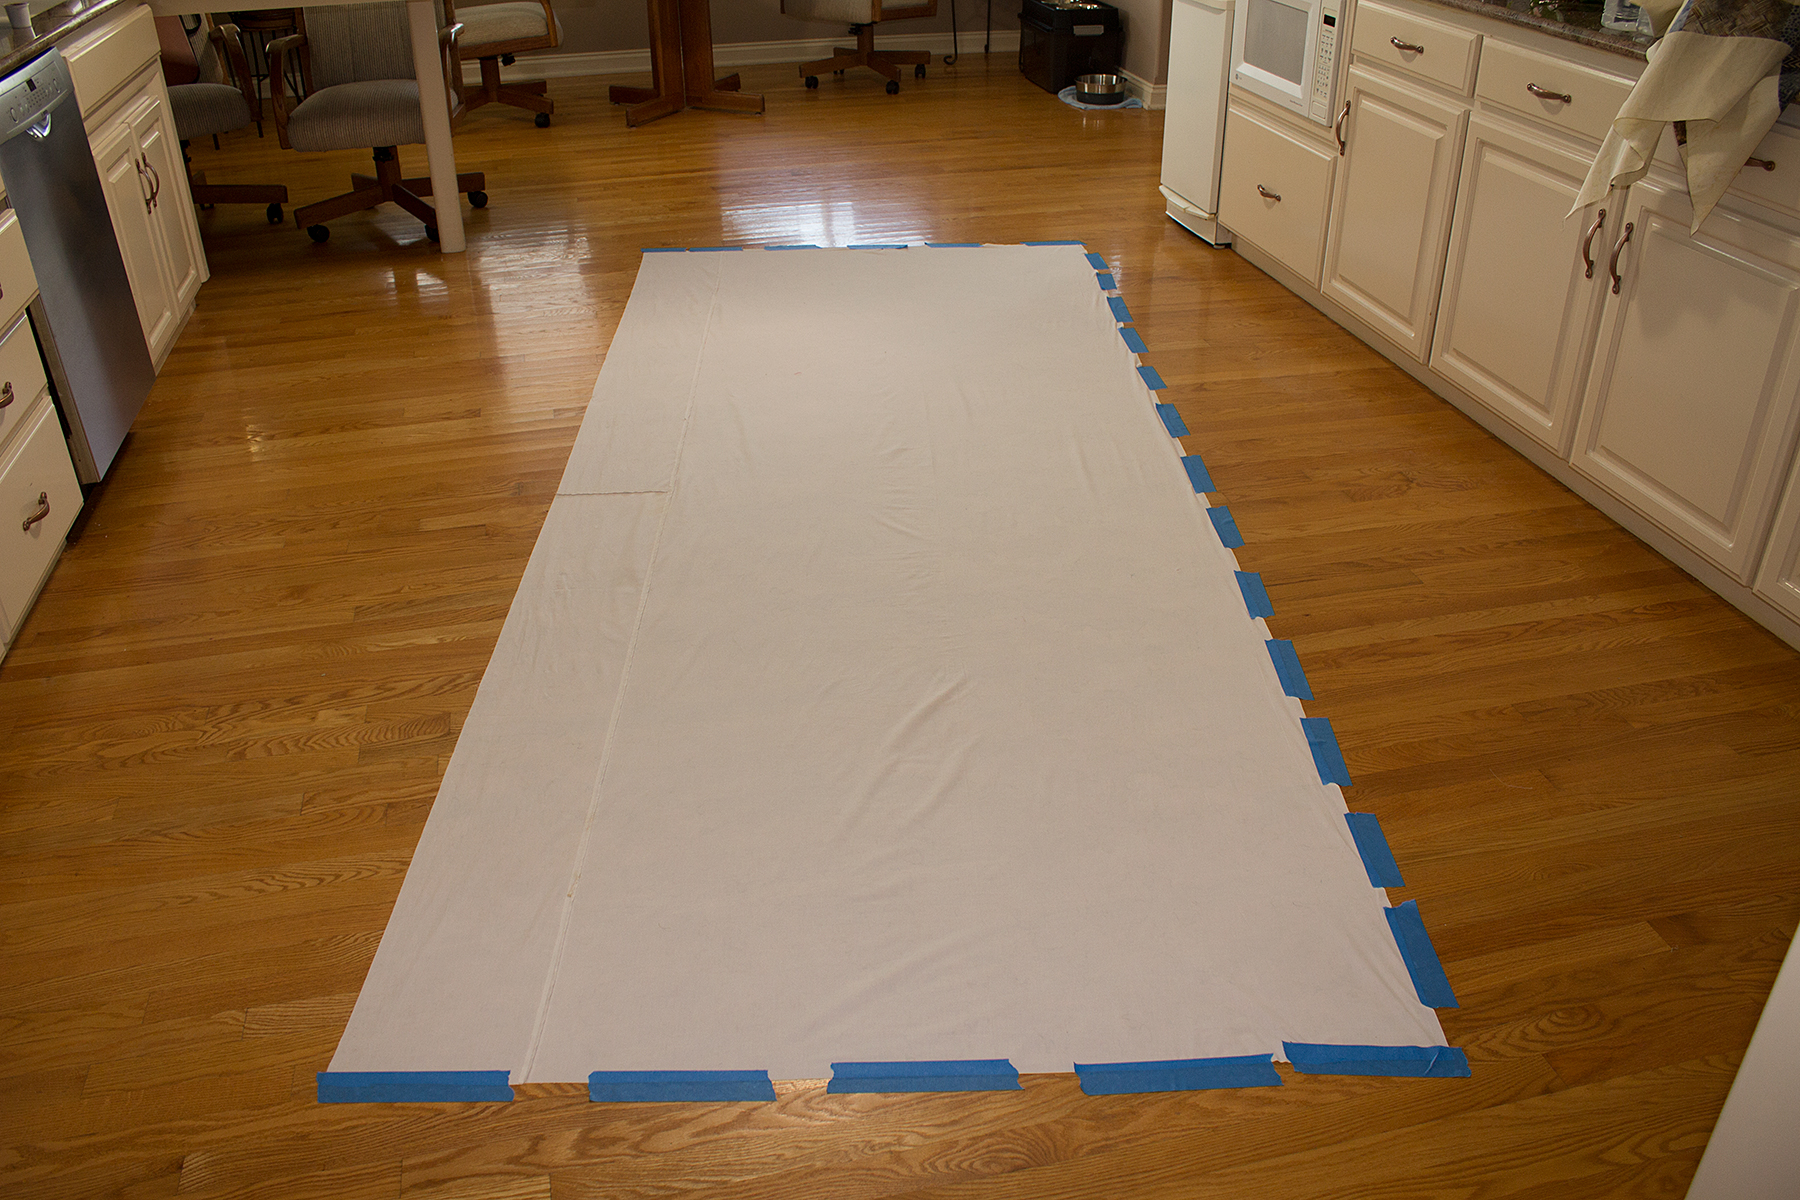
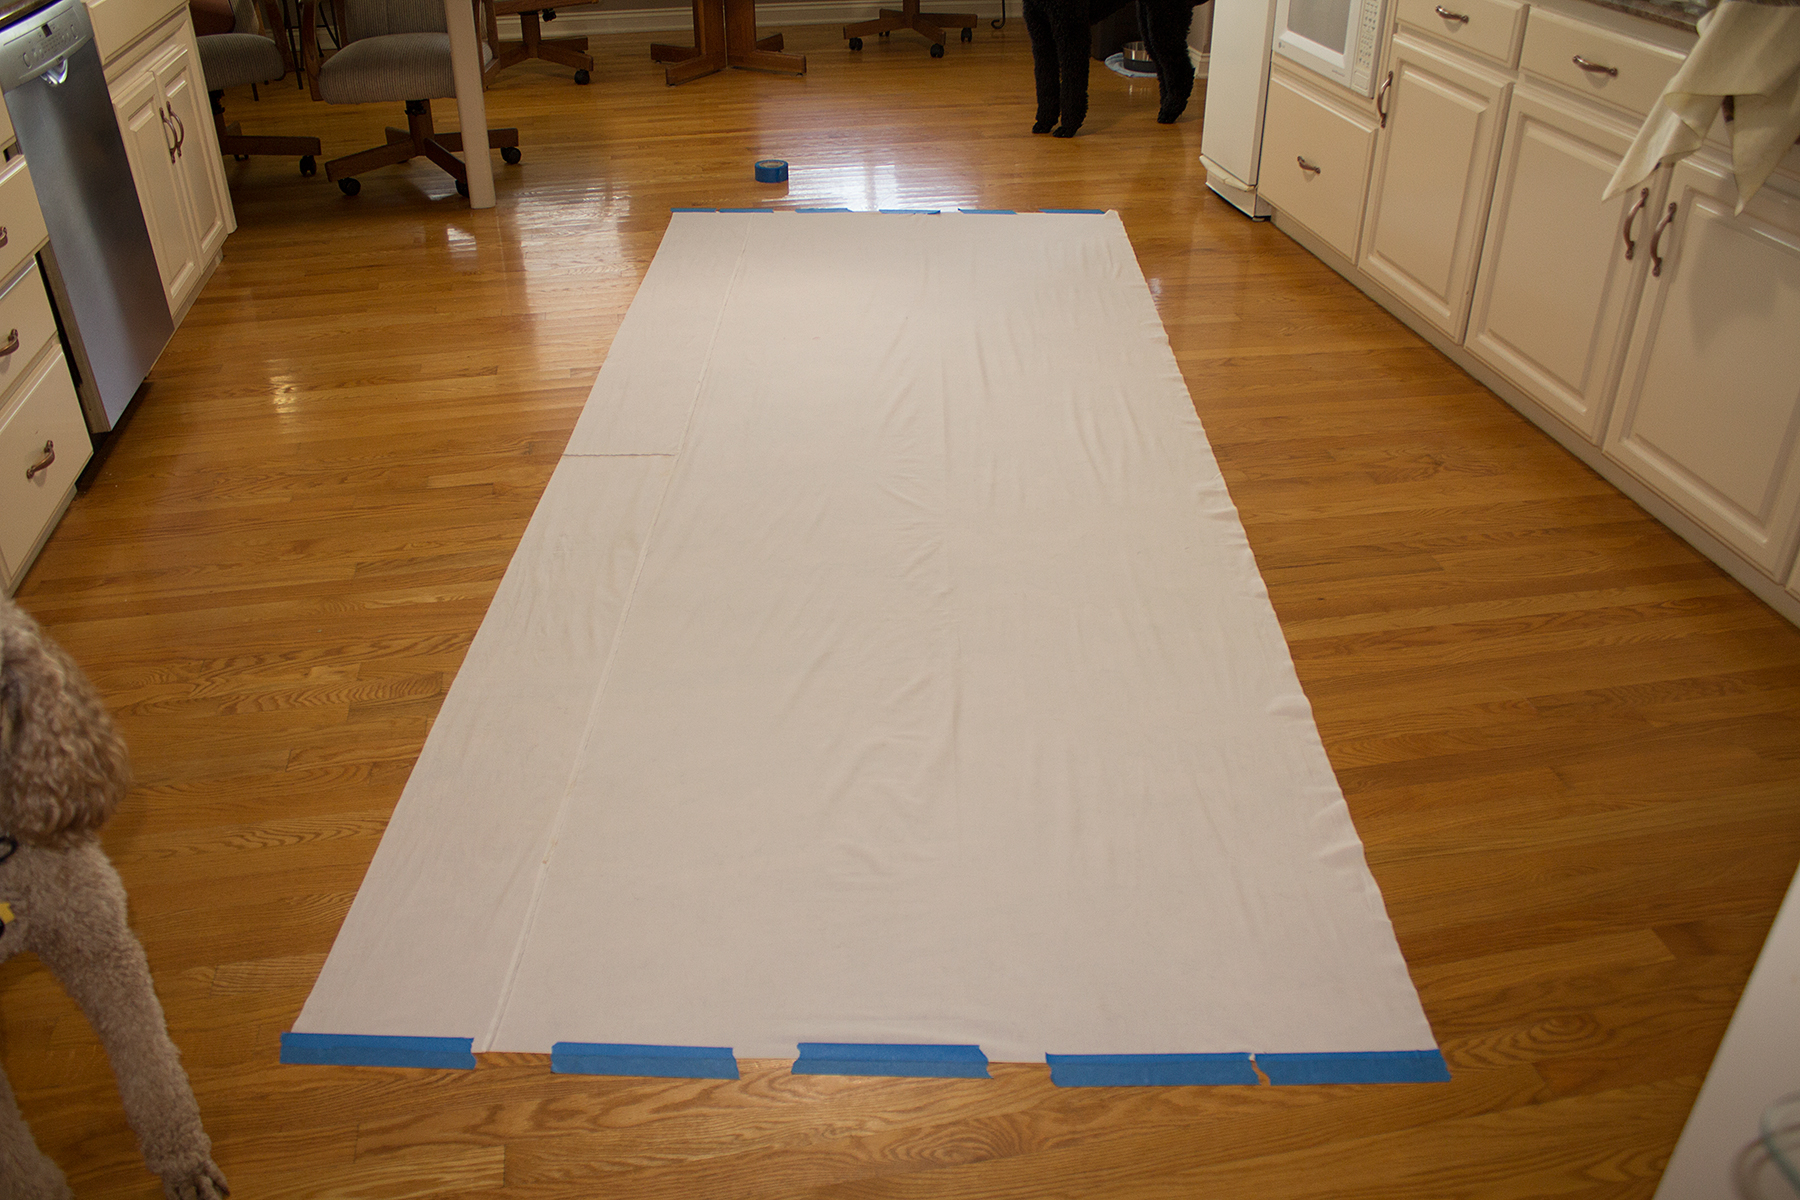
Then I do the same with the first side. I start in the middle and work towards each end.
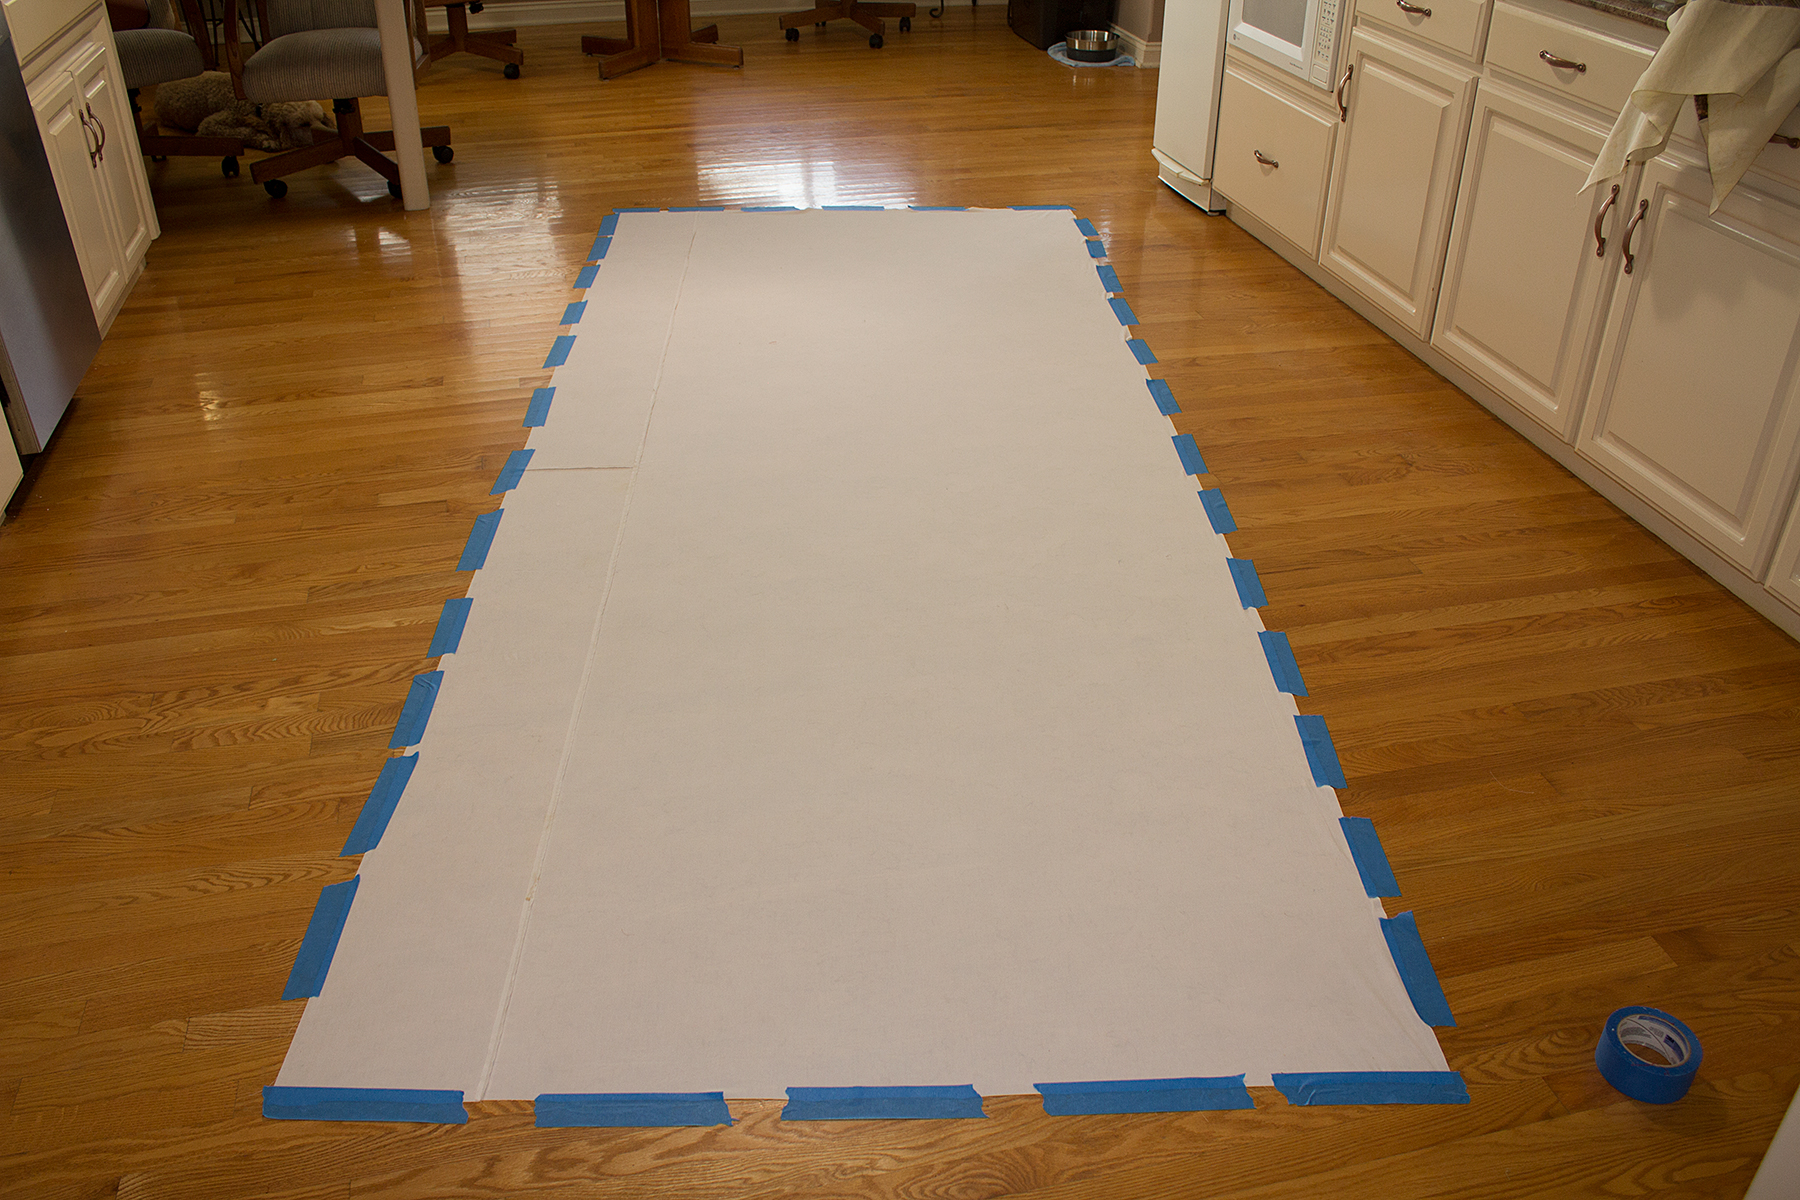
Gently stretching the fabric on the fourth side, starting in the middle of the side, I tape down working towards each end. Once the fourth side is complete, I usually need to make minor adjustments to each side until all wrinkles are gone.
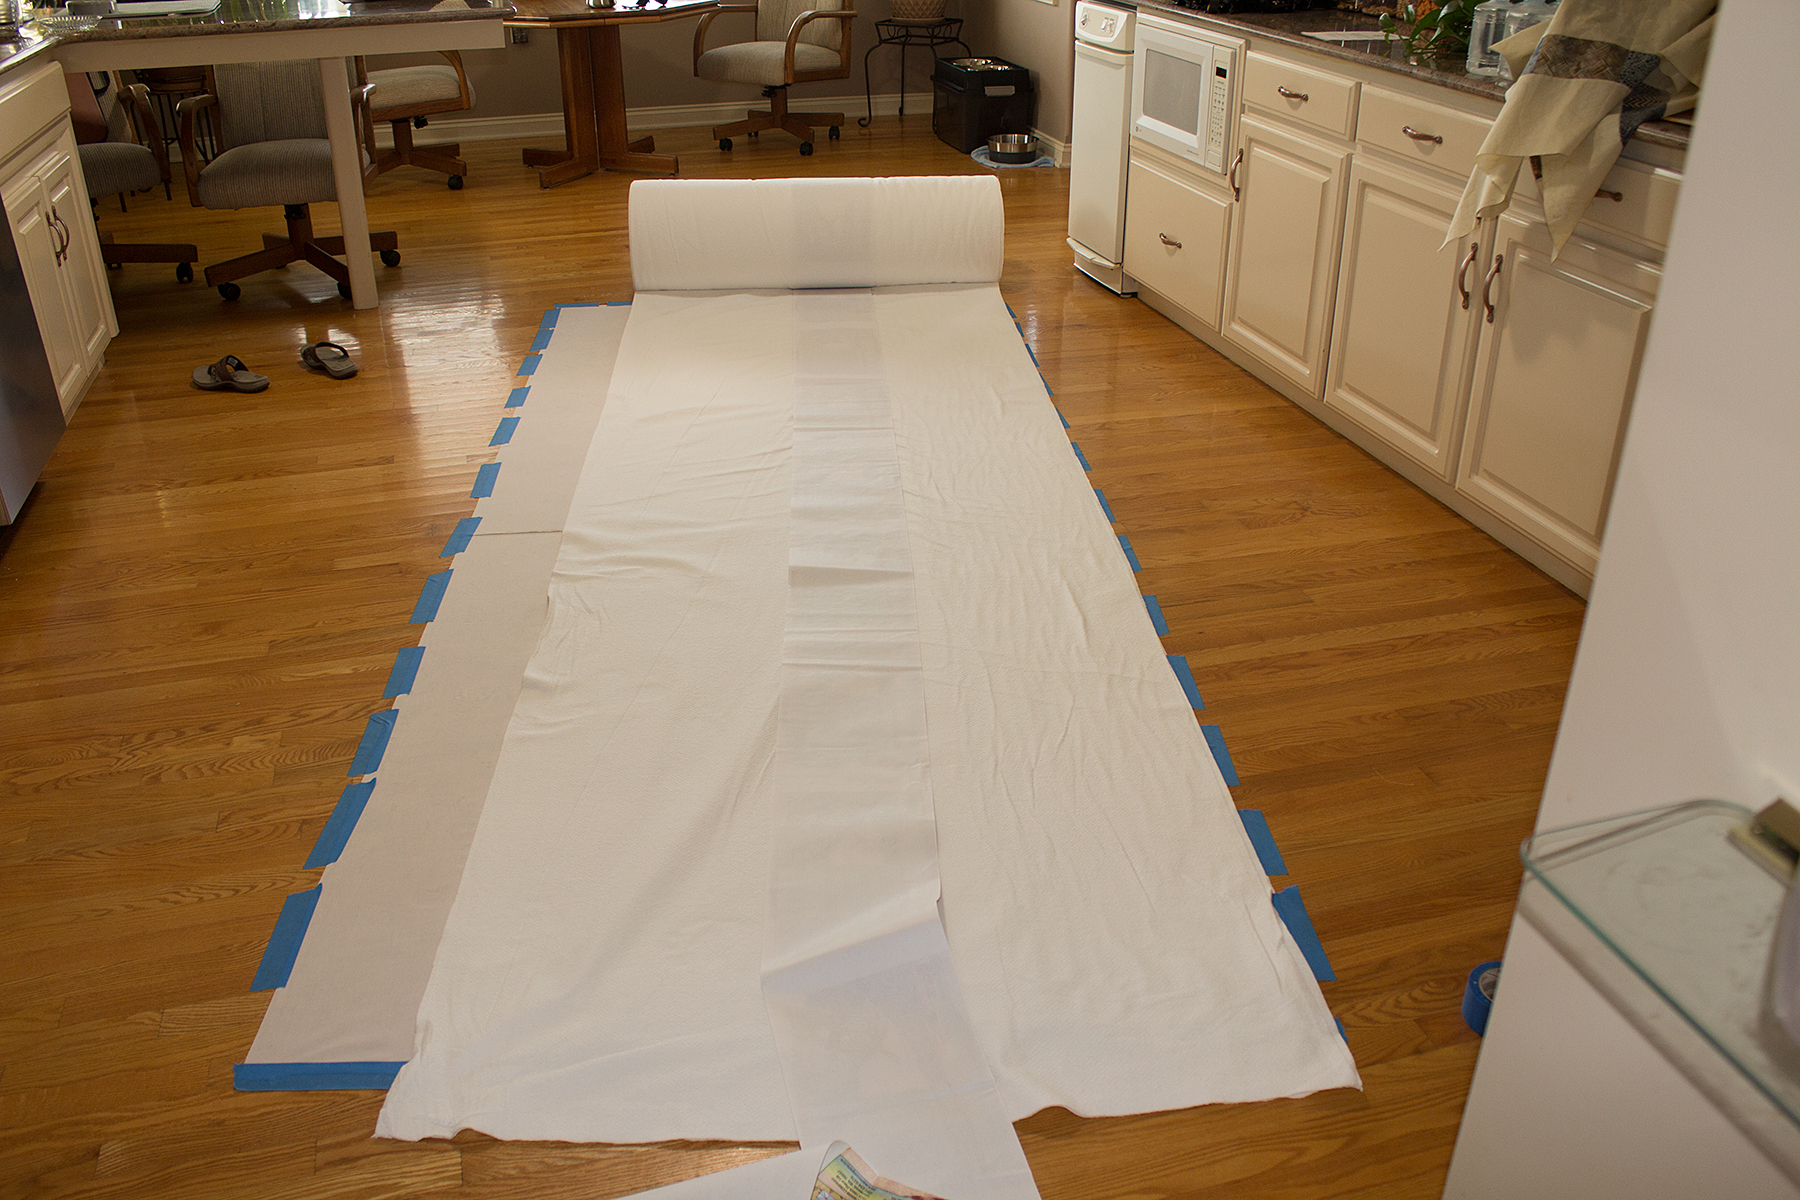
These days I only used rolled batting. I do enough quilts each year to justify the upfront expense. My batting of choice is Warm and Natural or Warm and White. For packaged batting I also like Hobbs 80/20 or Pellon all Cotton. For a quilt of this size though rolled batting is the least wasteful way to go. I lay my roll at one end with the selvage end lined up to the edge of the backing and unroll until I have the amount I need.
This batting is 90 inches wide and I only need 50 inches. I want to reserve the remaining 40 inches of this piece for section 2 of the quilt. So I carefully cut through the top layer of the batting 5 inches from the fold. The unused piece is folded up and reserved for section 2.
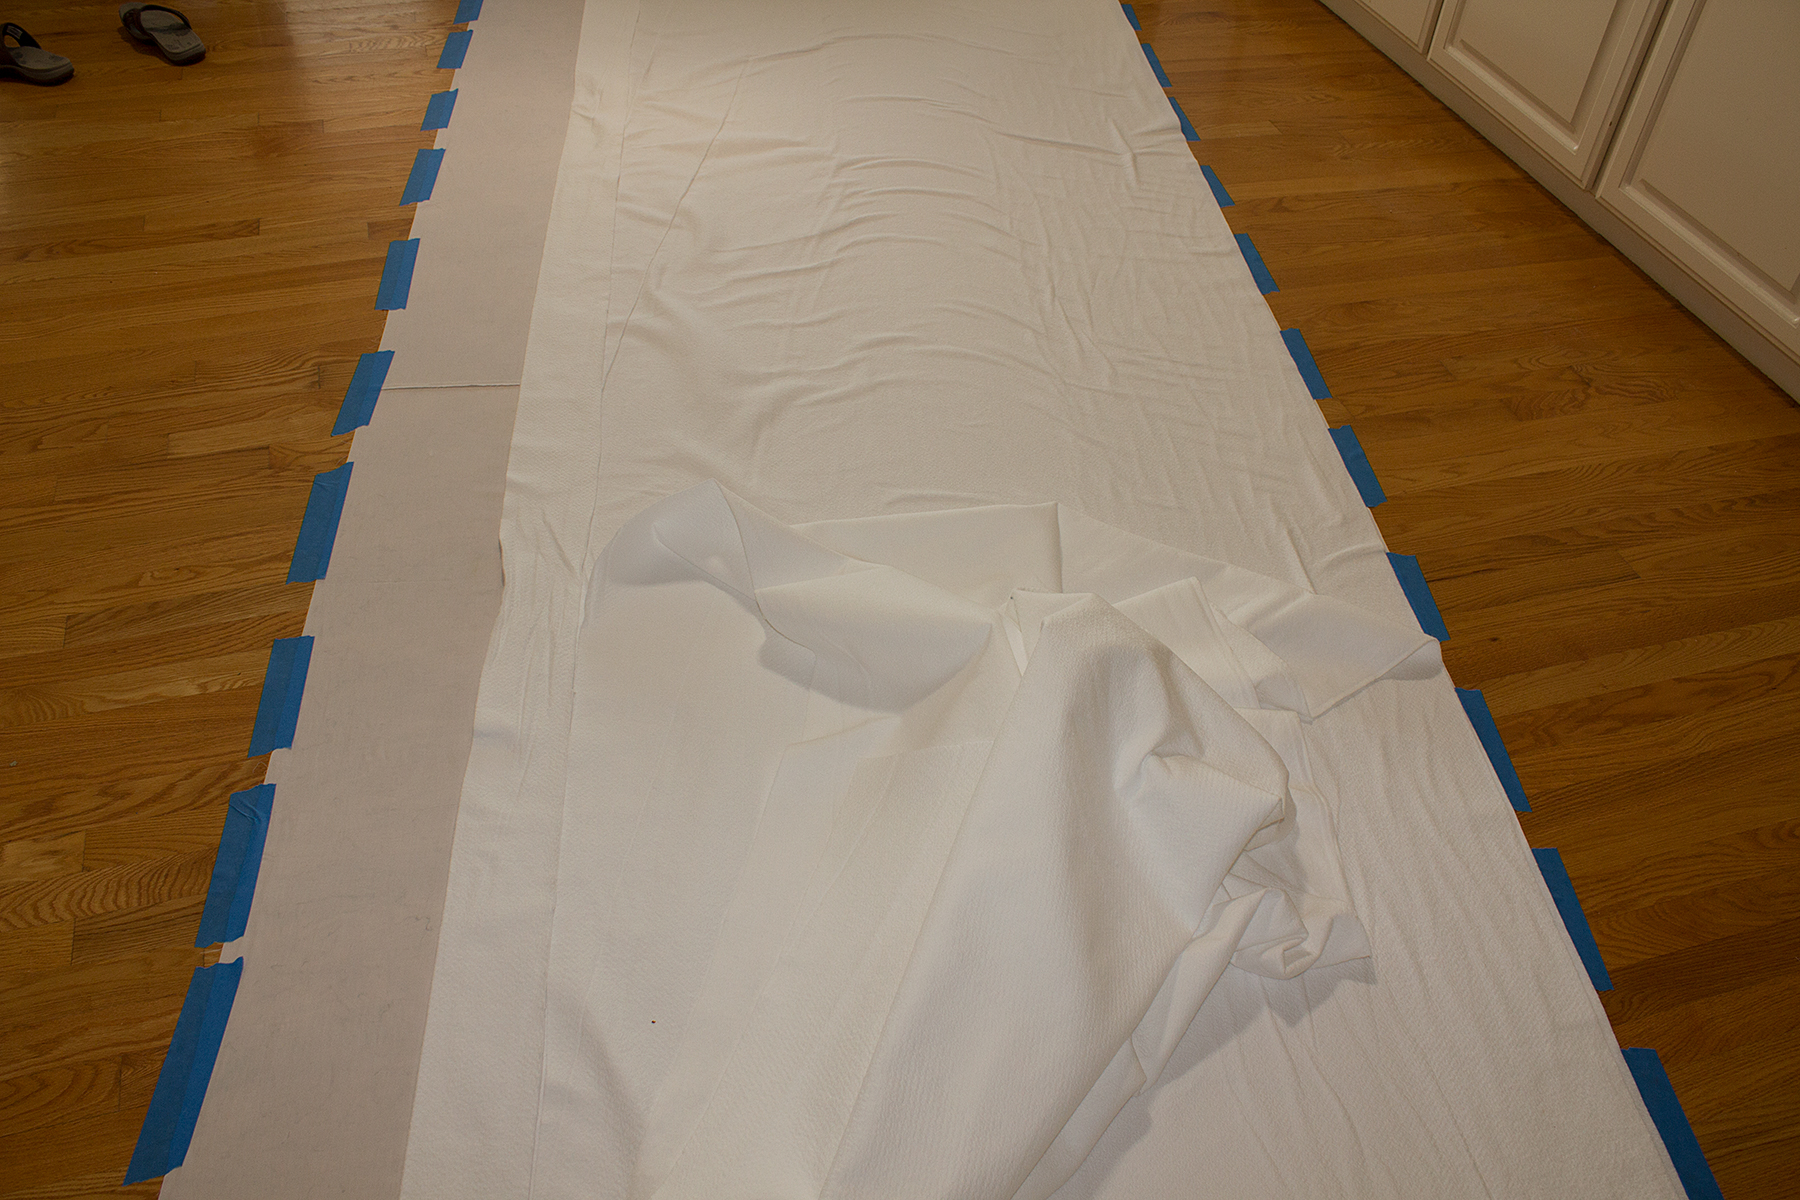
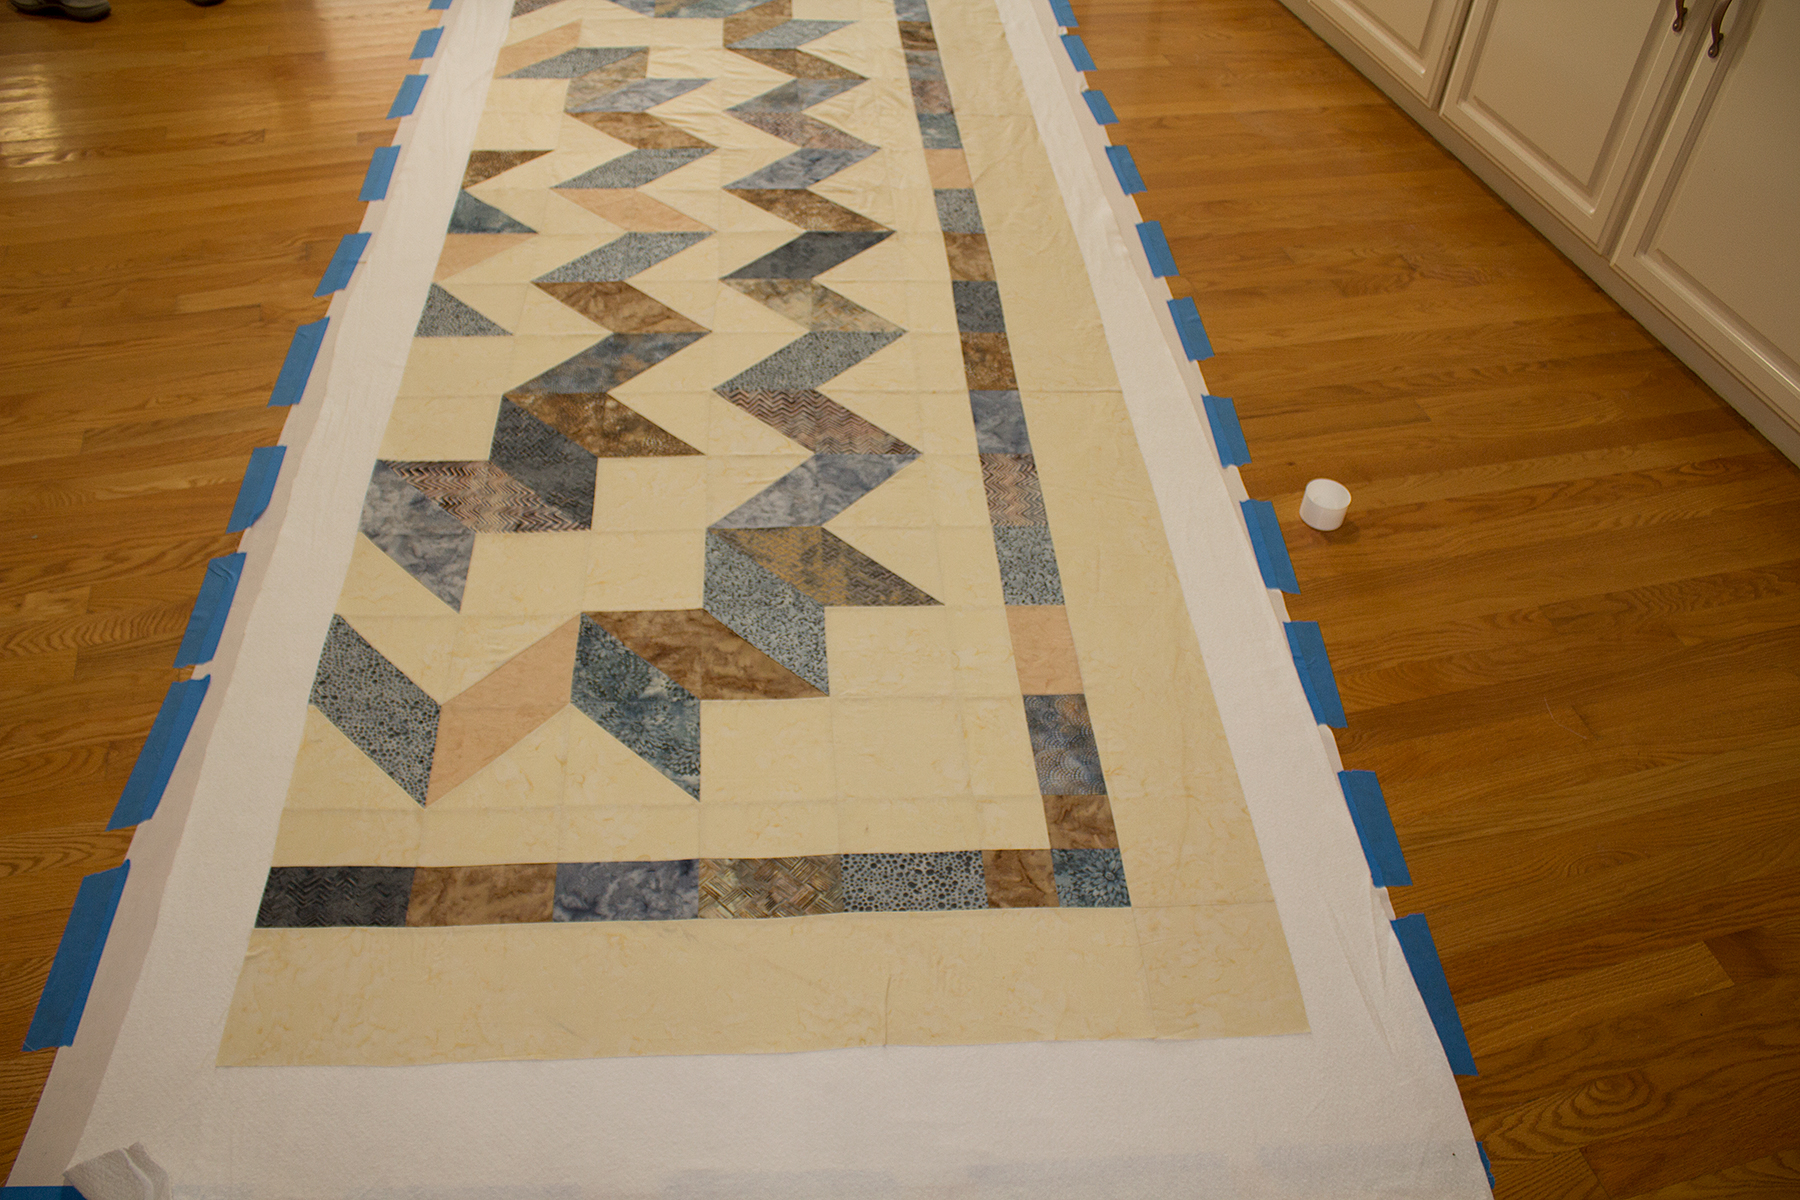
Then I gently reposition the batting more or less centered over the backing and smooth out the wrinkles.
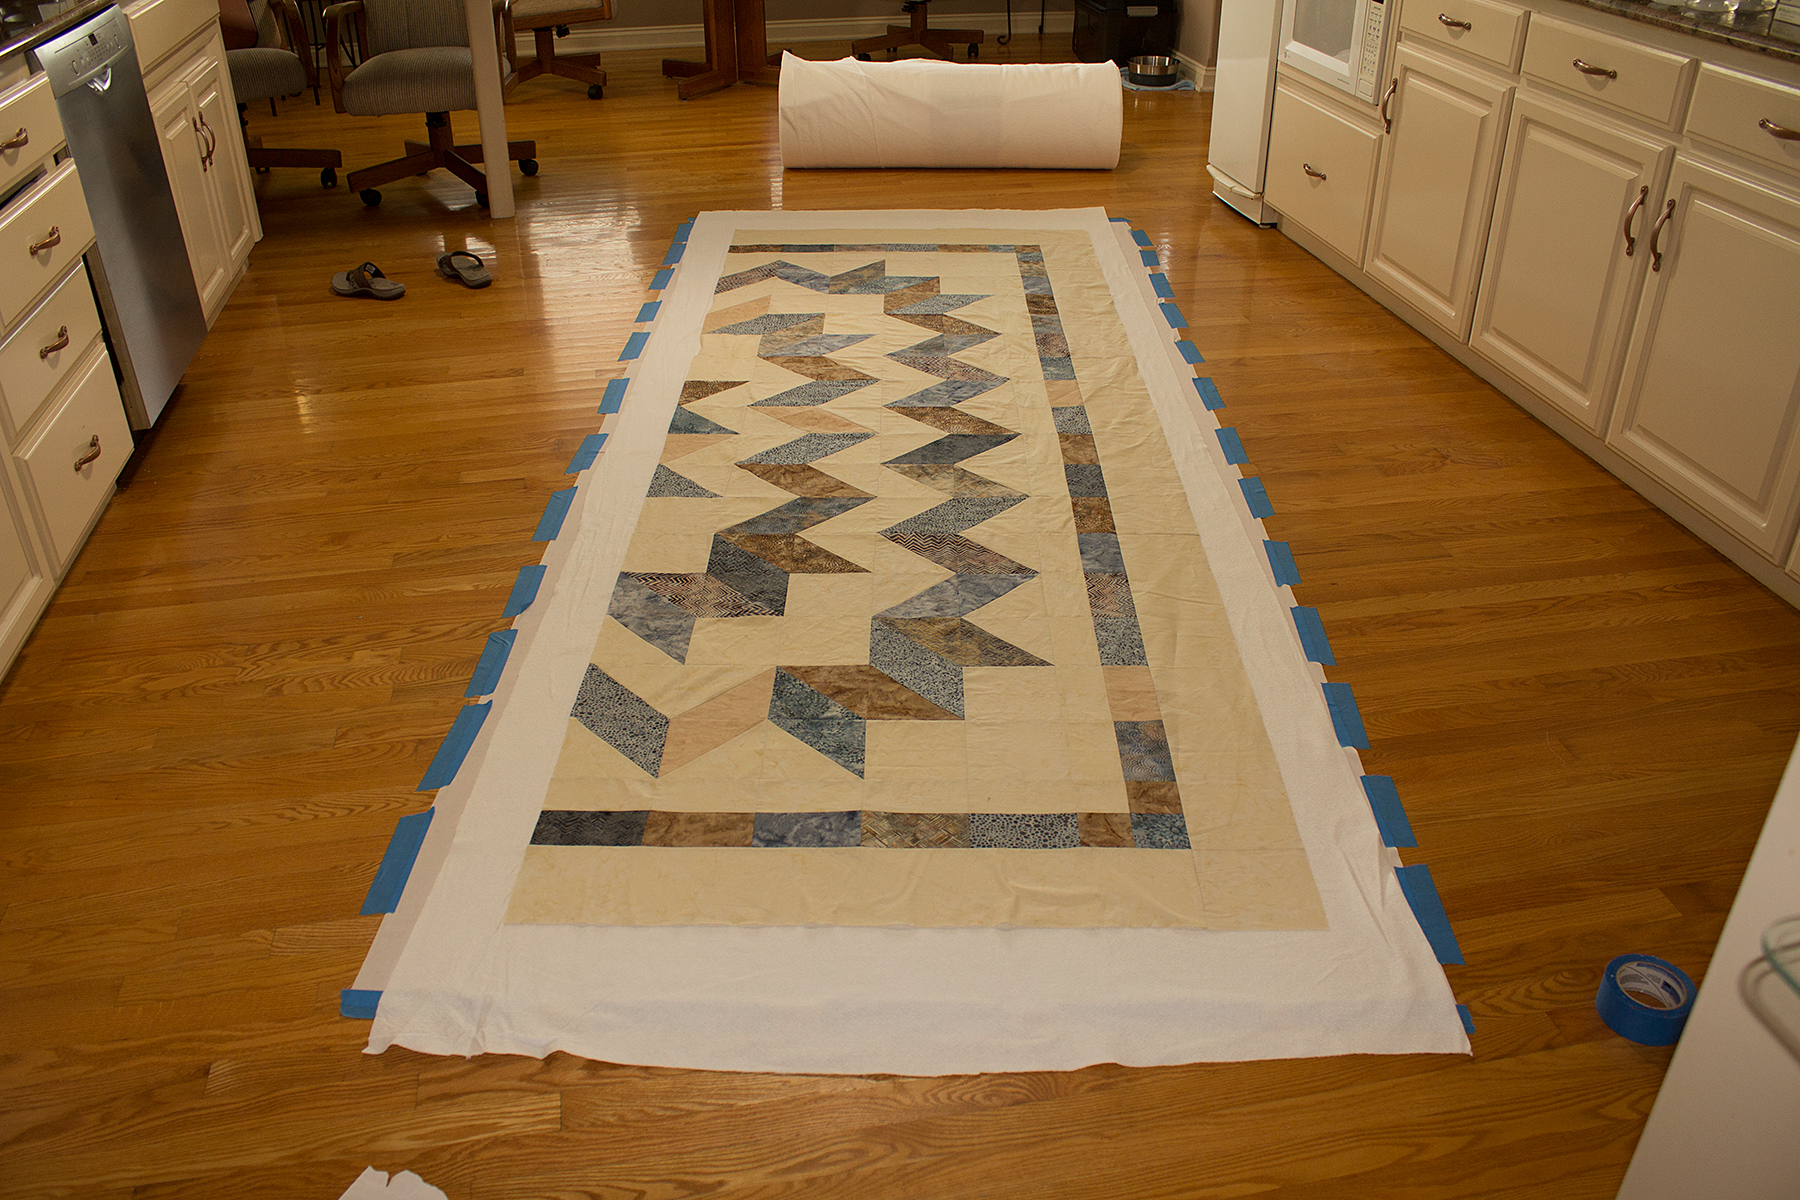
Then I center the top over the batting and smooth out the wrinkles. Now I’m ready to spray baste.
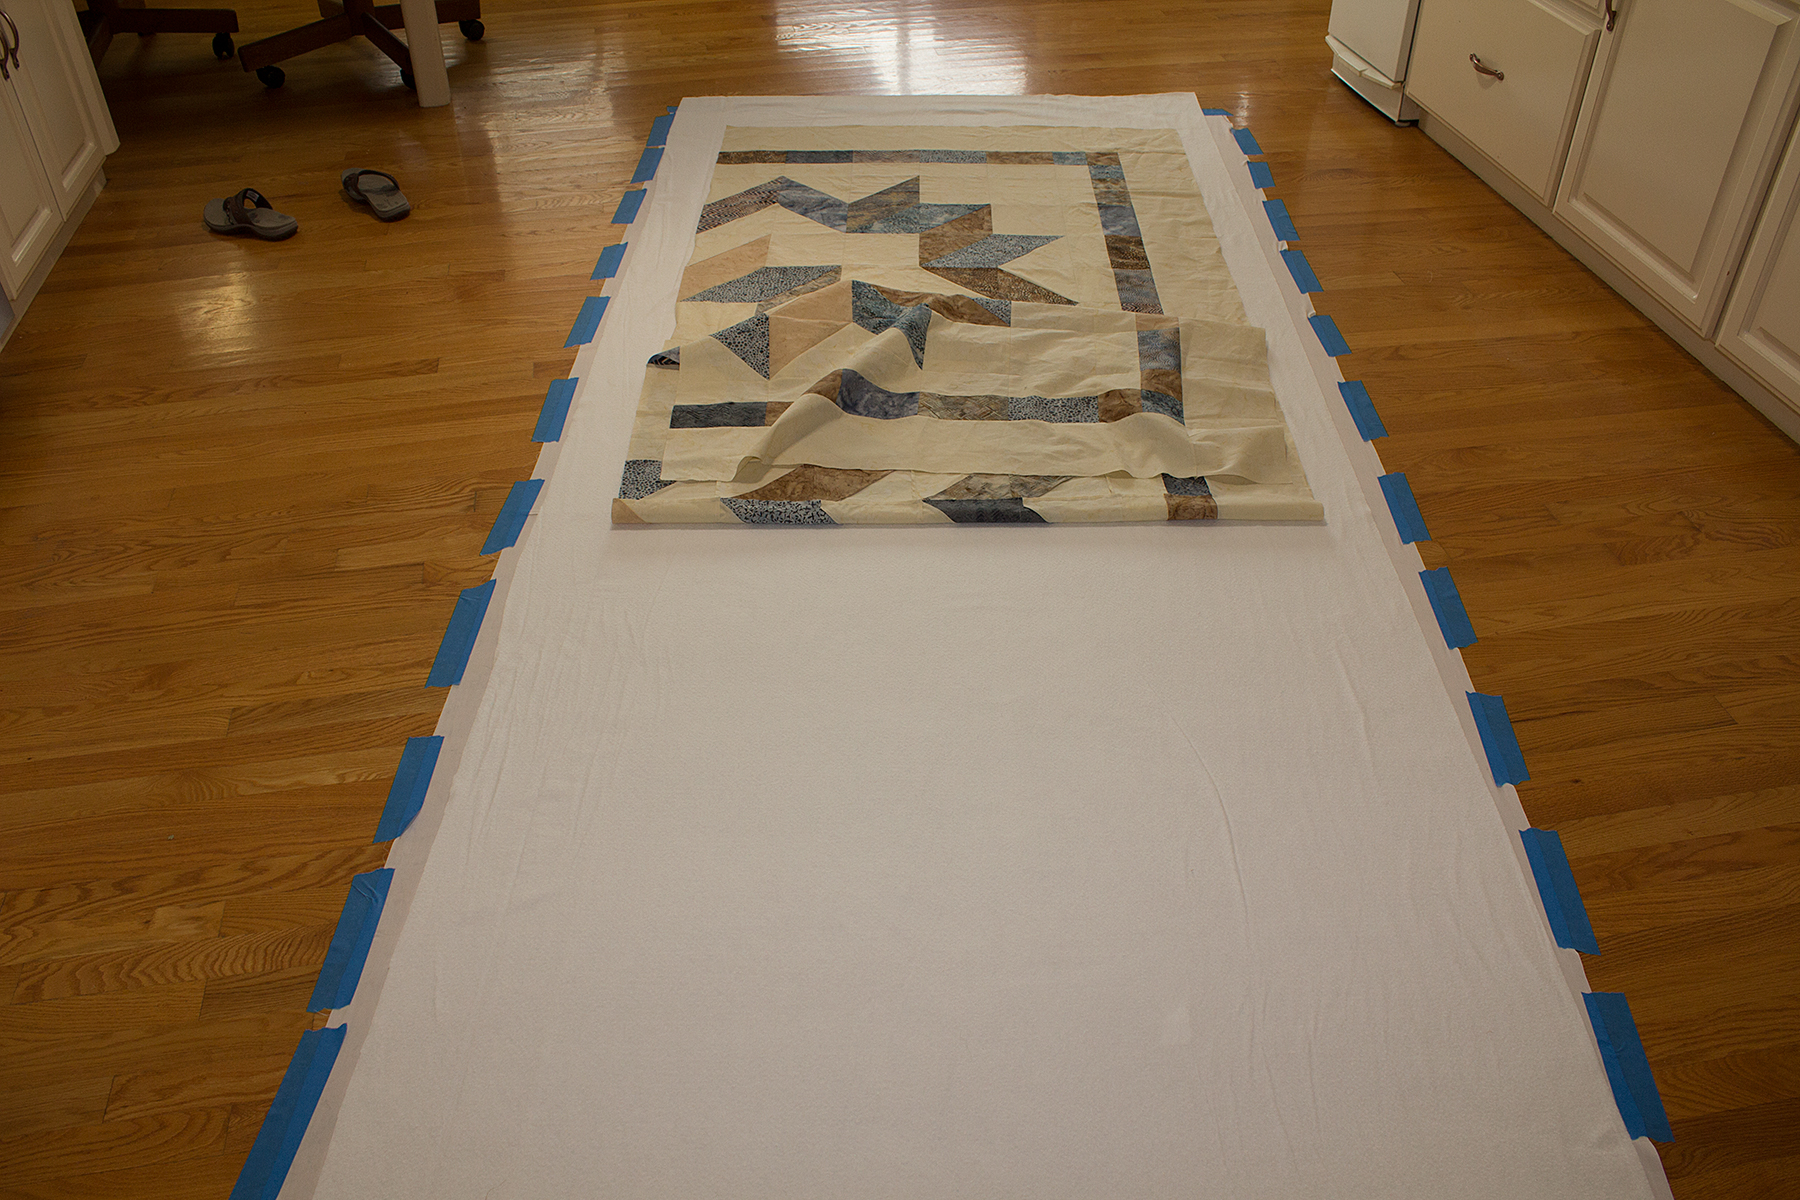
I fold over the top to the half way point.
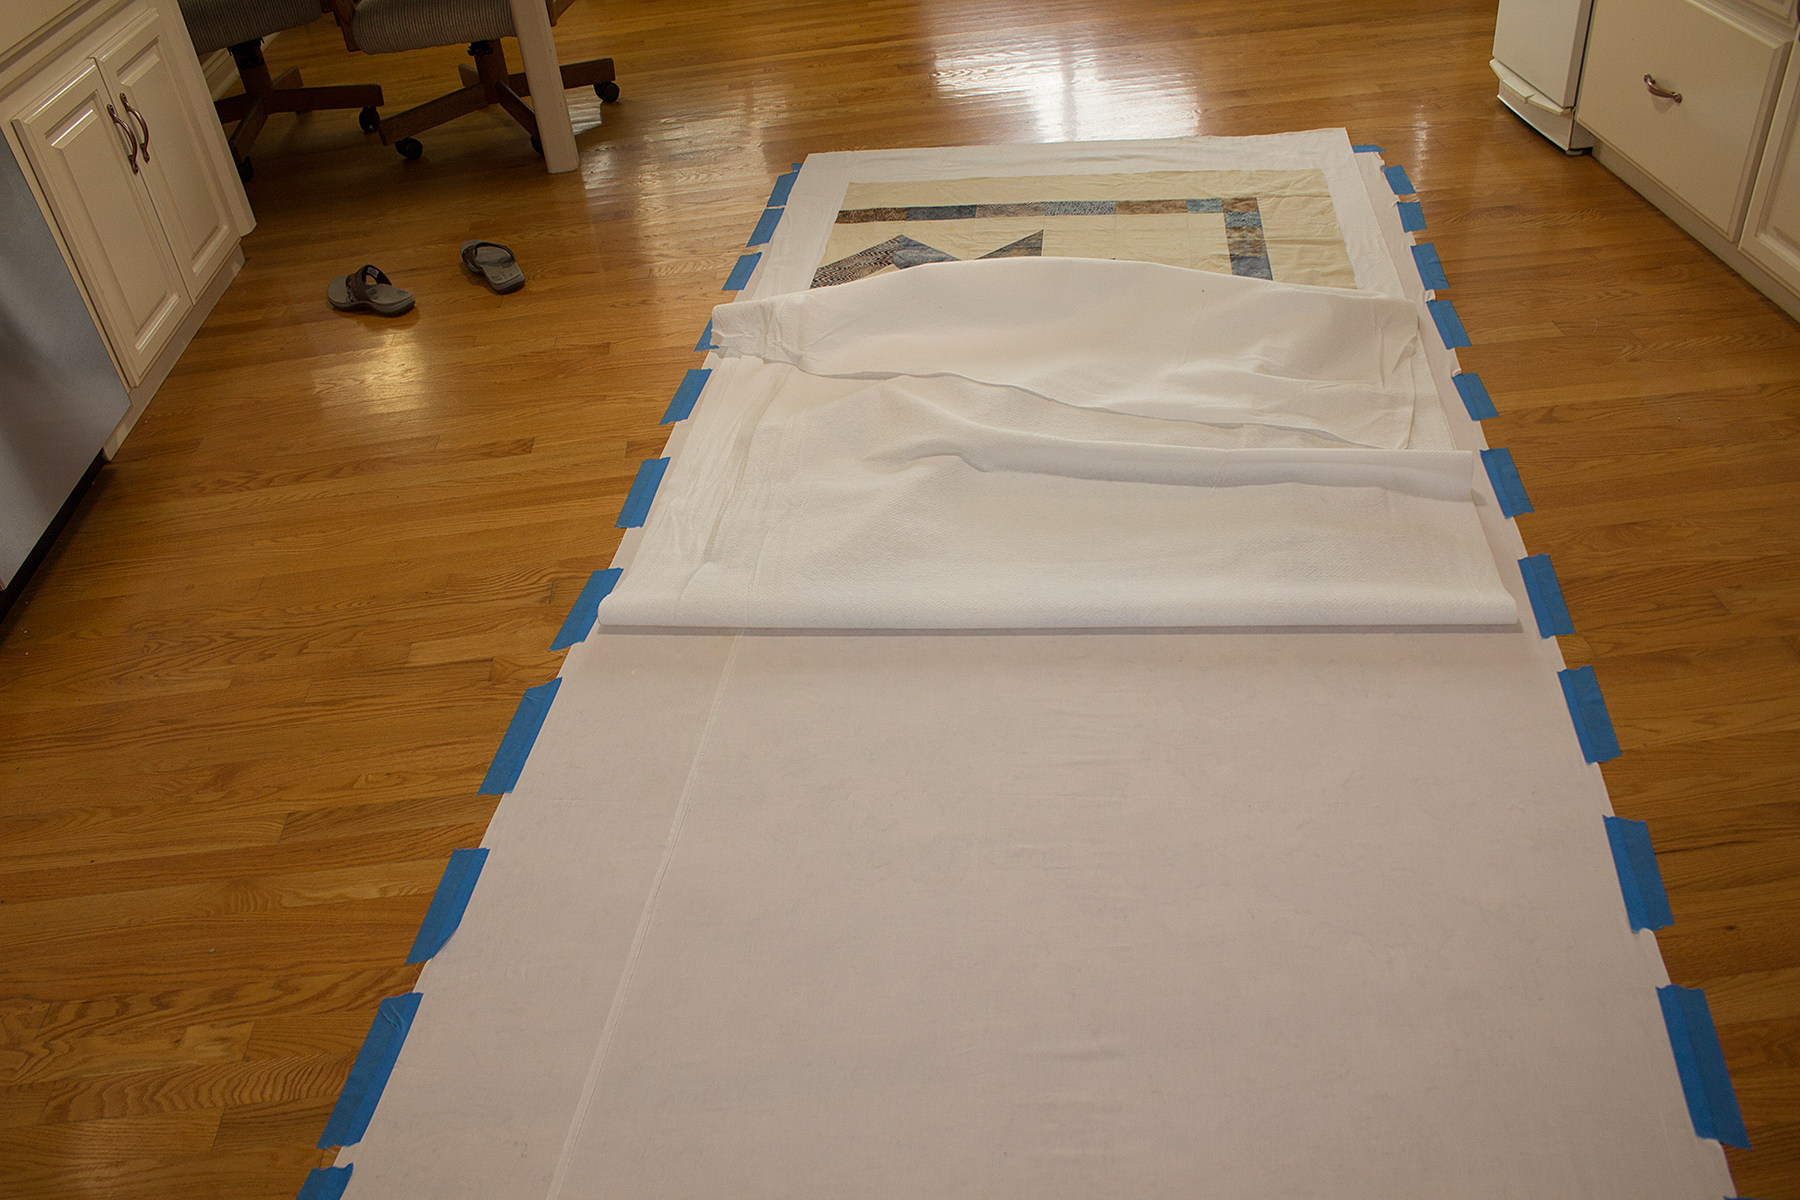
Then I do the same with the batting.
I apply the basting spray to the width of the backing in about 18-24 inch lengths. Then starting in the middle, I fold over the batting and smooth it out from side to side until I’ve covered that 2 foot section. I work about 2 feet at a time repeating this process with the batting until I reach the end.
Then I repeat the process with the top…spraying and smoothing out the top about 2 feet at a time until I reach the end. Then I repeat the process for the other half of the quilt section.
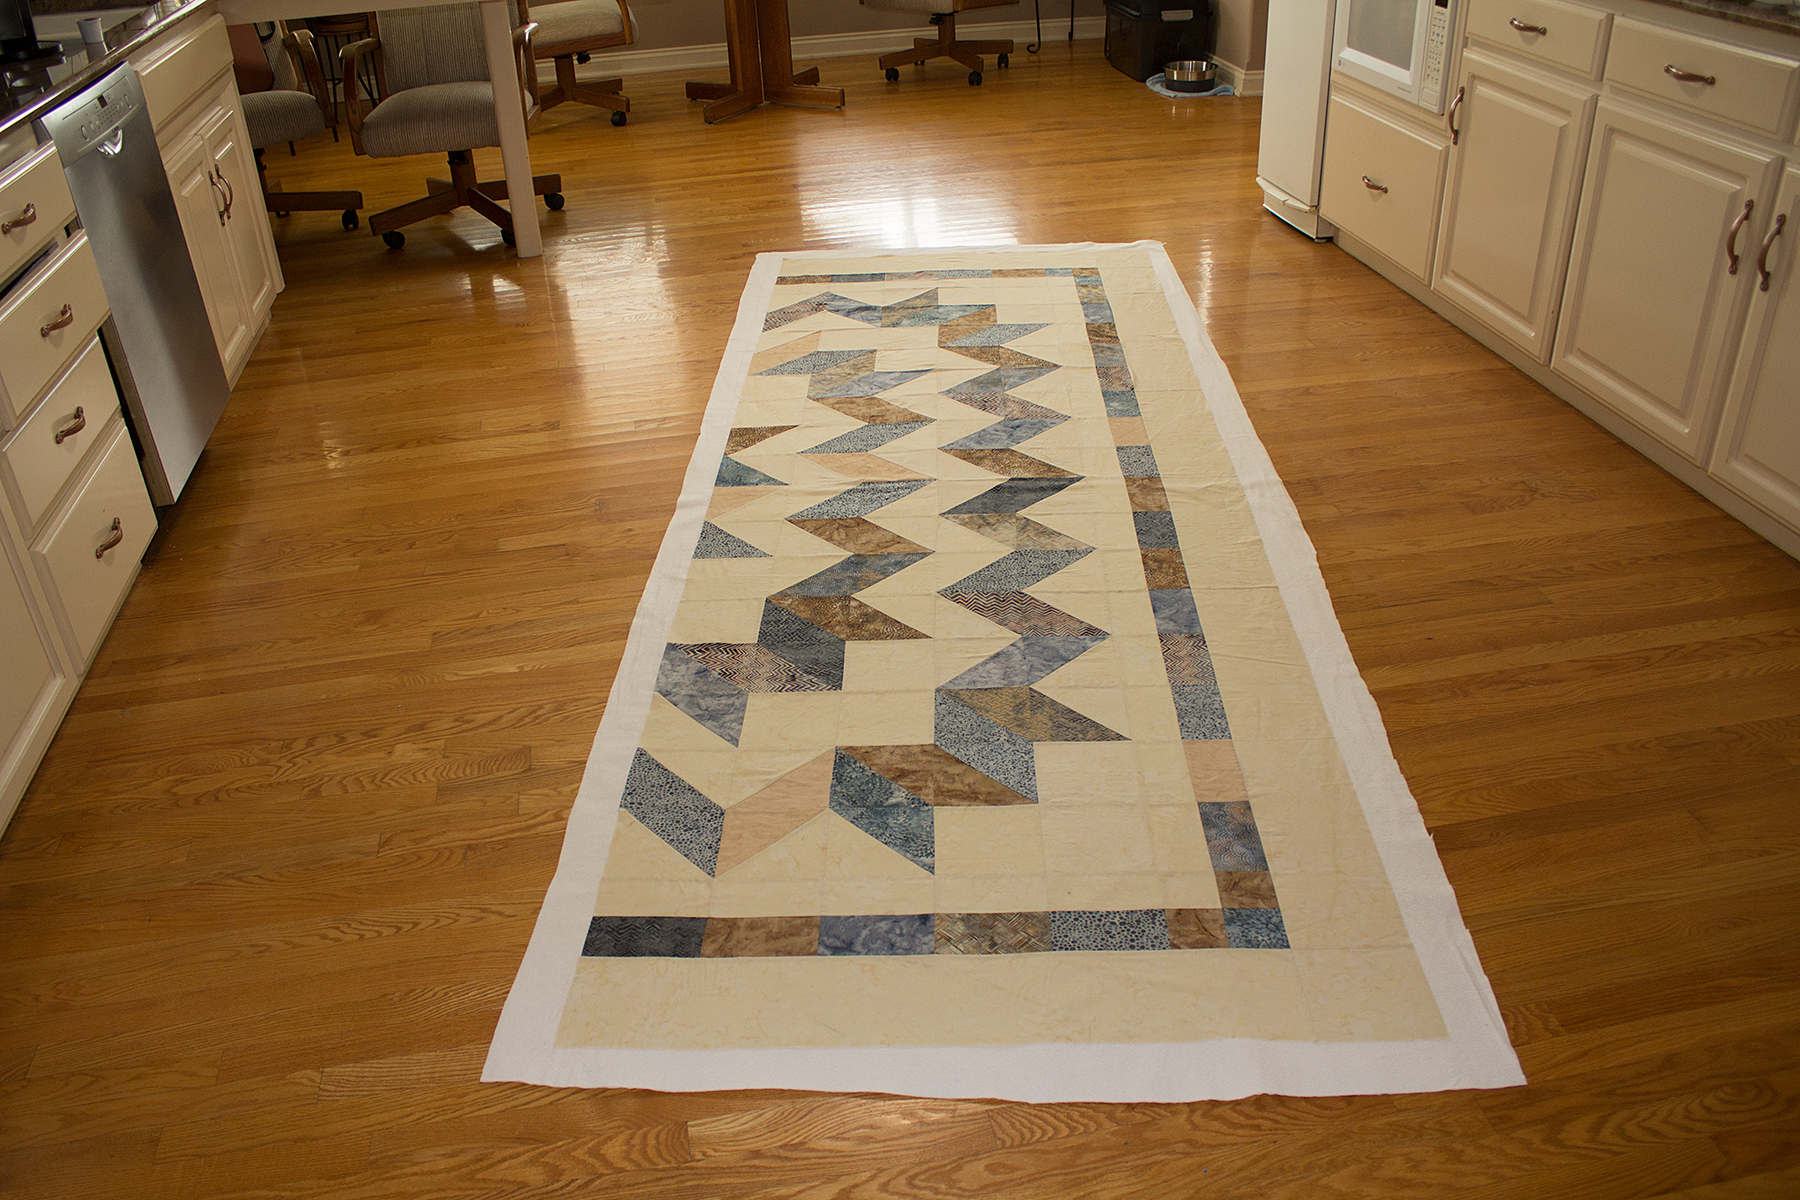
After the entire top has been basted, I trim the batting and backing down to about 4 inches on each side. This entire process usually takes me about 30 minutes from start to finish. It took 40 minutes this time because I stopped to take pictures along the way. I’m now ready to stitch in the ditch!